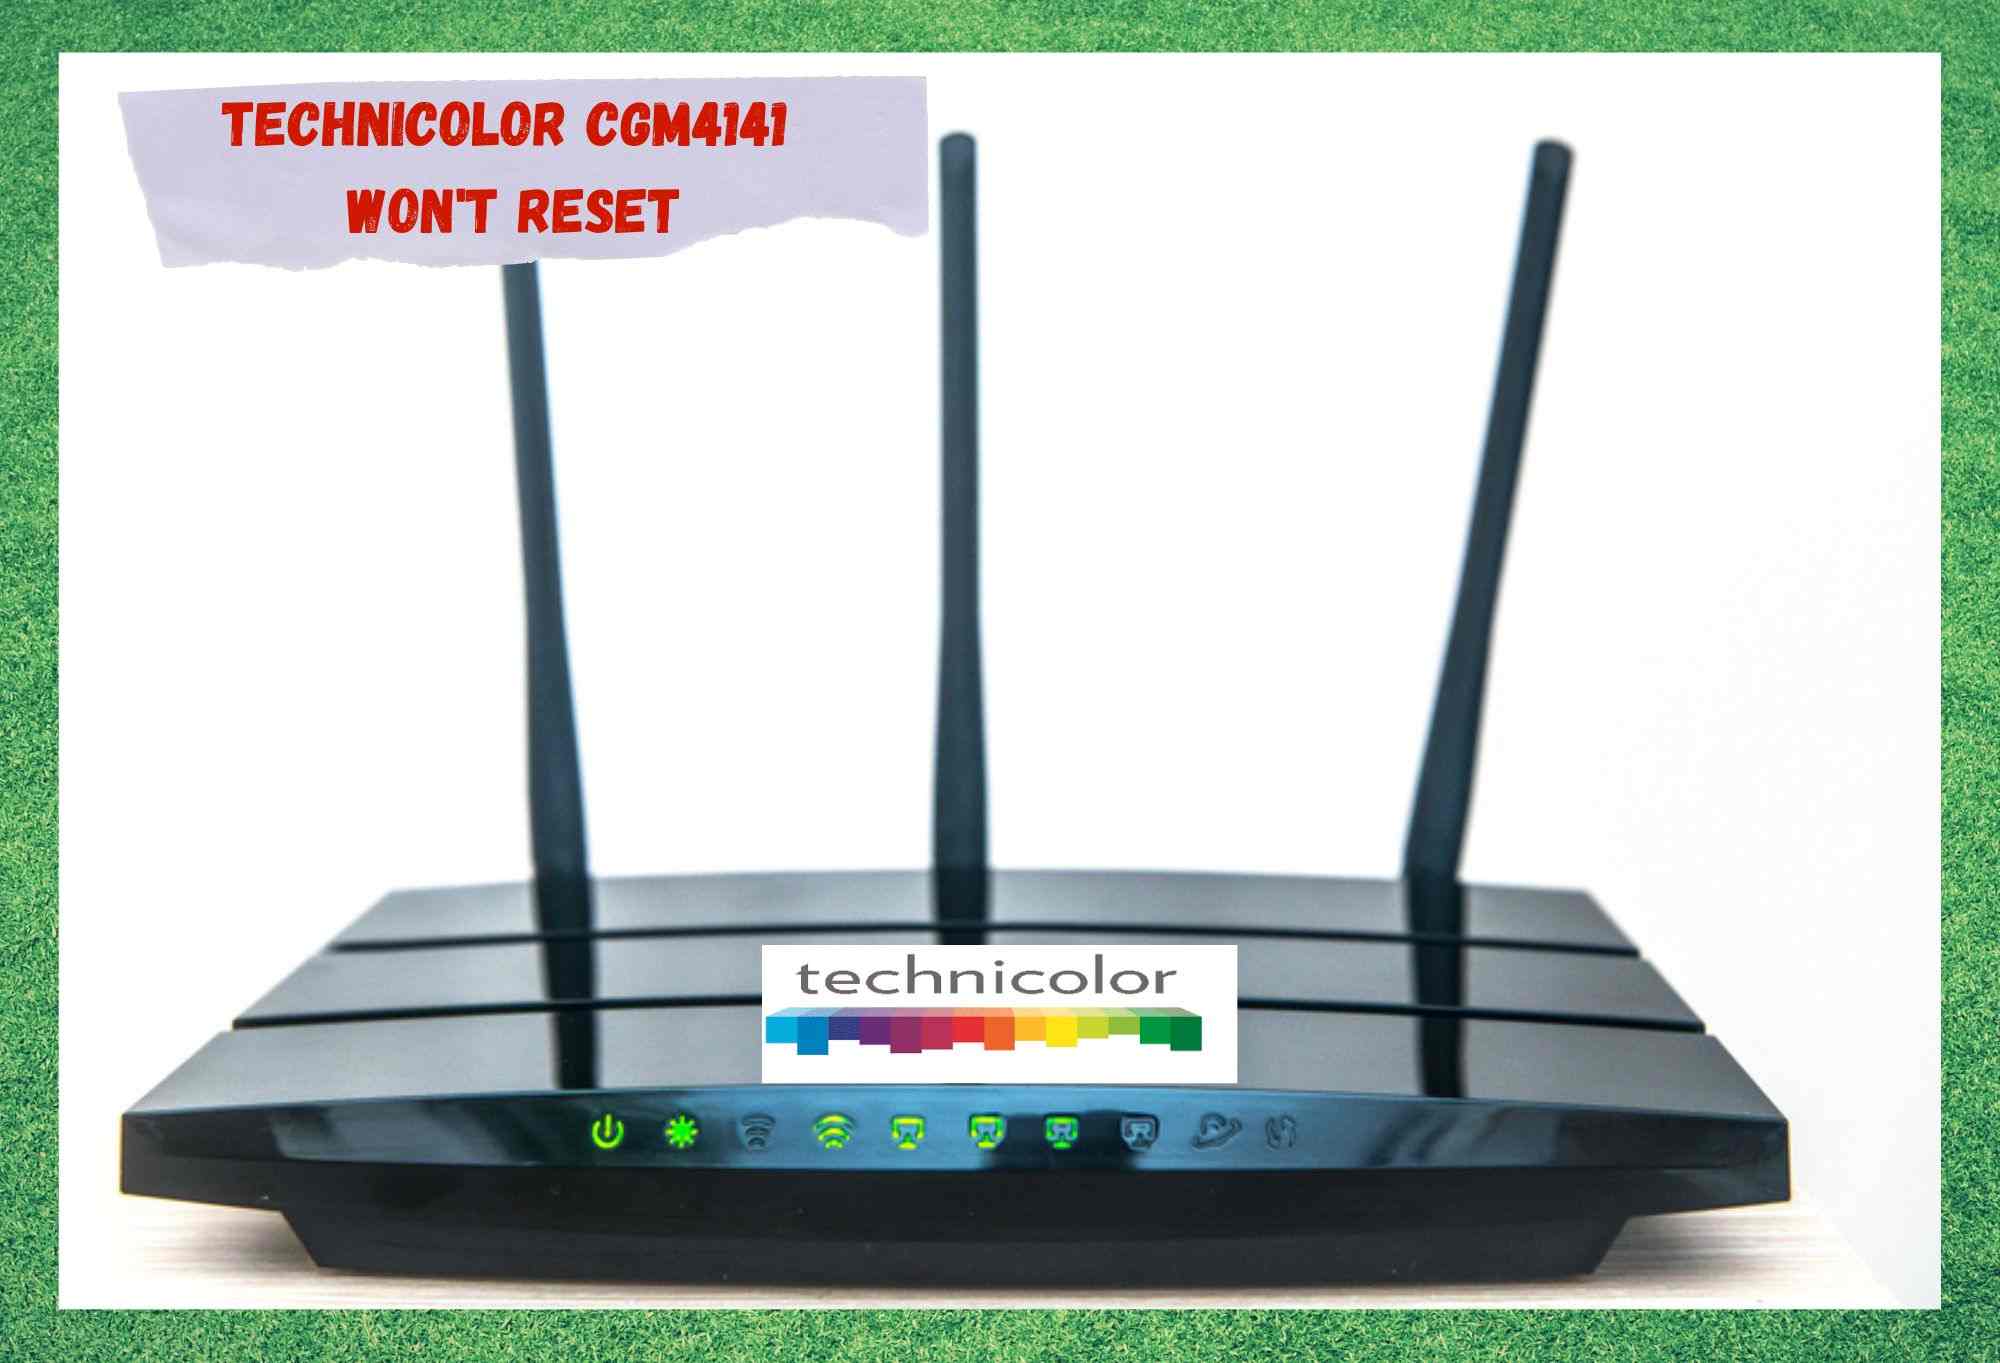
If you are looking for a gateway that delivers ultra-high speeds and enhanced stability, look no further. Technicolor CGM4141 is the answer to all your questions.
With its DOCSIS 3.1 features and a dual-band 802.11 a.c. LAN standard, these gateways reach speeds that let no user down. No matter how intense is the usage, whether for streaming, gaming, or even large file transfers, Technicolor CGM4141 will improve it.
They are also compatible with My Wi-Fi and Smart Wi-Fi features, which enhance their functionalities and deliver a device that is capable of bringing any internet connection to a whole new level.

However, not everyone is having a good time using the Technicolor CGM4141. According to some of them, the promised speeds have not been delivered.
Some others even mention experiencing a lack of stability. If this is also your case, there are easy procedures to go through that should get the device back working in no time.
Technicolor CGM4141 Won’t Reset
Why Should I Reset My Technicolor CGM4141 Router?
Many users, and for that matter, even some tech experts, don’t acknowledge the restarting procedure as an effective troubleshooter. This is probably because they mostly think only more elaborate procedures can bring the desired effects.
However, they couldn’t be more wrong. The restarting procedure does a great deal to help electronic devices such as routers. Not only does it check the whole system for minor problems related to configuration or compatibility, but it also clears the cache of temporary files the system no longer needs.
Resetting, however, is a different procedure and it involves a whole other set of procedures that bring the device back to the settings it had when leaving the factory. With that, the resetting procedure also performs the same checks and cleanses carried on by the restarting procedure, but that is not all.
So, if your Technicolor CGM4141 router is experiencing speed or stability problems, the best and easiest thing to do is to restart it. It takes no more than a few minutes and it may already tackle whatever problem the device might be facing.
Now, if you have never restarted a router before, or did but the procedure you are attempting is not working for the Technicolor CGM4141, stay with us. We’re going to show you how.
How Do I Restart My Technicolor CGM4141?

As mentioned before, some users have had a hard time attempting to restart their Technicolor CGM4141 routers due to a difference in the procedure.
However, if compared to the most modern routers, the Technicolor CGM4141 has a quite similar restarting procedure. So, if you are not acquainted with it, these are the steps you should take.
- First, unplug the router from the power outlet. Bear in mind that, if you have the router connected to a modem, you should disconnect the Ethernet cord and unplug the modem from the power outlet as well.
- Then give it at least a minute or two before plugging it back into the power outlet.
- Now, plug the Ethernet cord back into the port on the back of the router as the modem finishes its rebooting procedure.
- Give the devices a minute to re-establish the connection.
- Ensure the router is connected to the internet port of the modem before moving on to the next step.
- Finally, just wait for the router to perform the booting process and connect to the internet.
That should do it and your internet connection should resume with the desired speeds and stability. That is mainly because whatever problem that was causing the speed or stability of the internet connection not to perform as usual has been dealt with by the restart.
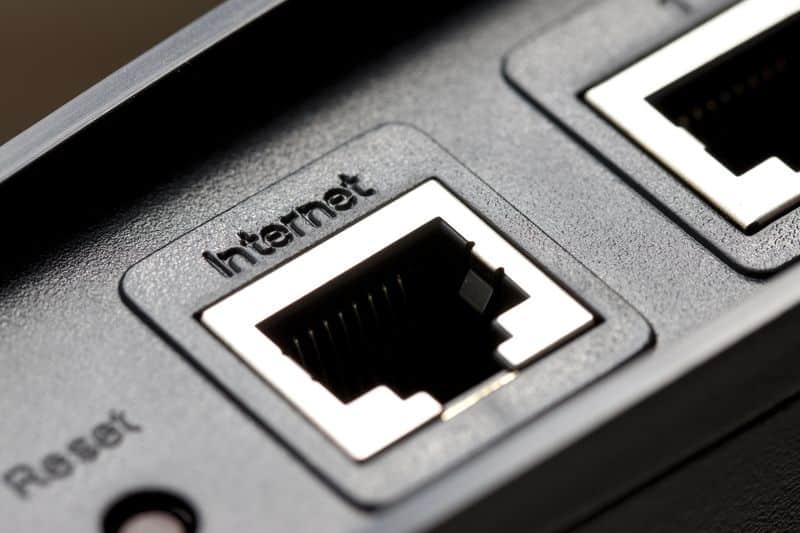
However, if even after the restarting procedure is successfully completed the speed or stability hasn’t gone back to normal, there are a few more things for you to try. The second logical step is to check the connections and cabling. The condition of your cables is as important to the internet as the signal itself.
- Inspect The Cables And Connectors
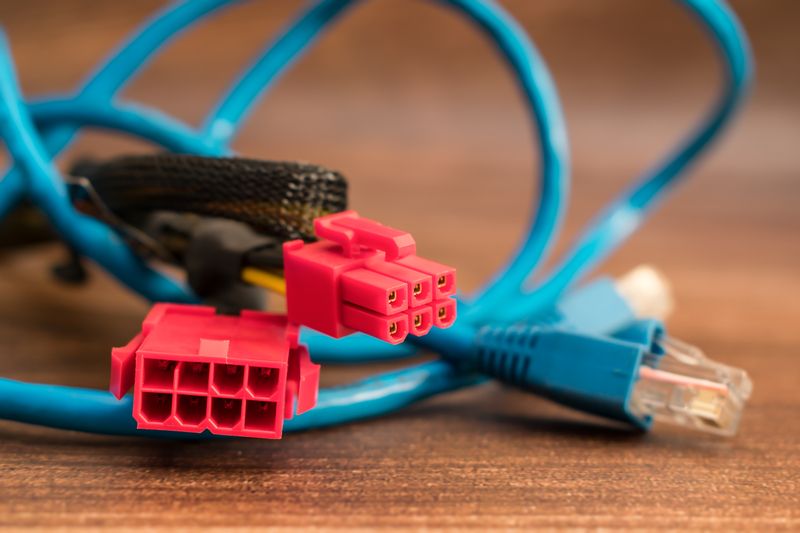
Now that the importance of cables and connectors for a decent internet connection has been established, make sure to keep these components in top condition at all times.
That way, you can ensure that nothing will go wrong with the signal transmission. Broken plugs, rusty connectors, or damaged cables can all be responsible for lower speeds. So, make sure that they are not experiencing any of these issues.
While doing that, make sure the connections are properly established by ensuring that the cables are tightly inserted into the correct ports. Also, in case your internet connection setup uses an Ethernet cord, inspect that too.
- Follow The LED Lights
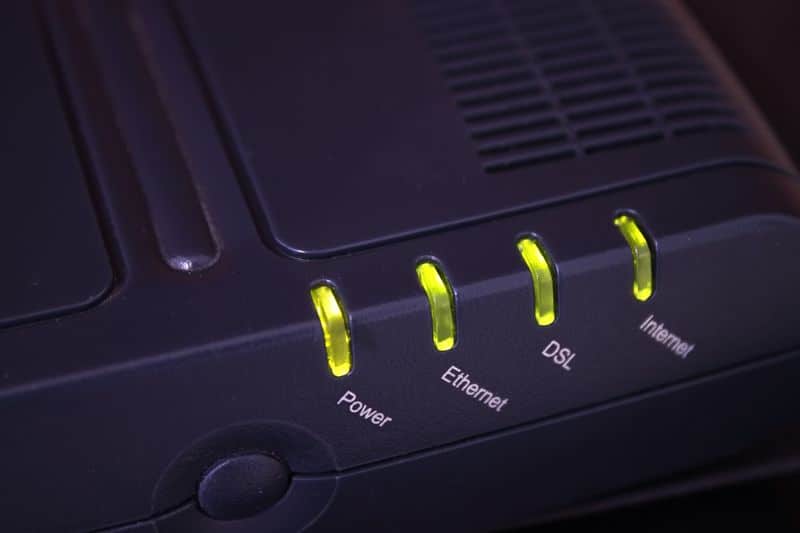
Almost every router on the market nowadays has a series of LED lights that allow users to keep track of their internet connection status and condition.
Not everyone is acquainted with the meaning of all these lights, but it is actually not so hard to figure out. Since it is a good idea to better understand what these LED lights are trying to say, we brought you a quick guide:
- Power LED: This light indicates whether the device is receiving enough current. It should be solid green at all times, except when it is booting, in which case it should be in solid amber.
- Downstream LED: This light indicates if the data packages that your provider’s servers are sending you are arriving at your end and also if the speed is sufficient. If it is, this light will be in solid green and if it is not, then it will be blinking in amber.
- Upstream LED: This light indicates if the data packages that your end is sending to the provider’s servers are being actually sent. This light should be in solid green or, in case there is something wrong, it should be blinking.
- Error LED: This light indicates any sort of problem the device may be experiencing. Luckily, most of them can be solved by restarting. So, if this light turns solid red, make sure to try that.
- WPS: This light indicates if the security standards of the internet connection are up and running. It should be flashing in blue.
- Firmware Download LED: This light indicates that the firmware is being Considering that it is paramount to have the latest firmware version in order to reach the top speed and stability levels, the system automatically does almost everything for you. When the download and installation are undergoing, this light will blink in green and amber.
These are the LED light indicators on the panel of your Technicolor CGM4141 router, so keep an eye out for any strange behavior and act on it to keep your internet connection in top condition.
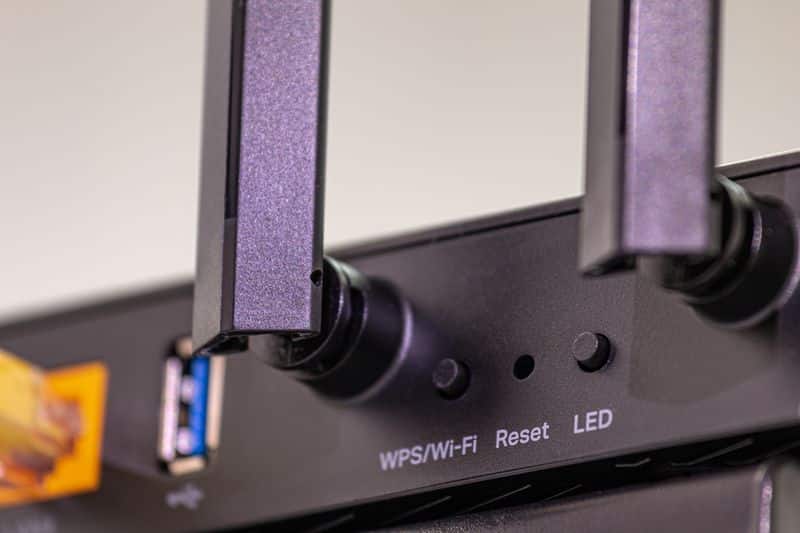
- Give The Device A Reset
If you go through the restarting procedure and checked that the LED light indicators are all confirming the good condition of your internet connection, but the speed is still low, then you should try the resetting procedure.
Locate the reset button on the back of your Technicolor CGM4141 router, press and hold it down for at least 20 seconds before letting it go. Once the LED lights all blink together, that means the resetting procedure has been started. So, simply let go of the button and allow the system to run the tasks it needs to.
Once the whole procedure is completed, you will be prompted to insert your login credentials, so keep them around if you don’t want to waste any more time.
Also, settings, personalized aspects, and everything else that is not exactly like when the router came from the factory will be erased. It may seem like a hassle to lose all these things, but it is definitely worth it for the sake of fixing the issue.