
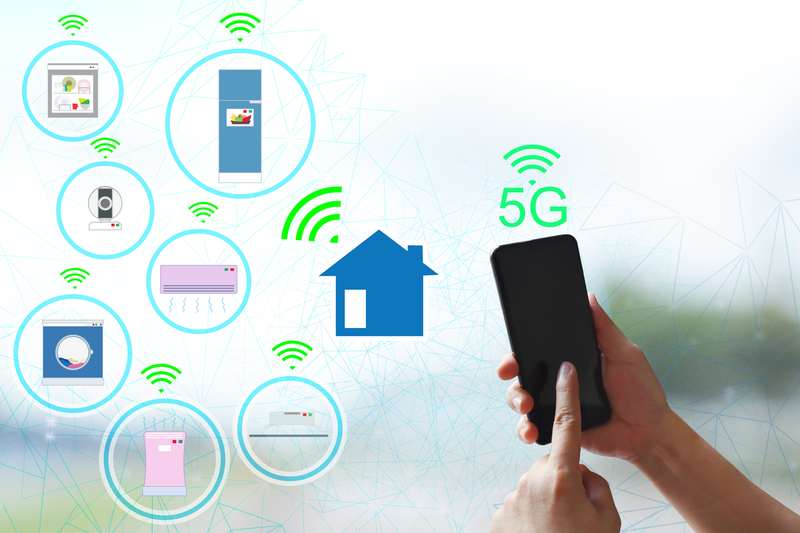
These days, there is a smart home device or app to fill pretty much any imaginable need. However, there are some devices that even help you out with your security needs. Blink cameras are one of those devices. Perhaps the best thing about them is that they completely undercut the traditional costs of setting up a home security system.
They also come with a few extra services thrown in, too. Of course, there is also the added benefit of being able to link up your camera/s to your Wi-Fi system, meaning that you can check up on what is happening at any time that suits you by just using the app. This also allows for you to check what is happening outside your house in real time, from pretty much anywhere.
Another added benefit of a system such as this is that you can choose to send all recordings captured by the camera to a cloud service. The idea is that this will make it easier for the customer to use.
However, we do realise that you wouldn’t be here reading this if everything was working as it should be. One common problem that Blink camera users seem to come across is that their device will show all the symptoms of having a poor internet connection.
If this is happening to you, we have all the troubleshooting steps you could possibly want to get it fixed. So, without any further ado, let’s see can we get the problem fixed.
Blink Camera Slow Internet
- Try Removing Any Additional Devices Connected To The Network
One thing that can cause these types of issues is that there may just be too many devices connected to your network at any one time. When this happens, all of the devices will compete for signal, and everything can begin to slow to an absolute crawl.
The same effect can also occur while you are downloading large quantities of data online – for example, movies, series, and games. In any case, we will need to look into this possibility and rule it out. Here are a few things you can try out.
Step 1
The first thing we would recommend trying is to remove any devices from the network that don’t absolutely need to be on there. Once you have done that, we would also suggest that you cease downloading any large files that may currently be in progress.
Doing these two things will help to speed up the internet connection and resolve the issue and the camera should stop lagging behind. If you want to, you could also have a look at the internet speeds before and after doing this. To do so, all you need to do is run internet speed tests before and after.
Just google ‘internet speed test’ and you will find several sites that will do this for free. If we were forced to recommend one, we would choose ‘Ookla’. If your internet speeds are low throughout, you may need to get in touch with your internet service provider to ask them why you are not getting the speeds claimed by the company.
Step 2
One thing about the above fix is that it doesn’t really do anything to solve the problem in the long run. If you happen to have a second internet connection available in your house, we would suggest that you assign the camera to this one and check to see if that is any better.
This way, you won’t have to disconnect a whole range of other devices to get it working. We do realise that this isn’t an option for everyone though.
Step 3
The next step will most likely fix the problem for you by guaranteeing that the camera gets its fair share of the signal from the router. All you need to do is set up a priority option on your router for the device. This may sound tough, but it isn’t all that bad once you know how.
All you need to do is open up the settings of your router. Seeing how each router is different and we don’t know what one you are using, we would suggest having a quick google to see how it is done with yours.
In general, though, you will find the option to set a device as a priority in the settings menu. While you are making changes, make sure not to change anything else – particularly if you don’t know exactly what it is.
- Try Using A Wired Connection
The chances are good that you happen to be using a wireless internet connection to connect the camera to your internet. Though this is the easiest way to set it up, it definitely isn’t the one that guarantees the fastest speeds. For that, we would recommend going with a ‘wired’ connection.
This will rule out the signal getting interrupted on the way to the camera from the router. So, let’s try out a wired connection. If you want this to be neat, it should also be possible to get someone to set it up with internal wiring. That way, there won’t be loose wiring hanging around.
As an important sidenote to this, always make sure to use high quality wiring for the connection. Not all wiring is built equally, and some are better than others for both longevity and their capability to transmit a signal.
Should you decide that you don’t want to take this option, there are still a few things to do to make sure that you are giving the camera its best possible chance of picking up a good signal.
The first thing that you can do is try removing any other device that stands between the router and the camera. On top of that, it will also help a little to make sure that the router and camera are as close to each other as they can be.
In some cases, switching the frequency from 5GHz to 2.4 will also do the trick. It is just a matter of trying absolutely everything, sometimes! On that, our last step will explain frequencies in more depth.
- Make Sure You Are Using The 2.4 GHz Option
The first thing that you should know about this is that the Blink camera you are using will only support the 2.4GHz signal. So, if you have been using the 5GHz option, you will now know why nothing has been working.
If you have, the camera will have been picking up the signal, but it doesn’t quite manage to make them work. The effect will have been such that the connection will have just appeared to be really slow – despite your internet speed tests indicating that everything should have been fine.
So, to rule this out, make sure that you are using the 2.4GHz channel. To change it over, all you need to do is open up the settings on your router again. On most routers, the option to change frequencies will be under the features tab. If not, simply google how to do it on the router that you are using. With a bit of luck, this should have resolved the issue one and for all.
Blink need to do corrections on the slow delay between actual capture and alert to phone. What good is it to get the individual on camera but they are gone all ready.
I have done all of the above. Lag time so severe as to render 2 way communication impossible.