These days, seeing an old-school non-smart TV in a hose is pretty rare. Seeing as the internet has become more and more accessible in parts of the world where it hadn’t been before, it only makes sense.
Of course, there are plenty of brands out there to supply this continuous demand for higher picture and sound quality, with some standing head and shoulders above the rest.

Vizio are a brand we would consider fairly highly, but yet, there is always still the chanced that something can go wrong every now and then. After all, the more complicated the equipment, the more likely that is.
The good news is that these sorts of issues are generally relatively minor – as is the one we are going to deal with today. So, if you are using a Vizio and get an error message saying that the wireless connection has disconnected, the following steps should be enough to set it straight.
Troubleshooting Vizio Wired Connection Disconnected Issue
This problem will nearly always be the fault of a settings issue or because of the internet connection. Rarely is it an indication that the TV needs to be scrapped and replaced.
Because of that, this guide won’t be asking you to do anything remotely as difficult as taking it apart and getting into the nitty-gritty of repairing complex components. So, if you aren’t all that techy by nature, don’t worry too much!
- Diagnosing Issues with your Internet Network
When you are getting an error saying that your Vizio TV has disconnected from the network, the most likely cause (bar none) is that the issue is with your network equipment.
So, to either confirm or disprove that theory, the first thing that we would suggest doing is first trying to connect another device to your home network (or whatever one you generally use to power the TV).
Once you have connected another device, you should then try and run an internet speed test to see if the network is providing the speeds they said they would when you signed up. This you can do by simply typing ‘internet speed test’ into your chosen browser.
If it turns out that this device is getting all of the internet it needs to run, this will most likely mean that the firmware/software of the TV is out of date. When this happens, all you need to do is then go and download the latest software and firmware versions to the TV so that it can work to its potential.
While we are here, it is also a good time now to make fully sure that the ethernet port on the TV hasn’t taken any damage. It rarely does, but if it has, this could be the source of the problem. A damaged port will need to be replaced by a technician.
On the other hand, if the internet doesn’t seem to be working with any of the devices you have, the only thing to do is get in touch with your internet service provider and have them diagnose the issues with your connection.
- Check your DHCP Settings
For those of you who aren’t all that familiar with how DHCP settings work, don’t worry too much. They may sound like they are going to be complicated, but all they really do is ensure that your TV and your router are communicating to the best of their abilities.
For this reason, having a look at these settings when there are connectivity issues is always a good idea. If you have no idea what you are doing here, just follow these steps and it should work out. At the very least, it won’t make the situation any worse!
- The first thing you need to do is hit the ‘menu’ button on your remote.
- Then, choose ‘network’ from the menu and then go into manual setup.
- In this menu, you will see DHCP. Just toggle it a few times. If it was off, you should enable it. If it was on, just switch it off again.
Once you have done that, all that remains is to reboot the TV afterwards and then try out the connection again. With a bit of luck, this should be enough to fix the issue. Even if it isn’t this time, we would still suggest that you remember this one for future usage.
- Try a simple Reboot
You may have noticed that it looks like we are repeating ourselves here. Well, this time we are not only talking about resetting the TV. This time, we are going to reboot everything that is involved in making the TV work. So, that’s the TV, the router, and the modem.
The first thing to do when taking this approach is to turn off the TV first and then reset the router and modem. When turning off the TV, we would go the whole hog and unplug it and then leave it that way for at least 30 seconds, just to be sure.
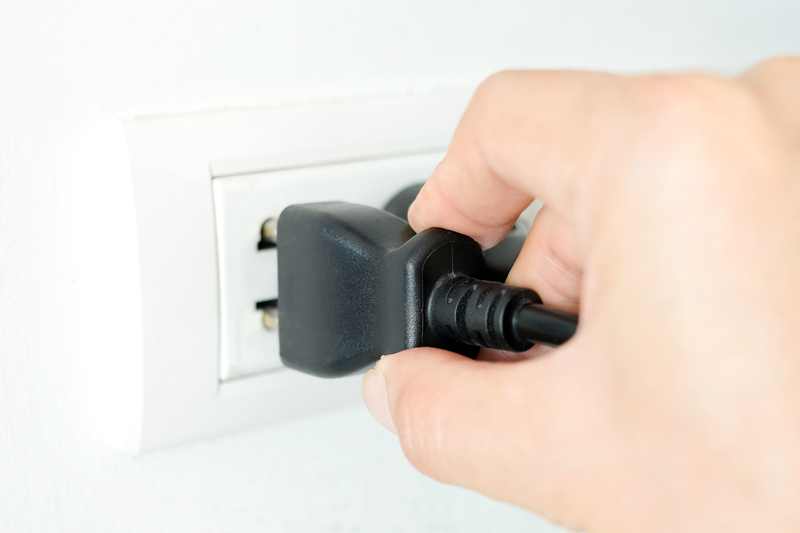
Once the modem and router have finished resetting, you can now plug the TV back in again. Now all that remains is to wait until the devices begin to communicatee with each other again.
Because the TV has been switched off for that long a time, it should then have cleared its internal memory, hopefully getting rid of the bug or glitch that was causing the problem in the first place.
With that, the disconnecting problem will problem have been overcome too. Do remember to reconnect the modem and router wires once you have done everything else.
- Check the Router Security Settings
Another thing that could be causing the problem is just some minor wrong settings here and there. Of the ones that can cause this issue, the most likely by far are the internet router settings and maybe a disabled WPA-PSK (TKIP).
Vizio TVs are designed to work at their best when this setting is enabled, so we are going to check the status of that before we move on. If you are unsure of how to do so, just follow the steps below.
- The first thing you will need to do is enter the IP address of the router you are using into the browser of your choice.
- You will now be prompted to log in. If you have never set up a name and password, they will more than likely be ‘admin’ and ‘password’ respectively.
- Now, open up the settings tab from the menu and then go into ‘security’.
- Here, you can either enable the WPA-PSK (TKIP). We would strongly recommend keeping it enabled for the TV to work properly.
- Check the condition of your Cables
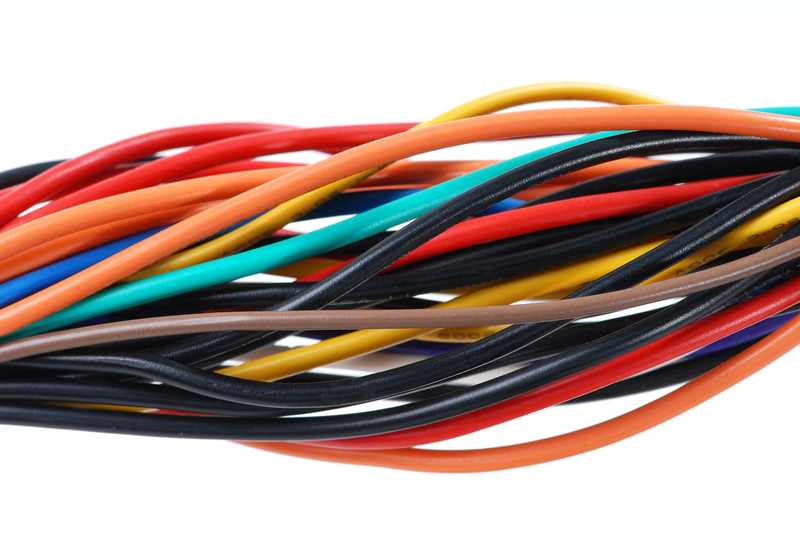
Quite often when these sorts of issues crop up, we can be all too quick to blame the more complex elements while completely overlooking the simple stuff. Seeing as the whole setup is powered by cables, it makes sense to check them every now and then to make sure they are in decent working order.
There is no real technique for doing so. Really, all you need to do is look along the lengths of your cables and make sure there are no obvious signs of damage. The tell-tale signs that a cable is done for are frayed edges and exposed innards.
Should you notice anything like that, just get rid of the cable and replace it with a decent one from a good brand.
It may be tempting to just repair the cable yourself, but we often find that these repairs don’t last long enough to be worth it.
To prevent damages happening again, the best thing to do is make sure that there are no sharp bends in the cables and that there is no weight placed anywhere along them. After that, just plug everything back in again nice and firmly and you should be good to go.
- Perform a Factory Reset on the TV
Sometimes, a more drastic course of action needs to be taken to get rid of the harder to shift bugs and glitches. A reset is great for getting rid of all sorts of software misconfigurations, without having to go through every last setting manually.
Once you have performed the factory reset, the TV will switch off and then on again, revealing a setup screen. From here, you will have to set it up again, just like you did when you first got it.
All of your login details, apps and preferences will have been forgotten. It’s a bit of a pain, but worth it if it works. Now that we’ve warned you of the side-effects, here is how to reset your Vizio TV.
- First up, you will need to hit the ‘menu’ button on the remote and then go to ‘system’.
- The go into the ‘reset and amp’
- Now hit ‘reset TV to factory defaults’
That should be enough to fix it.