The home internet setup provided by Starlink is a great option for users all over the U.S. territory, especially for those who live farther from the major urban centres. Their high-quality internet connection delivers high speeds and stability at a fairly affordable price.
Their kit comes with all the equipment you need to setup a reliable connection and have the satellite dish distribute a strong signal to the router, which sends it over to all connected devices.
Besides being easy to install, Starlink components count with an enhanced compatibility that should bring your internet connection to a whole new level.
However, not even with all its quality of equipment and service, is Starlink gear free from issues. As it has been reported, even after an installation following all the instructions, users are receiving the optimal quality of internet connection.
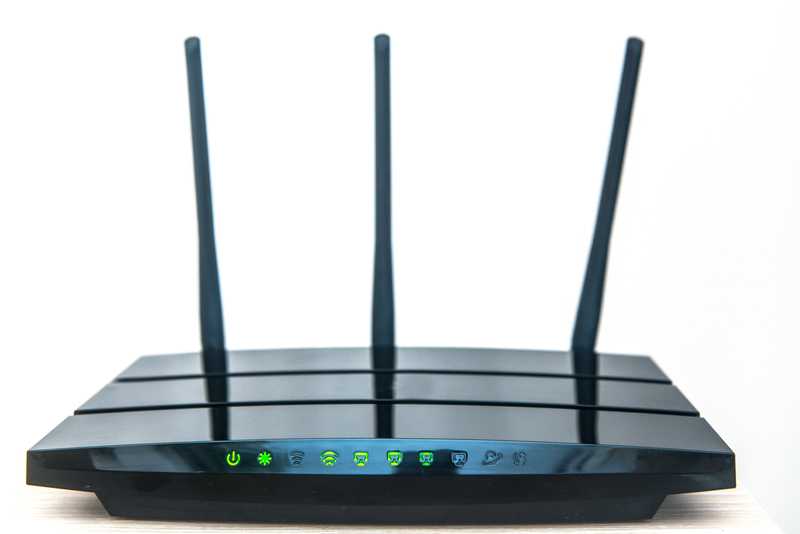
According to these reports, some users are having trouble with the router part of the connection, as the device is clearly on and indicating that the internet signal is being transmitted, but the connected devices are not getting the necessary signal.
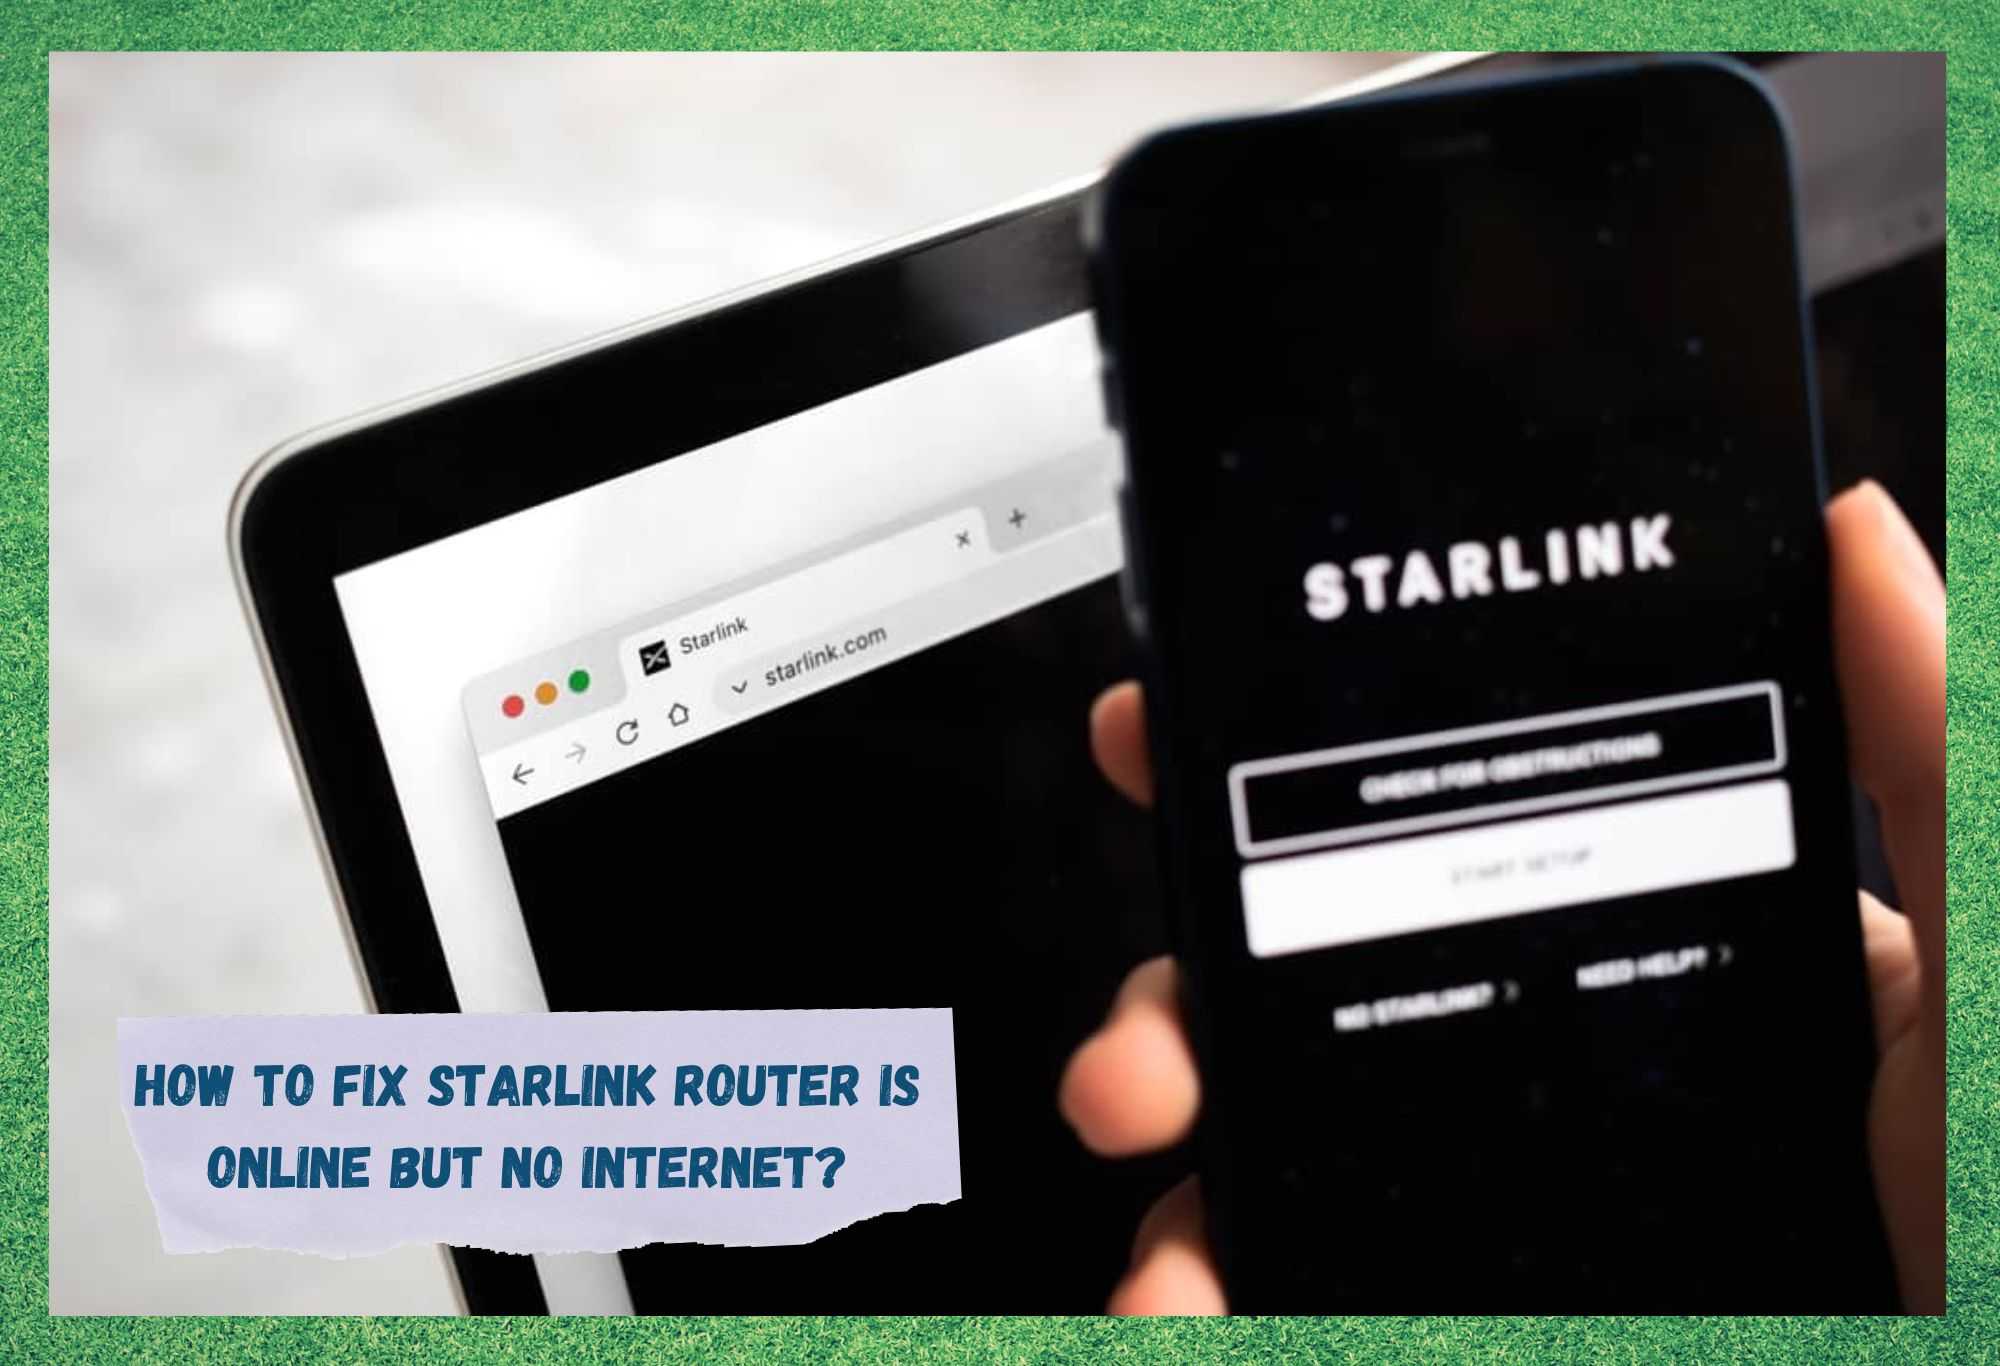
How To Fix Starlink Router Is Online But No Internet?
- Check All Cables And Connectors

Just like any network setup, Starlink uses a satellite to distribute the internet signal throughout the coverage area. That signal is received by the antennas that distribute it to home satellite dishes, which, on their turn, pass the signal on to the modems.
Although some users prefer to set up the connection directly through the router, they are a minority. Any way the setup is done, the final destination of the internet signal is the set of devices connected to the router through a wireless network.
That means, at least a router is connected to the dish and to the power outlet as well and, should you opt for a modem, there will be two more cables in your internet connection system.
Since any cable or connector can be the source of issues if not properly maintained, we strongly suggest you keep an active eye for the condition of those cables and connectors.
Make sure the cables are not suffering any sort of damage, neither on the inside nor on the outside and also that the connectors are properly fastened into the ports. Should you notice any sort of loose connectors, make sure to redo the whole set up.
One single faulty connection might cause a cascade of events on your network and make it extremely difficult for you to pinpoint the source of the issue that is hindering the performance of your internet connection.
Lastly, make sure to inspect the dish socket on the power supply for possibly damaged or unaligned wires or pins. Should you notice any sort of damage or any unaligned pins, contact a professional and have the pins replaced as there is where the source of the issue most likely lies.
That way you can ensure your Starlink is on and sending the internet signal to the connected devices.8
- Make Sure The Devices Are Synced
Since the internet signal comes to the router through the satellite dish, the connection between those two has to be kept in optimal performance. Either for the high speeds Starlink routers can provide or simply for having an internet connection at all.
Moreover, a poorly established connection between the dish and the router might cause configuration errors that could prevent the signal from reaching its final destination.
Gladly, the synchronization process is an easy procedure that Starlink customer support can perform without much trouble. So, should you suspect the satellite dish and the router are not properly synced, make sure to contact the company’s technicians and have them check it out for you.
Bear in mind, though, that once the synchronization process is successfully completed, it could take at least thirty minutes for the signal to be re-established. So, you should expect a connectionless window during that time.
- Make Sure To Use Starlink Equipment

Manufacturers bet on the quality of their own products to deliver the optimal performance of their services and solutions. Therefore, make sure to use only Starlink equipment with your internet setup.
Upon hiring their services, users receive the Starlink kit, which comes with a satellite dish, a receiver, a router and all the necessary cabling.
However, in the event you experience any sort of damage to any of the components, Starlink will be glad to have them replaced with new ones. Simply give them a call and let them know, if possible, which part of the set up has a defective component, so they can have a new one sent your way.
Also, should you not feel tech-savvy enough to replace the faulty or malfunctioning piece of equipment, ask them to send a technician over so the new component is properly installed.
Additionally, once the technician is on the job, the cables and connectors can be inspected by a professional that could attest to its conditions or replace them if faulty ones are noticed.
In the end, simply make sure to use Starlink equipment throughout the whole internet set up, as third-party components might not guarantee the optimal performance of the internet connection.
- Check If Your Router Is Properly Positioned
Many users contact Starlink customer support department to complain that they installed the kit following all the instructions and still do not get the best out of their internet connections.
Usually, what happens is that, even with the setup properly performed, users place the router in a part of the house that has obstacles hampering the transmission of the internet signal.
Not everyone knows which kind of devices or materials can become obstacles for the transmission of the signal. Nevertheless, the lists of the most common obstacles present in houses can be easily found on the internet.
Make sure to check those lists, so you can place your router in a part of your house that will not hinder the transmission of the internet signal and all the devices should run with optimal internet conditions.
Even if the satellite dish and the router are perfectly synced and all the cables and connectors are in prime condition, the position of the router could cause the whole system to suffer a drop in quality. So, make sure your router is in a central part of the house where no obstacles are hindering its performance.
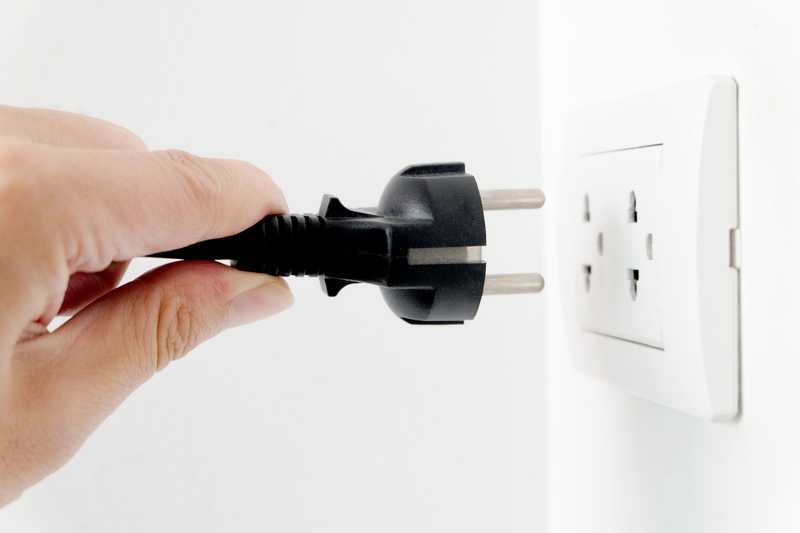
- Give The Router A Restart
Should you install all the components and make sure the satellite dish and the router are perfectly synced and still the internet connection is faulty or not existent at all, you might want to give your router a restart.
The restarting procedure is a highly effective way the device system uses to assess and fix errors, even though many so-called experts do not consider it so.
Not only will the restarting procedure troubleshoot the system for minor configuration and compatibility errors, but it will also clear the cache from unnecessary temporary files that might be overfilling the memory and causing the device to run slower.
Thirdly, once the restart procedure is successfully completed, the device will be able to resume its activity from a fresh and error-free starting point.

So, go ahead and give your router a restart any time you notice your internet connection is not running with optimal conditions. Forget about reset buttons hidden on the back of the device and simply unplug the power cord from the outlet.
Then, give it at least two minutes before you plug it back on, and allow the system to run all the diagnostics and protocols required to re-establish the connections.
This can even cause the router to enhance the intensity of the connection with the satellite dish, which will surely deliver a faster and more stable internet connection to your various devices.
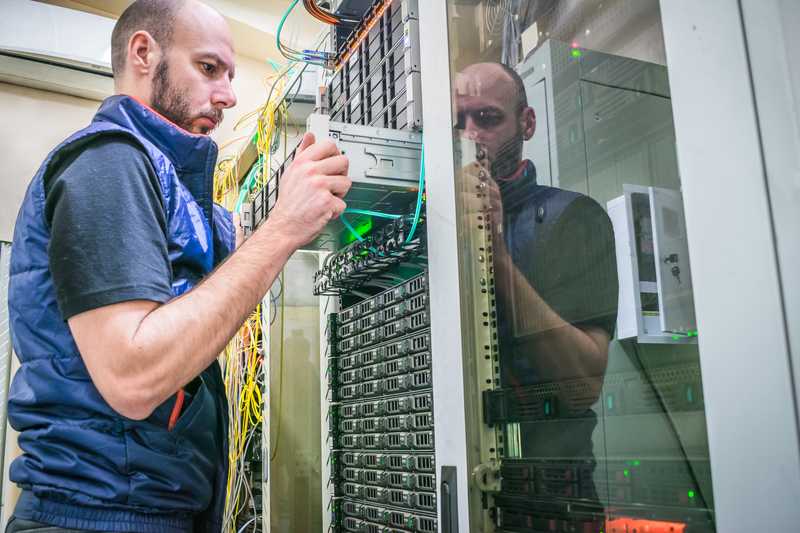
- Give Customer Support A Call

Should you attempt all the fixes in the list and still experiment the issue, make sure to contact Starlink customer support.
Their highly trained professionals are used to dealing with all sorts of issues and they will surely have a few extra tricks you can attempt in order to see your Starlink internet connection running as it should.
Also, should there be any problems with your account, for any reason, they can have it fixed in no time and restore the transmission of the signal to your satellite dish.
On a final note, should you come across any other easy ways of fixing the faulty internet connection issue with your Starlink setup, make sure to let us know. Leave a message in the comments section and help your fellow readers get the most out of their home internet connections.
Does starlink have a number that you can call for help. I’m a 65-year-old widow I hooked it up and was successful and it has gone out on me several times for absolutely no reason. I live in a very small manufactured home and it will not even reach my bedroom through two small bathroom walls that have nothing in them. I do not have internet currently only Wi-Fi