Netgear at this point don’t need much of an introduction, having made themselves into a household name. Of course, these things don’t happen by pure chance. To get above the competition, you need to provide something bigger, better, or cheaper than your rivals – bonus points if you can do 2 of 3 of these simultaneously.
With Netgear, we have always found their routers and modems to be pretty reliable. That is, we rarely get people messaging us about any glitches on their stuff.
That being said, in recent times there are more and more of you out there that seem to be experiencing the same difficulty with your equipment. The ‘please check the RF connection’ problem will appear when you are trying to use the router’s admin panel.
It will also knock the internet out entirely. So yeah, it is a pretty serious seeming issue if you don’t know much about it. But luckily, this problem is easy enough to fix. Let’s get into how to do it.
How To Fix The Netgear Please Check The RF Connection Problem
The good news about this issue is that you won’t have to take anything apart to get to the bottom of it. Better yet, you won’t even need to have a level of tech knowledge enough to know how a router actually works. We will endeavour to walk you through each step as well as we can.
When issues such as these pop up, many of us will instantly choose to blame it on the largest and most expensive piece of equipment. However, it can quite often be the simplest piece of the set-up that is letting the whole team down.
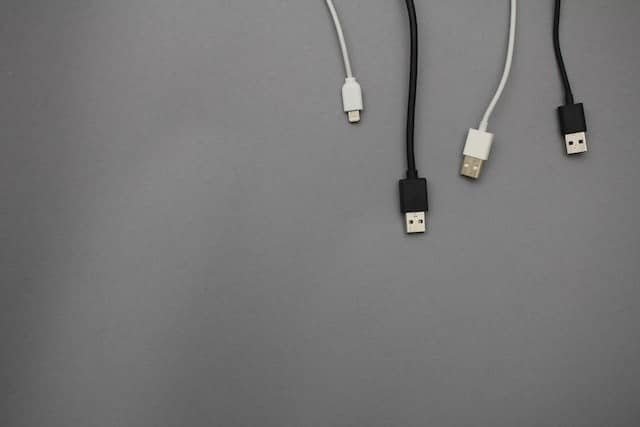
The cables that connect everything up – believe it or not – are not exactly built to last forever. As they gradually age and get moved about, all sorts of things can begin to happen to them. When this happens, they then can’t properly send over the signals required to keep the router running.
For this reason, the first check that we always recommend is to check the conditions of your cables. There isn’t really any sort of established technique for this. What we would suggest is that you just pick up and examine the length of the cables, making sure that there isn’t any obvious signs of damage along their length.
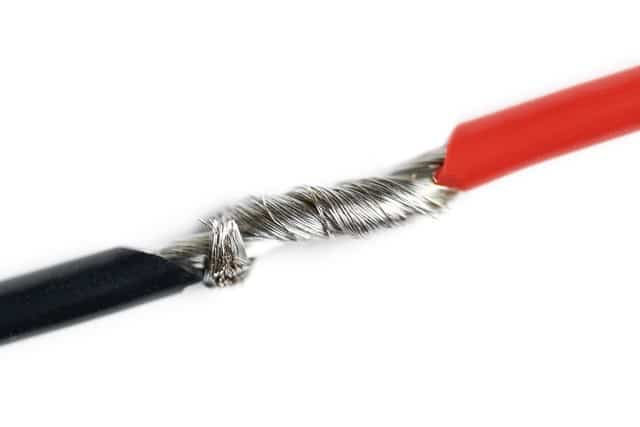
Things like frayed edges and exposed innards are the tell-tale signs that the cable will need to be chucked out and replaced. Sure, they can be mended up, but these sorts of fixes rarely restore the cable to its initial condition.
After you have done all of that, the next thing to do is make sure that each cable is in its port as tightly as it can be. Once that is taken care of, simply check the modem again to see if that has made any difference. If it has, great. If not, we will need to take a different approach.
Though the title of this segment may sound like it could be complicated to do, there really isn’t all that much to this step. How firmware works is that it basically is the engine of the device, telling it how to function at its best.
When Netgear or any other similar company release devices such as these, they have no way of telling for sure what kind of problems it could encounter in the future. For that reason, they work on firmware updates which are designed to keep your router working for extended periods of time.
Though these updates are generally automated and will happen without you even realising it, there is always the chance that one could be missed if the device isn’t online at the right time.
Aside from this, there is always just the chance (though pretty slim) that Netgear has released a poorly thought-out update that is causing your equipment to glitch out a little. In either case, the solution to the problem remains nearly the same.
The method to manually update your firmware is really easy but a little bit long-winded. Here is everything you need to do:

- First things first, connect the router and your PC or laptop using an ethernet cable.
- Next, you will need to go to the company’s support page by following this link: https://www.netgear.com/support/
- Now type in the model number or the name of your device and then click into downloads. From here, you should see a range of firmware versions. If you suspect you need the newest one, go for that. If you think the new version caused the issue, you can revert back to an older one. Just click download to get it.
- Unzip the file if you need to and then type netinto the browser of your choosing. This will bring up a login page where you will need to put in your username and password. The username will be ‘admin’ if you have never changed it, while the password will be one you have previously set. Passwords and usernames here are case-sensitive.
- After you have logged in, go to Advanced and then into Administration. On some models, this will be Settings and then into Administration instead.
- Now hit Firmware update or Router update, then either Choose file or Browse and find the file you downloaded earlier. These will always end in .chk or .img.
- As soon as you hit the upload button, the update will start and then the router will restart itself afterwards. You don’t need to do anything while this is all happening. It’ll all be done within 5 minutes.
- Back to Basics: Reset Your Router
Though the last step is quite often the one that finally resolves the issue, there can be other circumstances where the bug/glitch needs to be booted out by other means. The good news is that this step is far easier to do as well. Simply resetting a router can occasionally be exactly what was needed.
The only thing that may bug some people about this fix is that it restores all of the router’s settings back to their defaults. For us though, this is a small price to pay for possibly fixing the problem. Basically, all it means is that you will need to set it up again like you did when it was new.
To reset, all you need to do is make sure that the router’s power light is on. Then, if you look around the back of the device, you should see a small button that says either ‘reset’ or ‘restore factory settings’.
Quite often, you won’t be able to press these with your finger as they are inset to prevent accidental resets. Just grab a pin and poke it down instead. Hopefully, this should be enough to get rid of the bug.
- Get in touch with Tech Support

At this point, there really isn’t anything more you can do from the comfort of your own home that is going to help in any way. There is only one logical thing to do at this point; get in touch with the pros.
Seeing as this issue is becoming pretty common, the chances are pretty good that the guys in tech support have received some training on it. The way we would approach this is to first state everything that you have tried so far to fix the problem.
After that, they should realise that the issue is serious and then send in a technician to have a look.
The Last Word
So there you have it, an annoying problem that only has a few viable fixes that can be done from the comfort of your own home. As the “Modem is offline, please check RF connection” issue becomes more prevalent, we expect that there will be some new fixes that emerge.
Should you come across one that works before we do, it would be great if you could update your fellow readers in the comments section below. That way, we could save some people a headache in the future. Thanks!