Starlink has been taking a larger share of the network market day by day. Especially for more rural areas where the network infrastructure is not so developed. Through Starlink, subscribers get high-speed and stable internet connections to enjoy whatever content they wish.
There is virtually no difference between Starlink’s internet connections and anyone else’s on the market today. Apart from a few areas where the signals are too weak or even inexistent, for the better part of Starlink’s coverage area, signals should be strong and reliable enough even for streaming or gaming.
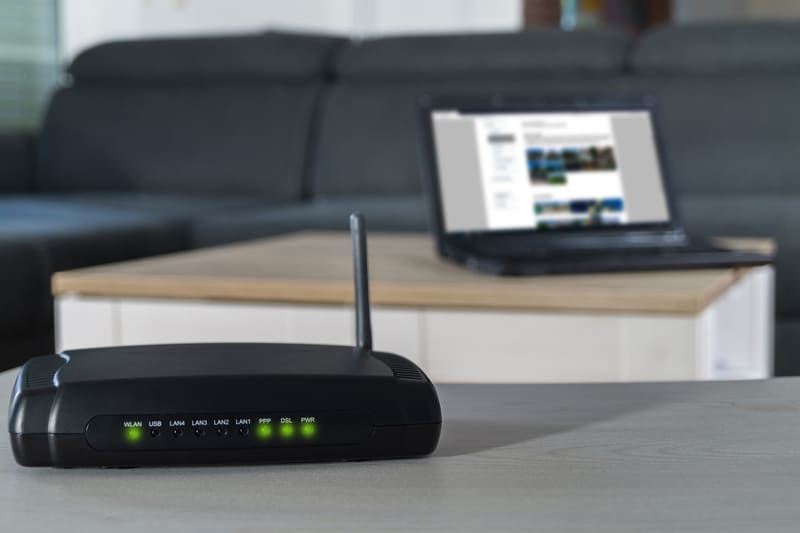
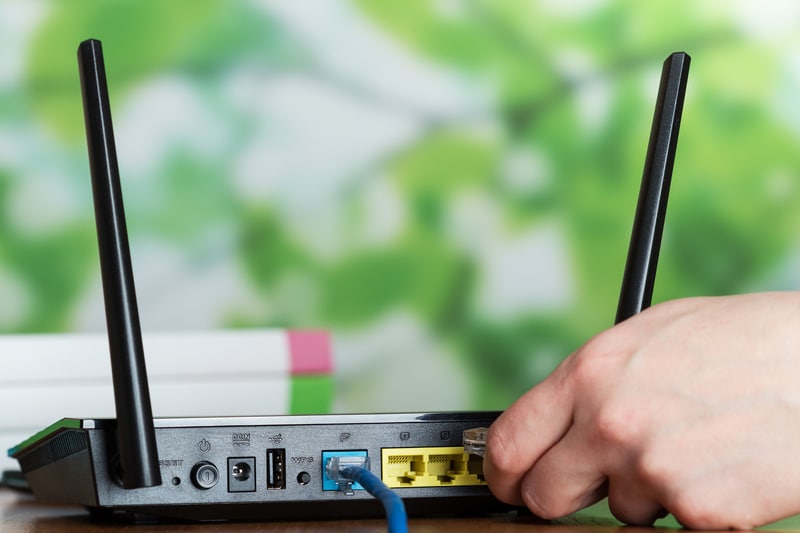
That is because, in order to deliver its outstanding quality connection, Starlink relies on a high-performance, top-notch router. However, just like with any other wireless router, the Starlink one also has LED lights on the display that inform users of the status and condition of their internet connection.
Since users normally don’t keep track of their internet connection conditions through the LED lights on the router panel, most of them end up experiencing problems they don’t quite understand.
If you are one of these users, stay with us. We brought you today a guide that should help you understand what the LED lights on your Starlink wireless router are and also what they are trying to tell you.
Why Is My Starlink Flashing White Light?
The moment you plug your Starlink router into the power outlet, the power LED should turn white and remain constant. In case it doesn’t, the device should try to tell you through the white blinking light on the Power LED that the electrical current is not enough.
Alternatively, there may be something wrong with the power grid of the device itself. Any way you cut it, the blinking white light on the Power LED means there is a problem related to the electrical system. However, in case the Power LED turns solid white, the next step should be the Router LED, which has a similar behaviorism.
From the moment the device is properly connected to the power system and the Power LED turns solid white, the device should attempt to perform its configuration. During that procedure, the Router LED should be blinking in white and, once the process is successfully completed, the LED turns to solid white.
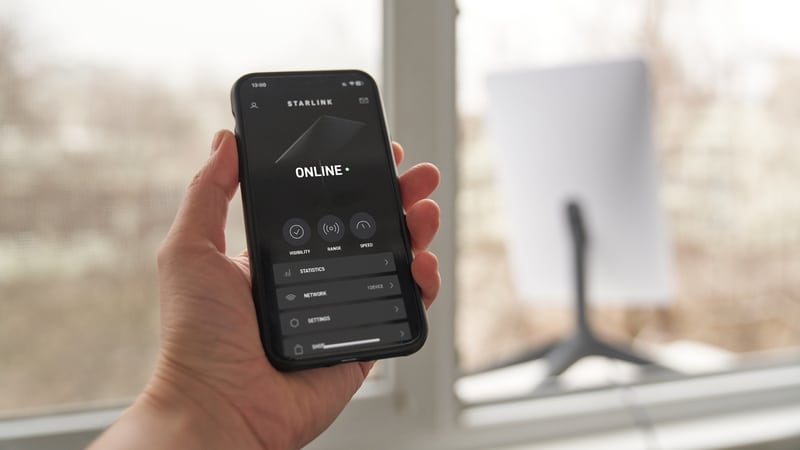
This stands as proof that all the processes the device needs to go through have been performed as they should, and your internet connection is good to go. It may happen, however, that the Router LED keeps blinking in white even after the two to five minutes that the configuration procedure takes.
In that case, some part of the procedure might have experienced some sort of issue and the internet connections won’t be properly established. If that happens, there are a few easy solutions you can try in order to help the configuration procedure along and ensure your internet connection is up and running.
So, in case you are experiencing the blinking white light on the Router LED light of your Starlink router, here is what you should do:
1. Inspect The Cables And Connectors
Before jumping into more elaborate solutions that might require some tech expertise, make sure to cover the basics first. The cables and connectors, for instance, may cause the configuration procedure to not be properly carried out.
Most users don’t realize that cables and connectors are as important to an internet connection as the signal itself. This leads them to, upon experiencing problems, instantly believe that the cause of the issue is software-related when a simple ports check could potentially solve the issue.
So, make sure the cables and connectors are in good condition, and that the first is not squeezed through walls without a protective coating, stretched or bent through corners, or even frayed. All these may constitute severe damage to the component and cause connection problems.
Also, inspect the inside of the cables with a multimeter to ensure they are performing as they should. Finally, in case you notice any signs of damage, to cables or connectors, make sure to get a replacement. Repaired components rarely deliver the same level of performance as newer ones.
2. Make Sure There Are No Signal Outages

ISPs, or Internet Service Providers, experience problems with their equipment more often than they care to admit. Even though normally the problems are quickly solved and very little to no damage is caused to subscribers’ connections, sometimes it takes longer than that.
Whether big or small, whenever your provider has a problem, the odds you’ll experience an outage are always higher. If that happens, no matter how well your Starlink internet connection is set up, you simply won’t get a connection because the signal is not being transmitted by the servers.
So, make sure there are no outages with the Starlink signal before attempting to fix your wireless router, as it won’t do any good and the configuration procedure will not be successfully carried out. Also, being a provider that attempts to deliver strong and stable signals to more remote areas of the country is not an easy task.

These areas in which the internet signal is not so reliable should experience outages more often. So, if you live in one of these regions, keep an active eye out for signal outages more often.
Gladly, most ISPs, and Starlink is no different from the others, have profiles on social media platforms where they usually notify subscribers of outages, scheduled maintenance, or any other sort of problem. Therefore, make sure to check Starlink’s profiles on social media platforms to see if they are experiencing any outages.
That might save you the time and trouble of calling them and waiting in line to get your answer. Lastly, in case there is actually an outage, all you can do is sit and wait. Normally Starlink fixes problems with their equipment quite quickly, so keep an eye out for their notification regarding the re-establishment of the service.
3. Make Sure You Have The Correct Starlink Plan
When it comes to internet plans, Starlink offers subscribers two possibilities, the RV and the residential. The RV has a speed limitation of 25Mbps, but it rarely reaches more than 5~8Mbps during peak hours. Due to this limitation, the configuration procedure your Starlink router performs upon booting may not be successfully completed.
The residential plan, however, can reach much higher speeds and enhanced stability when compared to the RV plan. This means the configuration procedure should run much smoother with the residential plan.
So, if you’ve subscribed to the RV plan, make sure to get an upgrade and change it to the residential one. That way you can ensure the speed and stability of the signal transmission are good enough for your Starlink wireless router to properly run the configuration procedure.
4. Give The Router A Reboot
Even though many so-called tech gurus or specialists don’t consider rebooting an effective troubleshooting procedure, it actually does a lot for the device in that sense. Apart from clearing the cache of unnecessary temporary files that may be overfilling the device’s memory, it also checks the whole system for minor problems.
Electronic devices, especially the ones that use an internet connection, are constantly being connected to other devices, to web pages, and to servers. As it goes, the more connections a device establishes, the higher the chance of configuration or compatibility errors occurring.
The apparently unimportant rebooting procedure carries out an extensive verification of the system features for possible configuration or compatibility errors. Should the troubleshooting encounter any problems, they are addressed right there and the device is allowed to resume its operation from a fresh and error-free starting point.
That means, any of these problems that may be hindering the configuration procedure may be tackled and the Router LED on the panel of your Starlink wireless router should turn solid white. In the end, you will have an outstanding device providing excellent connection quality even in remote areas.