As one of Musk’s more ambitious projects, it is only natural that Starlink became a household name in a short period of time. We’re all familiar with the concept of a chain of satellites beaming signal down to us, with quite a few of us having already seen the bizarre sight of them flying overhead.
Though still a bit more expensive than a regular internet connection, this is the best way we have to get internet access in rural areas. If you happen to work online or live in a dead zone, you’ll know how valuable that can be.
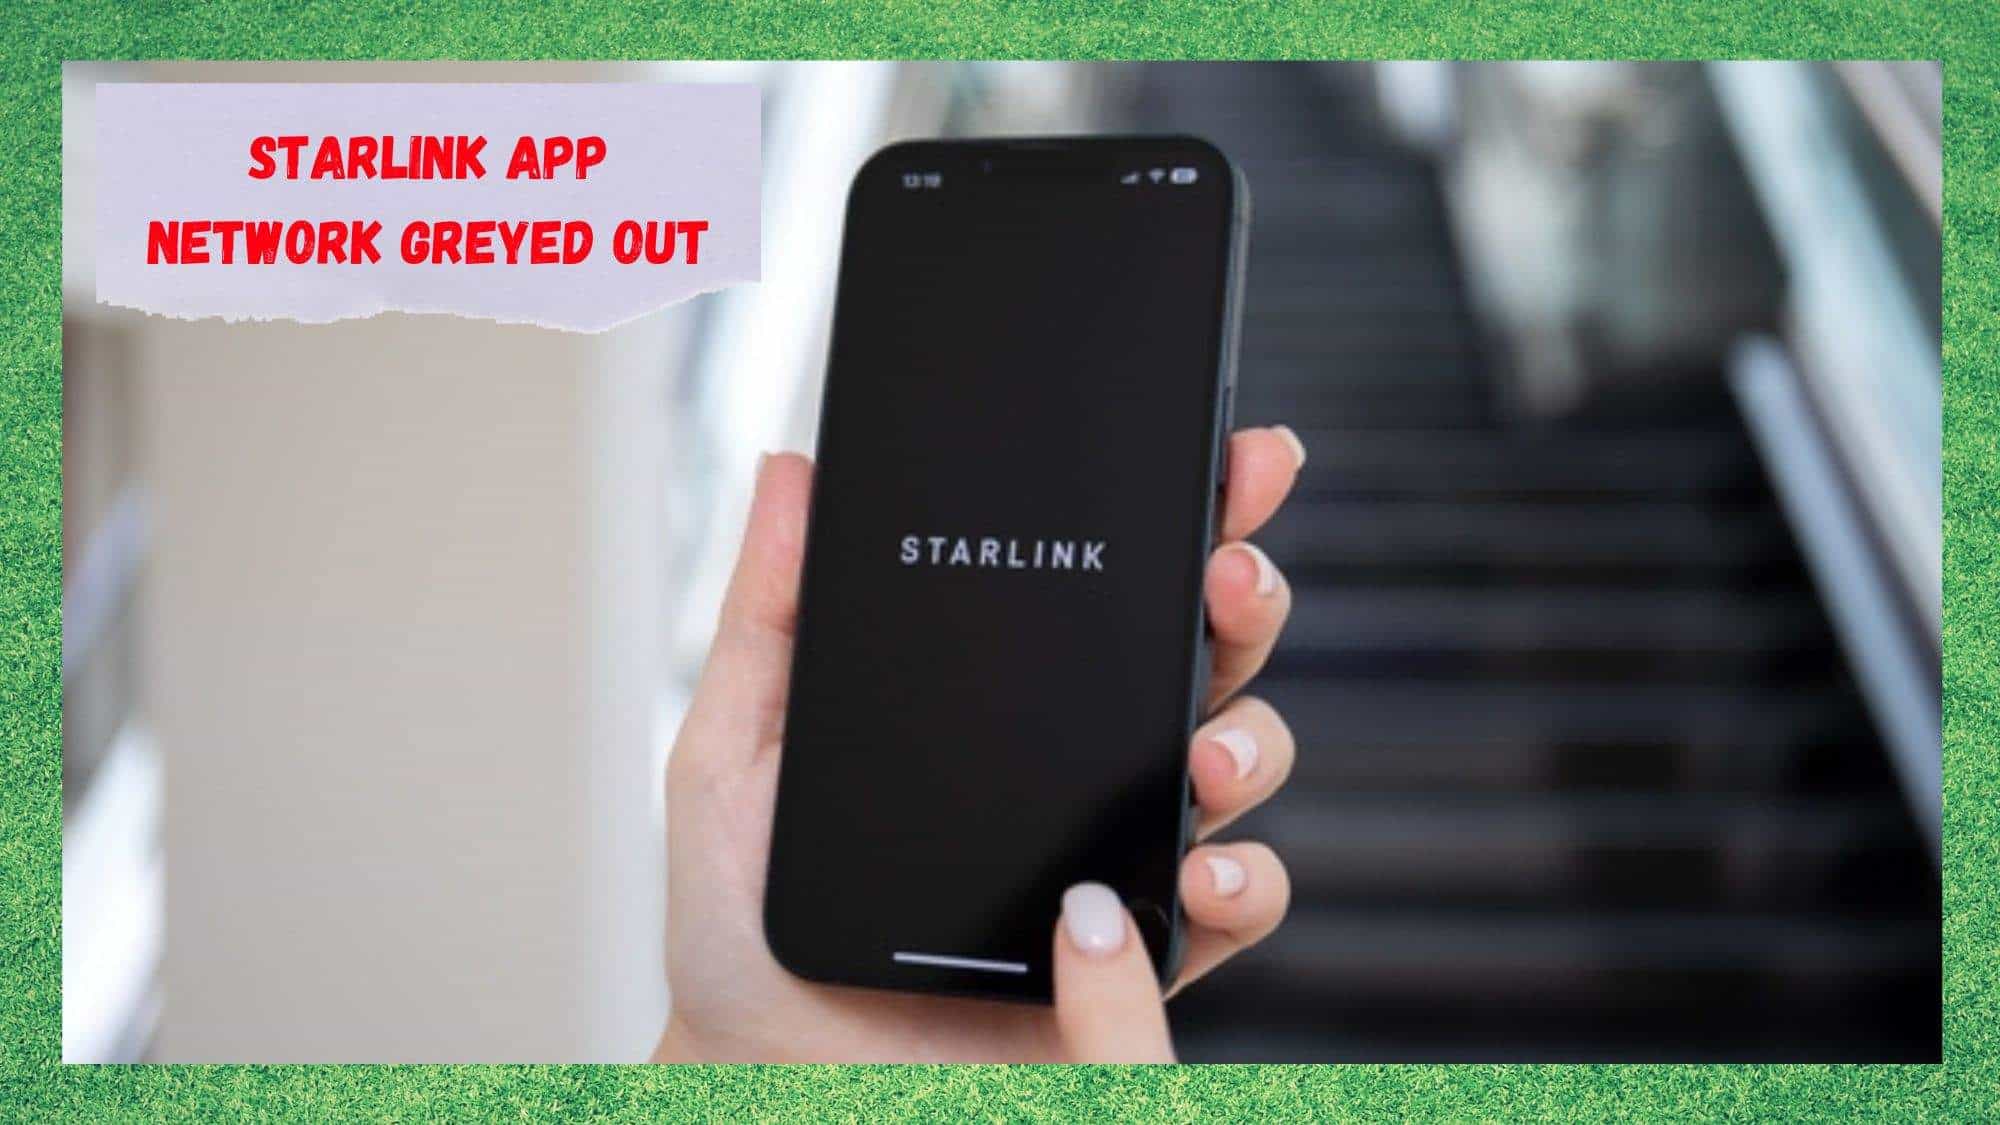
However, as it is with any tech as sophisticated as this, there’s always the chance that something will go wrong. Most recently, customers have been complaining about seeing a greyed-out network icon while looking at the Starlink app.
So, we thought we would explain what that’s about and how to fix it. Let’s get stuck into it.
How to Fix the Starlink App Network Greyed Out
Though we are dealing with complex and relatively advanced tech here, this doesn’t mean the fixes we’re going to give you are all that difficult. So, if you have very little experience with these kinds of things, don’t worry about it. We won’t be asking you to take anything apart or do anything that could make the situation worse.
1. Try Checking the Wi-Fi Connection
As we generally do with these guides, we are going to get things going with the simplest of solutions first. Many of you will have taken this step already. If you are among those, feel free to gloss over this one real quick. One surefire way to have the network appear greyed out on the app is to have the Wi-Fi feature switched off.
Without fail, that action will create this effect. So, to counteract this, the first thing we will need to do is head over to your laptop or PC and switch on the Wi-Fi connection again. Many of you may not have done this before. To help you out, we’ve left the steps on how to do it below:
- The first thing to do is open the control panel on your PC/laptop. Then, you will need to go into the ‘network and sharing center.’
- Next up, go into the ‘change adapter settings’ menu.
- From here, you should right-click on the same adapter and then hit enable.
- Now you will be allowed to connect to the network, causing the network icon no longer to be blacked out.
For quite a few of you, that should be the problem fixed. If not, there is probably a minor issue with the network. We’ll diagnose that possibility next.
2. Run the Network Troubleshooter
Though this step may sound complicated if you haven’t done it before, it really isn’t. Your computer will actually take care of all of the work for you on this one! All you need to do is tell it to troubleshoot problems with your network. To get it going, the following is what you need to do:
- First up, you will need to click on the network icon and then tap into ‘troubleshoot problems.’
- From here, there will be a quick series of on-screen prompts for you to follow.
- Next, hold down the Windows and W key to bring up a search bar. Into this, type in ‘troubleshooting’ and then hit enter.
- Moving on, the next course of action is to tap into network, then internet, and then finally click on the ‘network adapter’ option.
- You should now notice another series of on-screen prompts popping up. These will guide you the rest of the way and get your internet connection optimized.
This should be more than enough to get rid of the greyed-out icon problem. If not, this either indicates that your wireless adapter has somehow been switched off or that the problem is on Starlink’s end. Let’s see what we can do to make sure it isn’t on your end.
3. BIOS
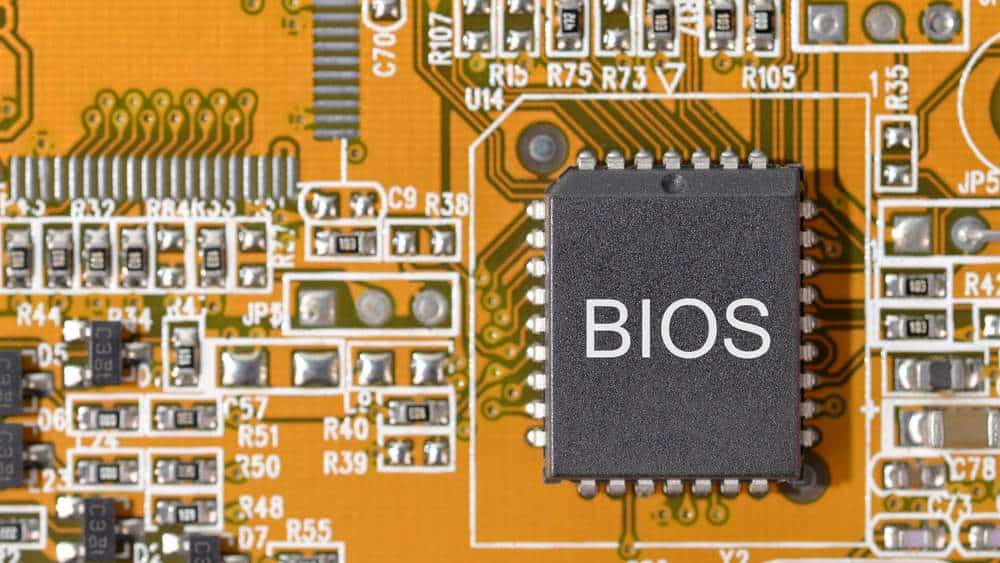
The first two fixes in this list are normally enough to resolve this issue, but there are outlying cases that must be addressed. The next most likely thing that could be causing the issue is that the wireless adapter could have been switched off from BIOS.
It is relatively unlikely that this could have happened by accident, but you never really know what kinds of things can happen when it comes to technology.
Fixing this will require you to add BIOS and then save it as the default. Once you have done this, you will have to sign in again and then open up the Windows Mobility Center via the control panel.
From here, you will be able to turn on the wireless adapter again, allowing the network to start working as it should again. If this doesn’t work, we only have one more fix to try before it is time to hand the problem over to Starlink.
4. Wi-Fi Turned Off via Physical Switch
This fix will only apply if you are using the Starlink app on your laptop or PC. If you are doing so and you see that the network icon is grey and there’s no internet, there is a chance that you may have turned off your Wi-Fi via a physical key on the keyboard.
Not everyone may be aware of this, but there ae keyboards out there that will allow you to switch off the Wi-Fi with a single press of a key. If you are a clumsy typist, there’s a chance you may have hit it without realizing it.
If you think this may be a remote possibility, we would suggest that you go looking through your keyboard to find said button/key. If you do not find one, the next thing to do is to press the Function (Fn) and F2 keys at the same time. In most cases, that is the shortcut to toggle the Wi-Fi on and off.
The Last Word

And that’s it, that’s every step we could find to resolve this issue. Should it be the case that none of the above worked for you, it is a high possibility that the problem lies on Starlink’s side of the deal.
In this case, the most logical thing to do from here is to get in contact with their customer support line to notify them of the problem. We have found them to be very responsive and informed in the past, so we imagine that the issue shouldn’t take all that long to get sorted.