When diagnosing issues such as these, it always helps if the manufacturer has built in a system so that the equipment can effectively communicate when something is going wrong or broken.
Some will choose to incorporate an error code system, which you will then have to look up to see which each one means. Netgear have gone one step further, making it even easier than that.
Netgear routers come with LEDs on the top of their devices for troubleshooting purposes. The job of these LEDs is to let you know the connection status between your various devices and the router itself.
They’ll also give you an insight into the status of such vital elements as the internet, Ethernet, and WPS. Basically, once you learn to read the lights, you’ll know immediately whether you need to take action or not.
As with most devices, a red light is never good news. If any of the light on your router are red, there is something up that needs your attention. In most cases, the red light that is on will just be the one that tells you that the router has no connection to the internet.
Fixing Netgear Router Red Light on Ethernet Port
Okay, so now it’s time to get into what the red light or the lack thereof will mean for the performance of the router. Once we’ve gone through this, we’ll then show you how to fix the problem. This stuff is handy to know for the future though, so it’s still worth a read!
Should it be the case that the light on the Ethernet part of your router is off, this just means that there is no device hooked up to the Ethernet port of your router. This isn’t a problem whatsoever and won’t require any of your attention.
However, if the light is a solid red, this will mean that there is a device that is currently powered on and connected via the Ethernet port. Again, this isn’t a problem. It merely indicates that your router recognises the device and is currently supplying it with an internet connection.
It’s when the light starts flashing red that things begin to go downhill a bit. A blinking red Ethernet port should indicate that the port is actually sending and receive messages/signals. But it also means that the router is currently experiencing some issues.
The diagnosis itself is a bit vague, as it doesn’t tell you exactly what’s wrong – just that you need to get out your troubleshooting guide and get to fixing it. The good news is that this issue is normally pretty easy to fix. To do just that, just follow the steps below.
- Try updating the router’s firmware
With devices such as these, there is quite a lot of stuff that happens in the background that you won’t generally be aware of. Among these mystery activities is the fact that your router will regularly update itself with manufacturer-released updates.
These updates are designed to counter any bugs or glitches that may crop up over time, keeping the router running in its optimal state.
However, it is possible that it may miss an update here or there, causing bugs and glitches to continue accumulating. When this is allowed to happen, all sorts of weird performance issues can begin to rear their ugly heads. Luckily, this is pretty easy to counter.
To do so, all you need to do is go looking for updates and then install them manually. It sounds tough if you haven’t done it before, but the process is really easy once you know how. Here’s how it is done:
- The first thing you will need to do is type in the IP address of your router in your chosen web browser. In most cases, the IP address will be on a sticker on the underside of the router.
- Then, you will be prompted to type in your username and password.
- From here, you will need to find the updates section.
- If there is an update, you should download it immediately to your computer and install it from here.
And that’s it. If there was an outstanding update, this will most likely have resolved the issue. If not, it’s time to start diagnosing the Ethernet port itself.
- Make sure the Ethernet cable is in working condition
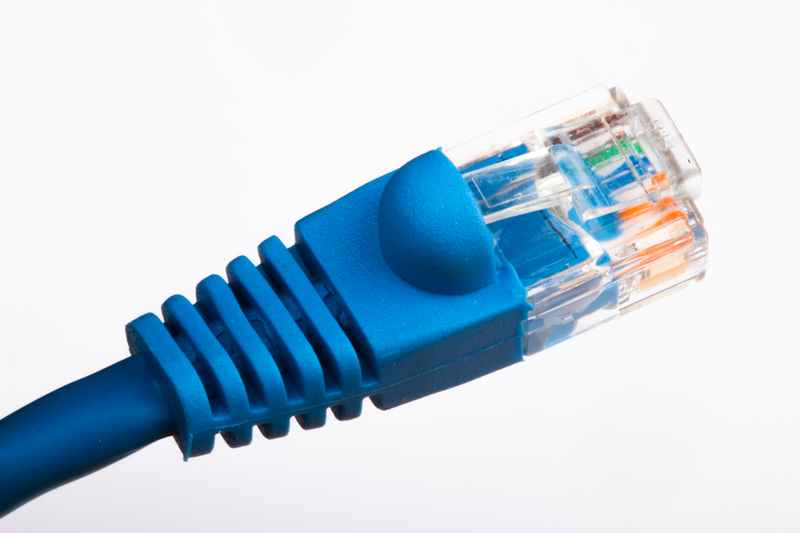
Quite often, we are really quick to blame the main components when it is actually something really simple letting the team down. We have often found that Ethernet cables age really badly, and pretty quickly too!
One part that seems to suffer the worst of this is the connecting end of the cable, which can just get looser and looser over time – even if it isn’t being moved. So, to remedy this, all you need to do here is just make fully sure that the connection is as tight as it can possibly be.
If you are just setting up the router, this is doubly important as you will need to have the router and the modem connected via this method for the setup process.
- Try replacing the Ethernet cable entirely
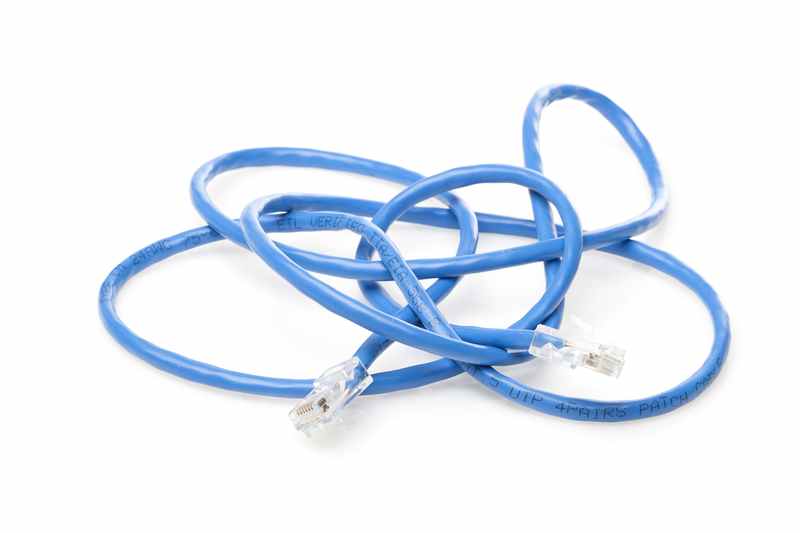
Okay, maybe we are being a bit too hasty with that title. It always helps to actually check these things first. So, to check an Ethernet cable, what you need to be looking for is any evidence of fraying along the length of the cable or any exposed inner workings.
If you happen to see anything that doesn’t quite look right, the only thing to do is to replace the cable entirely. When you are choosing a replacement, go for a higher-quality model. These will last much longer and probably actually save you money in the long run.
It is also worth noting that, although cables do have a finite lifespan, there are ways to ensure that they last for a decent amount of time. Basically, all you need to do is make sure that there are no tight bends along the length of the wire.
If these are left in this way over time, this is where fraying will begin to happen. It is also a good idea to make sure that there is no weight being put over the cable at any point.
Once you have that taken care of, just have another check to see if the issue has been resolved. If not, we are going to have to up the ante a little bit to get to the bottom of it.
- Try a factory reset on the router
At this point, the fact that nothing above has worked so far would indicate that there may be a configuration issue at play here. Essentially, there may be a setting in place on the router that is actively working against you.
So, rather than painstakingly going through each and every one of the settings looking for the culprit, it is perhaps best to just nuke this one from orbit. The best way to do this is to just restore the router to its factory settings. This can be done by means of a factory reset.
To perform a factory reset, the first thing you will need to do is to make sure that the router is powered on. The next thing to do is disconnect the router from client devices and the modem, effectively isolating it. Now all that remains is to locate the reset button.
This you will find buried in a hole on the router so that it isn’t pressed accidentally. So, you will need to grab a pointed object to help you get at this. Once you have it, just poke and hold down the button for a few seconds. Once you release it, the factory reset will begin.
The Last Word
Unfortunately, the above are the only tips that we have that can be performed from the comfort of your own home. Beyond this, we’re afraid that the only logical course of action is to get in touch with customer support and get them to begin working on a resolution.
While you are talking with them, we would recommend that you let them know what you have already tried. That way, they will waste no time running over things you have already tried.
i have a blinking red ethernet light on my recent netgear 79 and can’t open links though i seem to be able to send mail…can you help please? thanks. ps i changed out the ethernet cable, powered down, etc and it still blinks.