When you think of the basic needs that you have in life, most will cite things such as having a roof over your head, clean water to drink, and enough to eat.
Of course, these are all vital, but without an internet connection that works, it has become pretty much impossible to do business in the modern world. For this reason, I’m relatively sure that most of the world will receive free Wi-Fi in years to come – to allow us all to make the connections we need to.
That being said, we’re not quite there yet. Though we have moved on quite a bit since the days of the sluggish and nightmarishly unreliable days of dial-up, most of us still have to rely on but a few service providers that service our area, and the equipment that they provide as part of the deal.
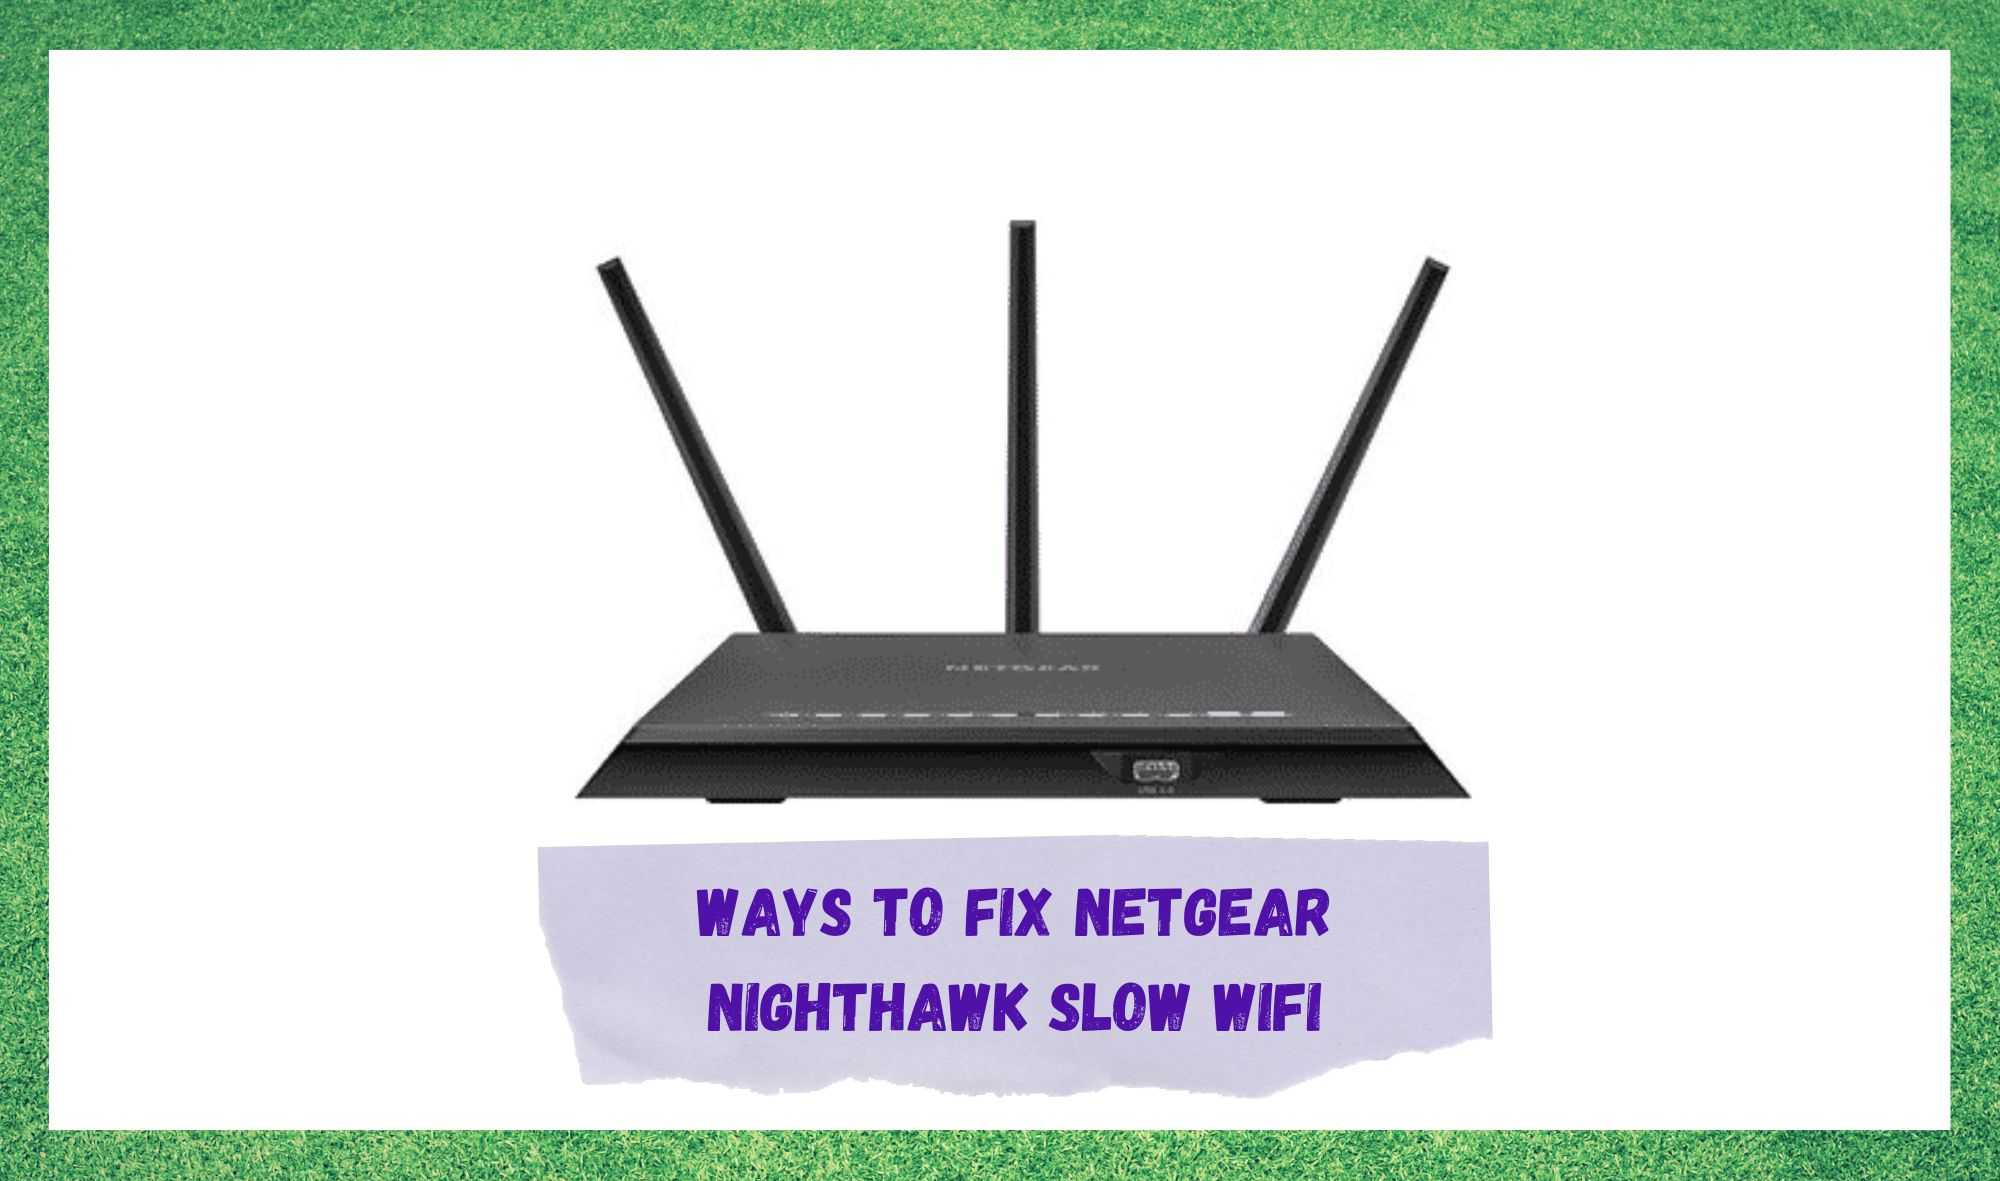
As these bits of gear go, we actually have very little negative to say about the NETGEAR Nighthawk. Though newer modems on the market can be purchased with decent routers already inbuilt in them, there are few that do it quite as well as this.
Normally, we would always suggest that each individual device should be bought as such and that combined devices will always sacrifice a little bit of functionality in favour of convenience. But that’s just not the case here.
So, if you are worried you have made a mistake by going with the NETGEAR Nighthawk, don’t be. Though you may be experiencing slow internet right now, there is a good chance that the problem will be very easy to resolve.
And to help you do precisely that, we have put together this quick list of tips and tricks. Let’s get stuck into it.
Ways To Fix NETGEAR Nighthawk Slow WiFi
If you are worried that you may not have the tech skills necessary to go through these fixes, don’t be! The good news is that none of these fixes require any real tech know-how whatsoever. We won’t be asking you to take anything apart or risk damaging your equipment in any way.
- Make sure the Firmware has been updated
Though Netgear has one of the best reputations out there, no device is totally immune to suffering performance issues if routine maintenance hasn’t been applied. As new issues with their devices crop up, Netgear are very quick to release updates for their equipment that override the problems caused by said issues.
Better yet, the user rarely has to give this a second of thought as the updates are normally taken care of totally automatically. But this can cause some problems in some cases.
Should it be the case that the automated updates service has been switched off, you can easily miss out on quite a few of these updates if you don’t keep on top of it.
And yes, occasionally some firmware updates can be a bit glitchy, but these generally get replaced quickly. For this reason, we would still always recommend that you keep the automated service going.
From what we could ascertain, it looks like your internet speed most likely began slowing down at the 1.0.9.18 version, released not all that long ago. Unfortunately, subsequent firmware updates from this line didn’t prove to be all that helpful in terms of fixing it.
But the good news is that you can easily get rid of this issue entirely by updating to the most recent version – a version which totally fixes this speed problem and is stable.
For those of you who really want to nail this first time around, have a quick check of the reviews for the update version you are about to install as it will most likely be different to the one that was available at the time of writing.
If the new one doesn’t look all that appealing, you can always choose to install the last version that had good reviews. Just always ensure that you are getting a stable version and not a beta.
Beta versions are test updates that the company will release to be tested in the wild. Most often, they work flawlessly, but there are times when they can be a little buggy. On the plus side, you can also sometimes get features with beta versions that haven’t been released to the public yet.
- Try changing the Wireless Channel
If the last fix didn’t quite check all the boxes for you, there are still a few things that can cause slow internet speeds. Of these, the most common is the Wi-Fi channel that you are using. If you are using the wrong channel for the way you have things set up, the result can be diminished internet speeds.
However, this is easier to figure out than the last fix. All you need to do is switch up the channel and see does that have the desired effect.
In some cases, this will not do much. However, if it turns out you have been using the wrong channel, the difference will be very noticeable. So, if you want to give this a try but aren’t exactly sure how, here is what you need to know. The first thing you will need to do is access your router’s control panel.
Once you have gotten into that, the next thing you will need to do is log in using your credentials. Some won’t know these, but that isn’t a problem.
If you haven’t set anything up, the default is always ‘admin’ for the username and ‘password’ for the, well, password! Credentials will always be case sensitive, so make sure to keep that in mind while inputting them.
Now that you are in, the next thing you need to be looking for is the basic tab. From here, you should then open the ‘wireless’ tab underneath it. Doing this will give you access to all of the features and info about your Wi-Fi that you could possibly ever need, and definitely more than you need for this task.
Next, open up the region tab and select your area from the list that pops up. There will also be an option to just type the network you want your device to work on. You can either search for these yourself or consult the manual to find one that works for you. Now, once all that is done, make sure to save all of your changes before you exit.
- Give the Router a quick Reboot
Though the steps above are the two most likely to fix the issue, it doesn’t always work out that way, Routers are complex devices, so can encounter a huge range of problems that can generate the same symptoms.
Another widespread problem that can cause the slow internet issue is bugs and glitches that may have crept their way into the system. Though this may sound a bit dramatic, it is generally pretty easy to evict them. In fact, all it takes in most cases is just a simple reboot of the Nighthawk and it’s done!
It is also a required step for any changes you have made to the settings to fully take hold – so, this is worth remembering for the future too. The best way to reboot the router is as follows.
Shut down the device and leave it off for around two minutes. This leaves it enough time to fully rest and to start from fresh again. Then, simply start it up again. With a bit of luck, this should be the issue resolved.
The Last Word
Should none of the above have worked for you, we’re afraid the problem may be more severe than we had anticipated. At this point, it is worth getting in touch with your internet service provider to ask are they having issues broadcasting a signal to the area you are in.
Beyond that, your only remaining course of action is to contact customer support to explain the issue you are having with your Nighthawk.


