The internet has come a long way since the days of the unreliable, slow, and very loud dial-up connections. Whereas we used to have to wait for hours to download even a single song, data can now be transferred at a rapid rate.
Better yet, it’s easier to use and rarely ever drops out unexpectedly. Overall, we can say that we have become pretty reliant on it. We socialise online, do our banking online, and some of use even work online too.
To keep all of this running, we just subscribe to the package that looks best, set up our gear, and then it just works indefinitely.
Well, it works until it doesn’t. Unfortunately, the nature of tech is that there is always the potential for something to go wrong, and routers are no exception to the rule.
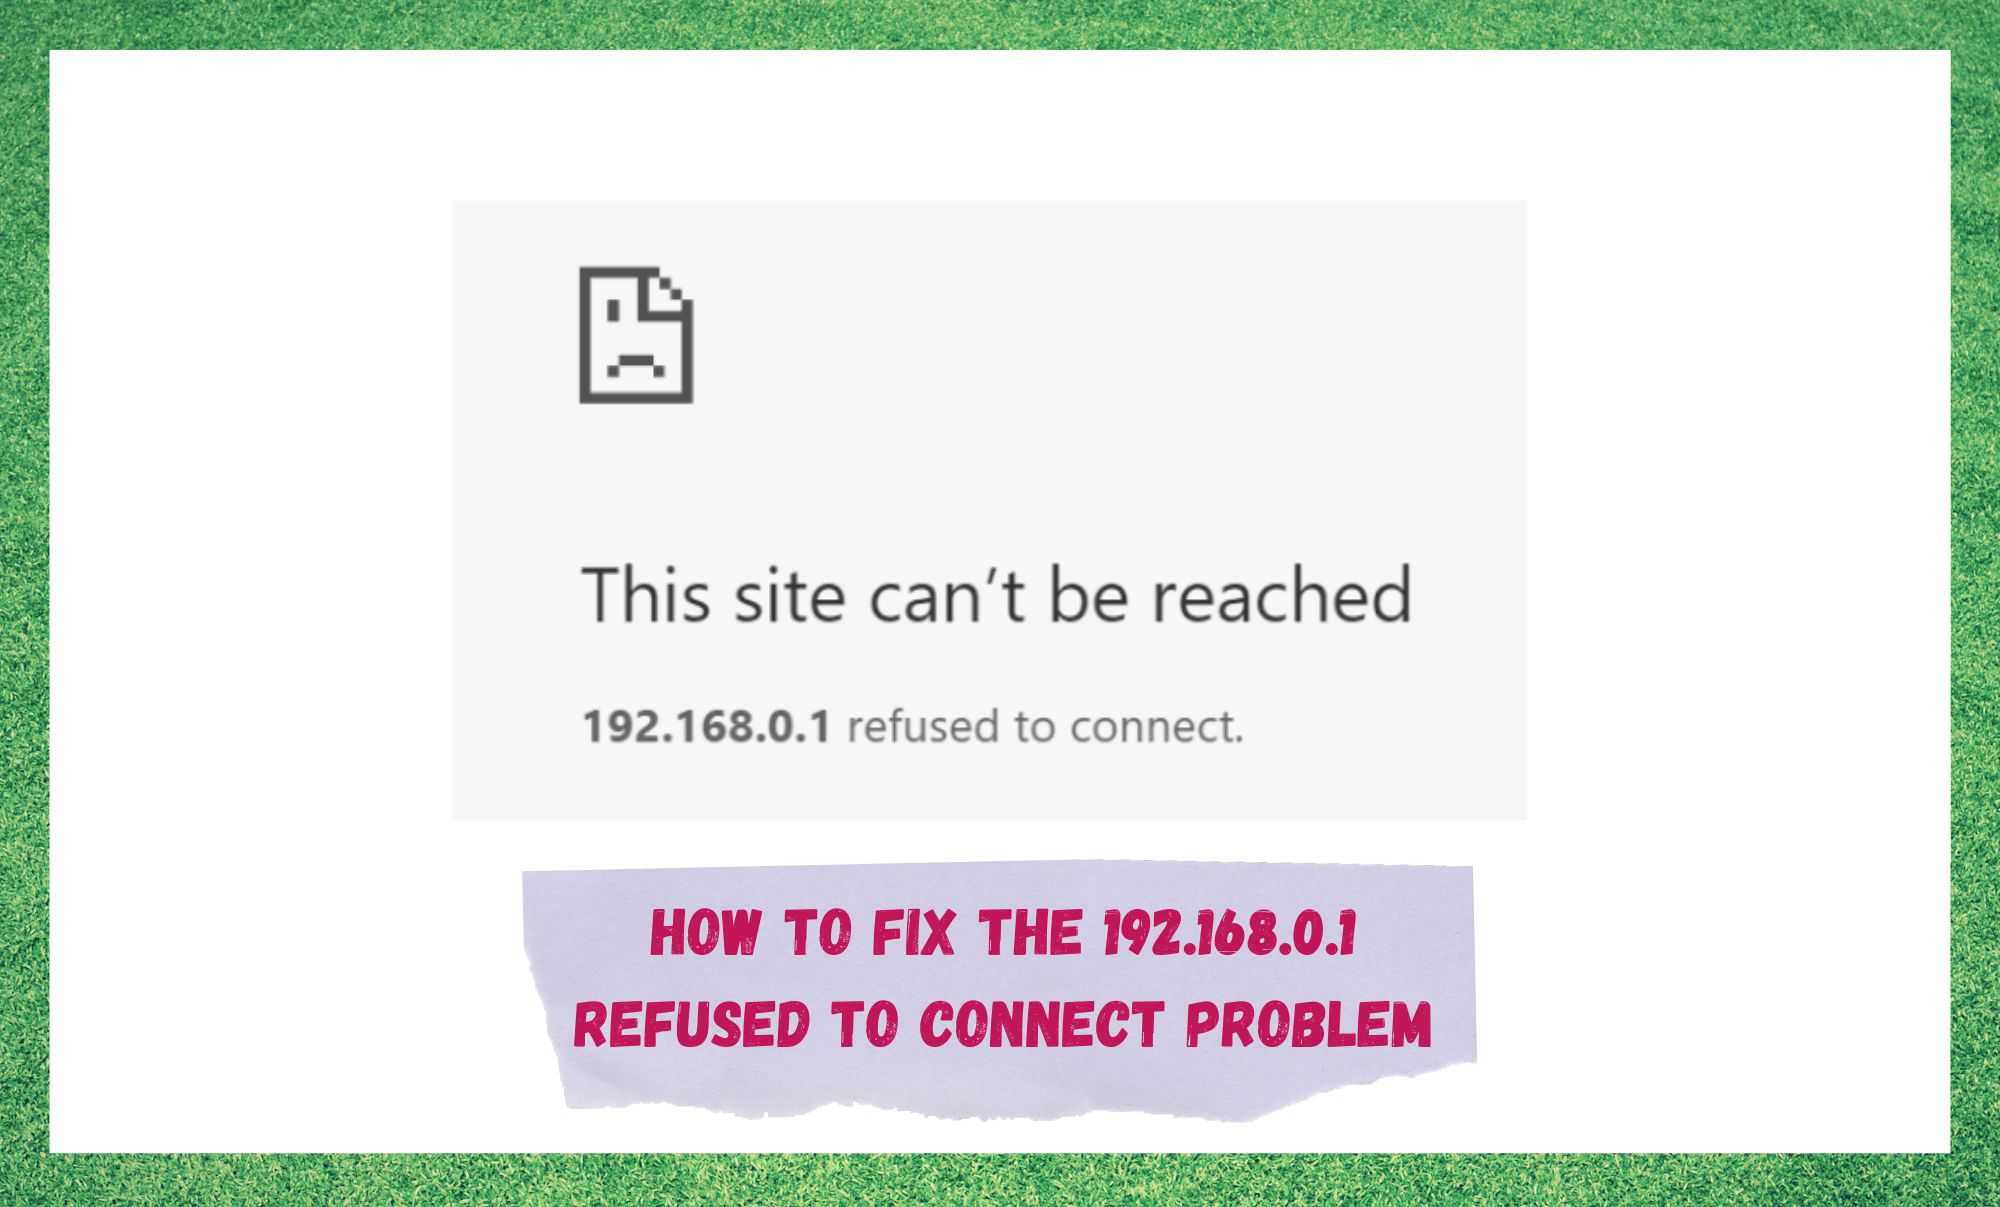
One such issue that is relatively common is the one where you won’t be getting any internet and will instead get an error message that says 192.168.0.1 refused to connect. This can be pretty intimidating if you don’t know what it is.
However, it isn’t that bad as to be a huge cause of concern just yet. Seeing as the issue is so common, we decided to put together this little guide to help you work through it. Let’s get started!
192.168.0.1 Refused To Connect: What Does It Mean?
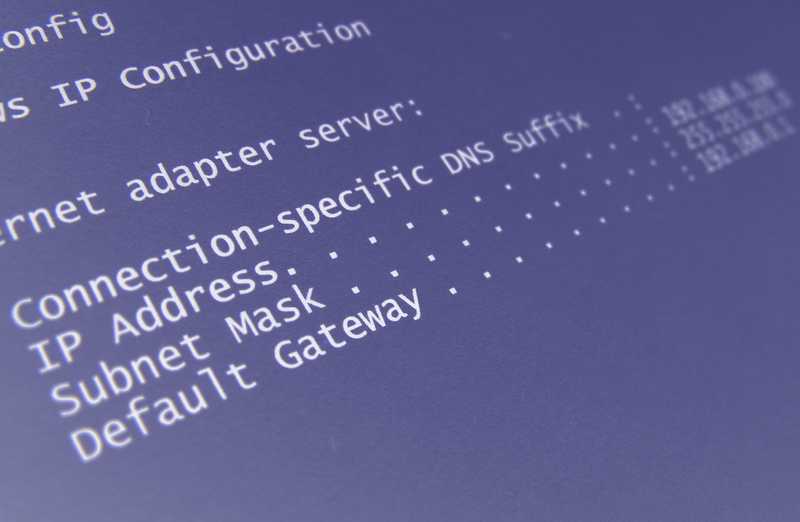
First things first, 192.168.0.1 is the login IP Address which will allow you to access all of the settings and finer details on most routers out there.
Others will incorporate a different IP address but seeing as you’re seeing this particular set of numbers, this is what it will mean for you. You can use this IP address as a default to give you access to the admin panel of the router.
Once you use this to access the admin section of your router, where you will be able to change all sorts of settings related to your router and internet connectivity, such as your password, encryptions settings, and SSID.
However, it can be the source of problems too, so if it is not allowing you to connect, there must be something a little off with the settings.
How to Fix the 192.168.0.1 Refused to Connect Problem
Before we kick things off, we should probably try to allay some worries you may be having. You really don’t need to have any level of technical skill to work through these fixes.
We won’t be asking you to take anything apart or do anything that will risk doing damage to your equipment. So, with that out of the way, let’s get started.
- Check the status of your Router
As we always do, we should kick things off with the simplest of fixes first here. The first thing you should do when having problems such as these is to check the status of the router.
The first thing to check is that it is active and is getting enough power to run correctly. Should there be anything out of place here, the router will definitely not work.
On this particular topic, there is one other thing that we should check, just to rule it out as a possibility. We need to make sure that whatever device you are using is actually trying to connect to your router and not just some random one next door.
On another note, it is also worthwhile double-checking that the IP address of the router is actually 192.168.0.1. For this information, all you need to do is check the back of the router. All the information you would ever need is usually on a panel back there.
If you notice that the IP address on the back of the router is different from the 192.168.0.1 one, you should then always enter the one on your router instead. For those of you who have not got this info on the back of the router, it can also be found in the owner’s manual.
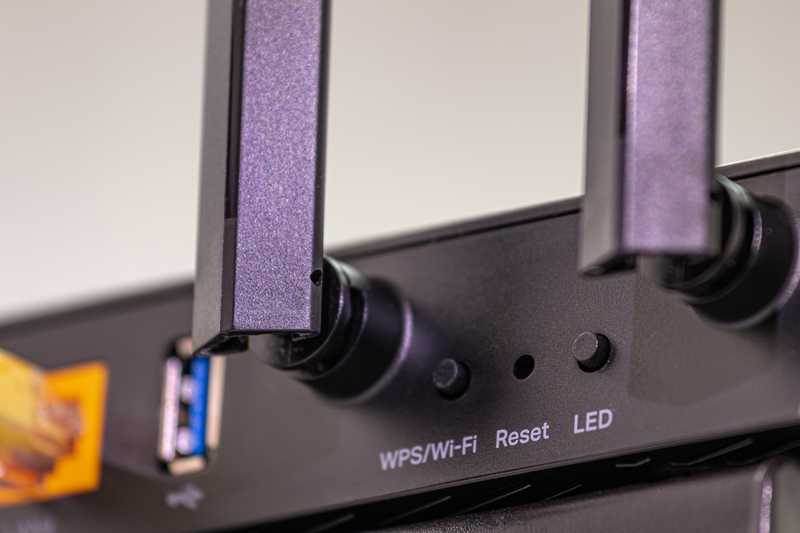
- Give the Router a Restart
Sometimes, the simplest of fixes can be all it takes to resolve issues such as these. Though often overlooked as a ‘fix’, the humble reset has plenty of merit in terms of how often it works.
So, for this tip, all you will need to do is reset the router itself. Doing so will hopefully clear out any bugs that may have accumulated over time that are contributing to the problem. So, make sure to give that a try before moving on.
Practically every router will have a reset button that you just need to press in and hold down until the lights indicate that something has happened.
For quite a few routers out there, you will need to grab a pin or some other pointy object to get to the button. In other cases, your only option will be to plug it out, wait about thirty seconds, and then plug it back in again.
- Try a different Browser

If the above two steps aren’t working, the next thing to try is using a different browser to the one you normally use.
Once you have the browser open, again try accessing the IP address through that. In some cases, though admittedly not incredibly often, this will get it working again for you.
- Restore your Settings to their Defaults
Not every router out there will allow you to do so, but some allow you to change the settings at any time.
Given that these settings can be quite intricate and hard to grasp if you aren’t well versed with them, it is possible that you may have changed something that is now working against you – or that someone else may have done so on your behalf.
If this is the case, a likely result is that the login IP address may have also changed. This will lead you to get the error code you are currently seeing.
So, what to do about it? Of course, there is always the option to go through all of your settings and make sure that everything is as it should be. However, this can be quite time consuming and a little tough if you’re not sure what you are doing.
Instead, let’s just nuke this one from orbit by resetting all of the settings back to their factory defaults in one fell swoop. With a bit of luck, that should be the problem resolved.
The Last Word
If you have made it through all of these suggestions and still haven’t gotten the result you were looking for, you can begin to consider yourself as more than a little unlucky.
At this point, we may have to face the reality that the issue may be caused by something more severe than we had anticipated.
If you suspect this may be the case, your best bet is to get in touch with customer service to see what they can do. While you are chatting to them, make sure to detail everything you have tried so far to fix the issue.
That way, they can hopefully get straight to the root of the problem, saving both parties quite a lot of time and effort.