A fast and reliable internet connection is not merely a blessing nowadays and more so mandatory feature – especially for those who work online. Being able to trust your wireless network to keep up with the demand, on the other hand, is something only a selected few can enjoy.
Although modems and routers nowadays allow a number of simultaneous connections, that is not the only part of a good wireless network connection.
On the other end of the deal there is another device that also has to be properly functional for the connection to deliver its best performance.
It doesn’t matter if it’s a mobile, PC, laptop, tablet, or some other device that can be connected to the internet – should there be anything wrong with that side of the deal, there is a big change a disruption will be noticed.
As it happens, one of such disruptions has been reported by many Lenovo customers. According to these reports, there is an issue that is causing the Wi-Fi connection to fail with Lenovo laptops. This is especially the case when running Windows 10 as the operational system.
For many users, this is a matter of getting disconnected from their gaming sessions. For many others, this issue is causing a considerable drop in their work performance, an aspect which should actually be enhanced through the use of Lenovo’s most recent laptops.
Should you find yourself in that position and be experiencing the frustration of not getting the proper performance levels with your recently bought Lenovo laptop, bear with us.
Today, we will walk you through three easy fixes that will aid you getting rid of the Wi-Fi disconnecting issue with Lenovo laptops on Windows 10. So, without further ado, here is what you can attempt to get the issue repaired without any chance of damaging your equipment.
Wi-Fi Disconnection Issue With Lenovo Laptops On Windows 10
- Make Sure the Drivers are Updated
As manufacturers are rarely able to predict every sort of issue their devices might experience after being released, the updates system serves as a crucial service for users. Minor configuration issues or even relevant system features fixes may be delivered to the open public through updates.
Even though for some less experienced or not so tech-savvy users, updating drivers or software versions might seem like it is way above their level of expertise, developers have been making them easier and more practical by the day.
With Lenovo laptops, the manufacturer stores all of its updates on its official webpage so users can reach them anytime they want without having to go through customer service or a technician.
Should you already be acquainted with the driver updating process, go ahead and grab the specific wireless network driver for your laptop model, download it, and install it afterwards.
Make sure to reboot your device after the installation so the connection can be redone from a fresh starting point. For the not so skilled in technology, here is what you can do to fix the issue:
- Access Lenovo’s official webpage and locate the support tab,
- From there, a list of all devices should appear on your screen. Find and select the correct model of your laptop. It is extremely important that you select the correct model as the drivers may not fully function in different laptops and the issue might not get fixed.
- Once you get to the support page of your laptop, you will be prompted to either select the specific drivers you need or to allow a complete system check.
- Should you know the exact driver for your Wi-Fi network, go ahead and download it. The installation should run automatically once the driver is successfully downloaded.
- Alternatively, you can select the system check, which will scan all the features of the laptop and inform tell which of them have updates available for download.
Bear in mind that the system scan procedure should take a few minutes, so allow it to run uninterrupted while you do something else. Just keep an eye on the updating process every now and then as you will be prompted to reboot the laptop a few times, depending on how many updates are being performed.
- Uninstall the Internet Adapters Drivers
Sometimes a simple driver update will not suffice to get your system rid of an issue. This might happen more often with your internet adapter if some sort of file corruption happens during the installation.
Should that have happened when the adapter was first installed, there is a decent chance the corruption will follow through consecutive updates. If this happens, it will not allow you to get rid of the disconnection issue.
So, should you perform the internet adapter driver update and still experience the disconnection issue, we recommend you uninstall and reinstall the drivers entirely.
But, upon the update of the adapter’s driver, isn’t the previous driver deleted? Not necessarily, as most updates only focus on fixing minor issues, the bulk of the previous driver will remain.
And should it be the case that the corruption is in the part of the driver that is not affected by the update, there is a big chance the issue will remain.
Fortunately, the uninstall and reinstall process is quite easy, so bear with us as we walk you through it:
- Go to the general settings through the windows button on your laptop and locate the device manager.
- Find and click on network adapters to open the cascade and go to the adapter.
- Right-click on it and select uninstall driver. Then, allow the system to perform the process.
- Once it is successfully completed, go back to the main network tab and right-click the adapter once again. This time, select install driver and let windows do the rest.
This should be enough to get rid of the disconnection issue, as the driver will be fully reinstalled and thus ‘new’. Additionally, any possible corruptions will be dealt with, so further updates should enhance the performance, rather than resulting in a re-occurrence of previous issues.
Make sure to reboot your laptop once the whole procedure is completed. This way, the system can restart from fresh, and the connection will be properly established.
- Uninstall the ThinkPad or ThinkCentre
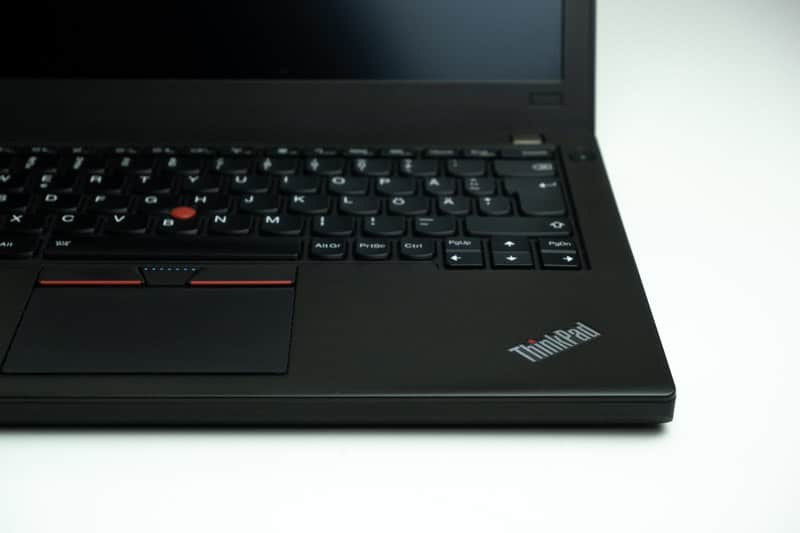
Lenovo laptops, especially the latest ones, have some pre-installed features such as ThinkPad and ThinkCentre. These features bring enhanced security and faster performance to the systems but can also be the source of some issues too, such as the Wi-Fi disconnection one.
Therefore, we strongly recommend you consider deactivating or uninstalling these features for now, just to see if this is the culprit.
In order to do so, go to the search bar and type ‘uninstall’, which should give you the option to open the apps manager window. From there you can locate the ‘Thinkvantage Access Connection’ program and have the system uninstall it.
Make sure to reboot the laptop afterwards and the system will restart from a fresh point and will not have to put up all the security protocols that may be hindering the performance of your wireless network.
After all that is done, the Wi-Fi disconnecting issue should be solved and you will be able to enjoy the outstanding performance Lenovo laptops can normally deliver.
On a final note, should you discover other easy ways to get rid of the Wi-Fi disconnecting issue with Lenovo laptops on Windows 10, let us know in the comments and you’ll be helping your fellow readers.


