Cox is another of those brands that automatically come to mind whenever there is a need for domestic internet and TV services. And, they happen to be quite good at what they do too!
So, that’s good news if you happen to be reading this and think you have accidentally bought a heap of junk. It’s simply not the case. The Cox Panoramic Modem is their in-house device that promises the users a steady and constant service.
However, since you are here reading this, surely you are experiencing some technical difficulties with the modem. You notice the modem itself has lit up with flashing green lights, which seem to serve as a warning for something terrible to come.
Well, first up, don’t worry. The cause of the flashing green lights is nowhere near as fatal as you might expect. Regardless, you will still most likely want to stop it from happening. Thankfully, you have come to the right place. In this article, we will explain the cause of the flashing green lights and show you how to fix the problem.
Cox Panoramic Modem Blinking Green Light – The Meaning
As we said earlier, the flashing green light on your Cox modem is more than likely not a serious issue. We have found that in most cases, it is that your modem is experiencing ‘bonding’ issues.
For this article, we’re going to keep the technical jargon to a minimum (let’s just fix the thing for now, right?). But, if you want to learn more about how your modem and bonding work, we would recommend giving this a read.
For those of you in the know, the green flashing light is more often than not the modem telling you that it can’t bond with the upstream channels. In either case, we are here to help you fix it, and that’s just what we are about to do.
Below, you will find a range of solutions to this issue – one of which is incredibly likely to resolve the problem. So, without any further ado, let’s get into it.
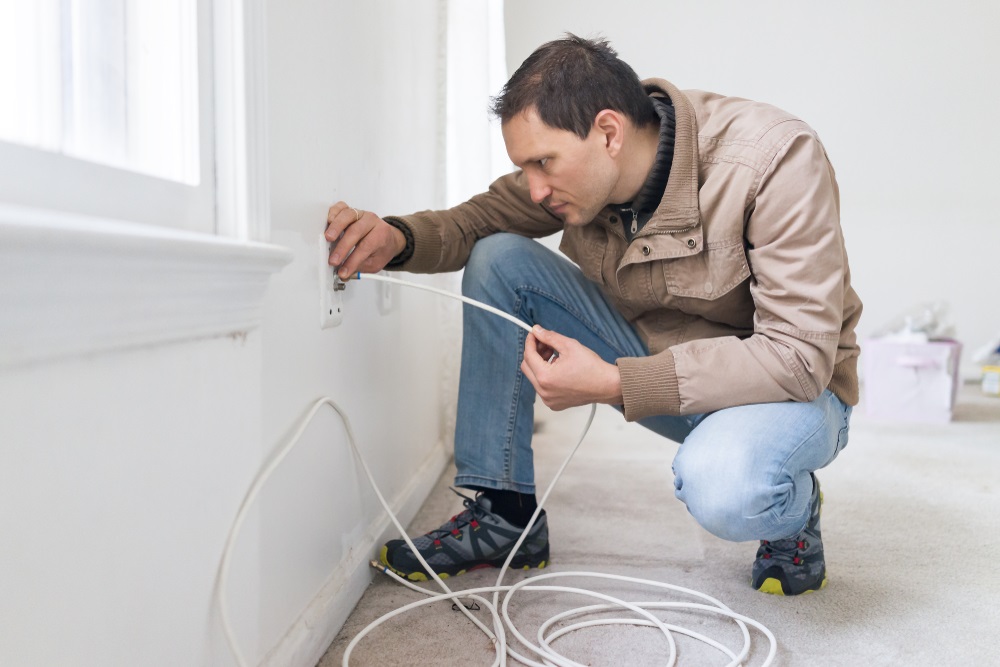
1) Check the Coax Cables
The first recommended course of action is to check your coax cables to ensure they are operational and haven’t taken any damage.
These sorts of fixes can often be overlooked but are nevertheless vital to the process. In other words, frayed and damaged cables won’t work.
So, if you notice any obvious and apparent damage, the only course of action is to replace them straight away.
However, before you discard a cable entirely, try plugging them out and plugging them back in again. Secure all connections before ruling the cables as faulty.
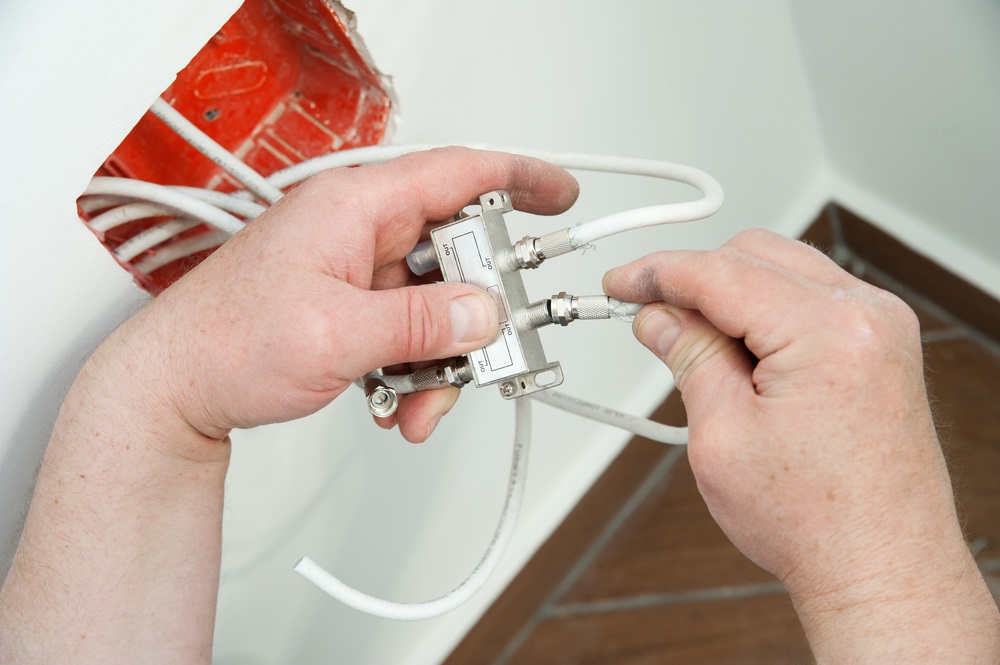
2) Check, and Maybe Replace any Extra Components
Now that you have checked to see whether or not the coax cables were the culprit, it’s time to run through the extra components with the same goal in mind.
The whole idea is finding the one element that is letting the whole thing down. As the old saying goes, “a chain is only as strong as its weakest link.” Generally speaking, your modem’s overall performance depends on the health status of its components.
Splitters, in particular, can wreak havoc on your internet connection. You need to regularly check your splitters as they are quite liable to burn out way faster than any other components.
While we are on the topic of splitters, let us make a suggestion. We would recommend never incorporating a splitter into your system at all. It may seem like an easy fix, but it disrupts the overall signal. The chances are you will instantly resolve the issue if you remove your splitter (if you have added one).
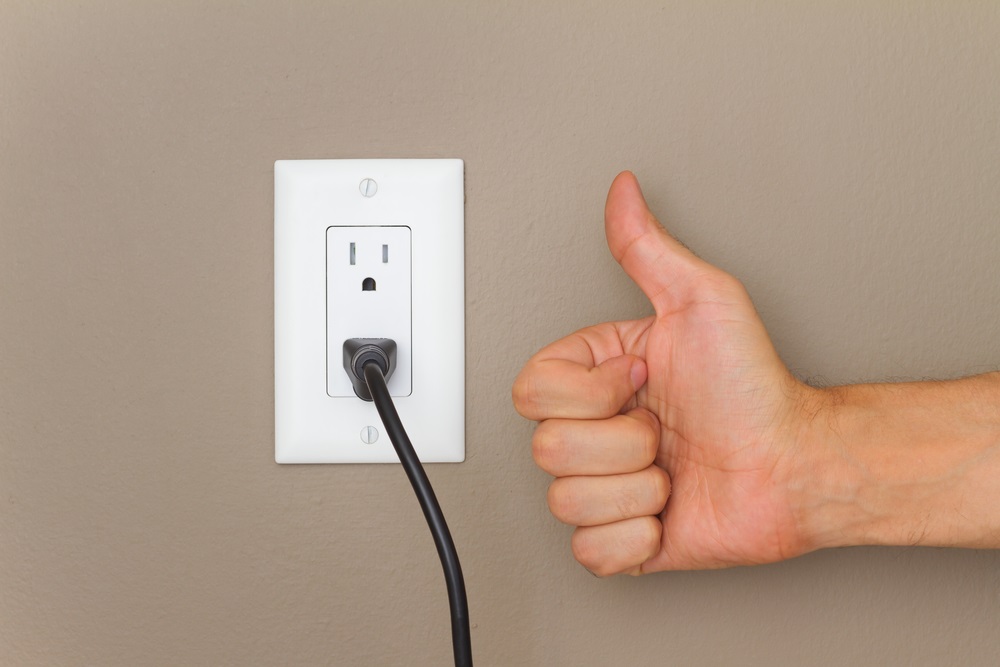
3) Check the Power Outlets
Ok, so we do realize that this fix sounds so simple that it could never possibly work. Well, you never know, you might be surprised at how often it does!
Instead of focusing on the modem internally, why not check that the problem isn’t caused by something on the outside?
Ultimately, the outlet itself is where the modem is drawing all of its power from. If that isn’t working to its fullest potential, neither will your modem.
So, the quick and easy fix for this is to plug your modem into a few different sockets to eliminate faulty ones. If that works, great. If not, it’s time to move on to the next step.
4) Reset the Modem
At this stage, if none of these fixes worked for you, don’t worry, we still have two more fixes left before we’re out of options.
In this step, all we really need to do is to reset the modem. This fix is particularly effective if the root of the problem was the software configuration. Though this may sound like a major fault, it is generally quite minor, and a quick reset can be an easy solution.
To reset your device:
- Take out the power cable.
- Let the modem rest for around five minutes.
- After this time has elapsed, plug the power cable back in again and let it do its thing.
- If all has gone well, it should restart relatively quickly and return to normal function.
It is also worth noting that some modems will have a reset button. These are generally on the back of the device. If yours has one, you can save a couple of minutes by just hitting that instead.
5) Call Cox Customer Service
At this point, we’re afraid that the news isn’t good. If it is the case that none of these tips resolve your cox panoramic modem blinking green light issue, the problem may be on Cox’s end.
However, before you call them, remember this little piece of advice – (trust us, you will thank us for it in the long run!) When you are on the line to Cox customer service, give them as much detail as you can when specifying the problem with the device.
Just don’t tell them that you attempted to troubleshoot the issue by yourself. Asides from that, Cox will have much more data relating to your specific case. As such, they will most likely be able to assess and repair your issue quickly enough.