These days, as more and more of us are becoming near totally reliant on a decent internet connection, there are an increasing number of companies stepping up and trying to supply it.
However, not all of these are built equally. There really are some sub-par options out there, so it helps to do your research. For us, in terms of reliability, there are few that stand up to the quality of Verizon. They also have an insane amount of towers all over the country to make sure that you’re always connected.
However, we do realise that there isn’t much chance that you’d be here reading this if everything was working at the moment. Of course, even with companies as reputable as Verizon, there is always the chance that something can go wrong here and there. That’s just the way things go with technology sometimes.
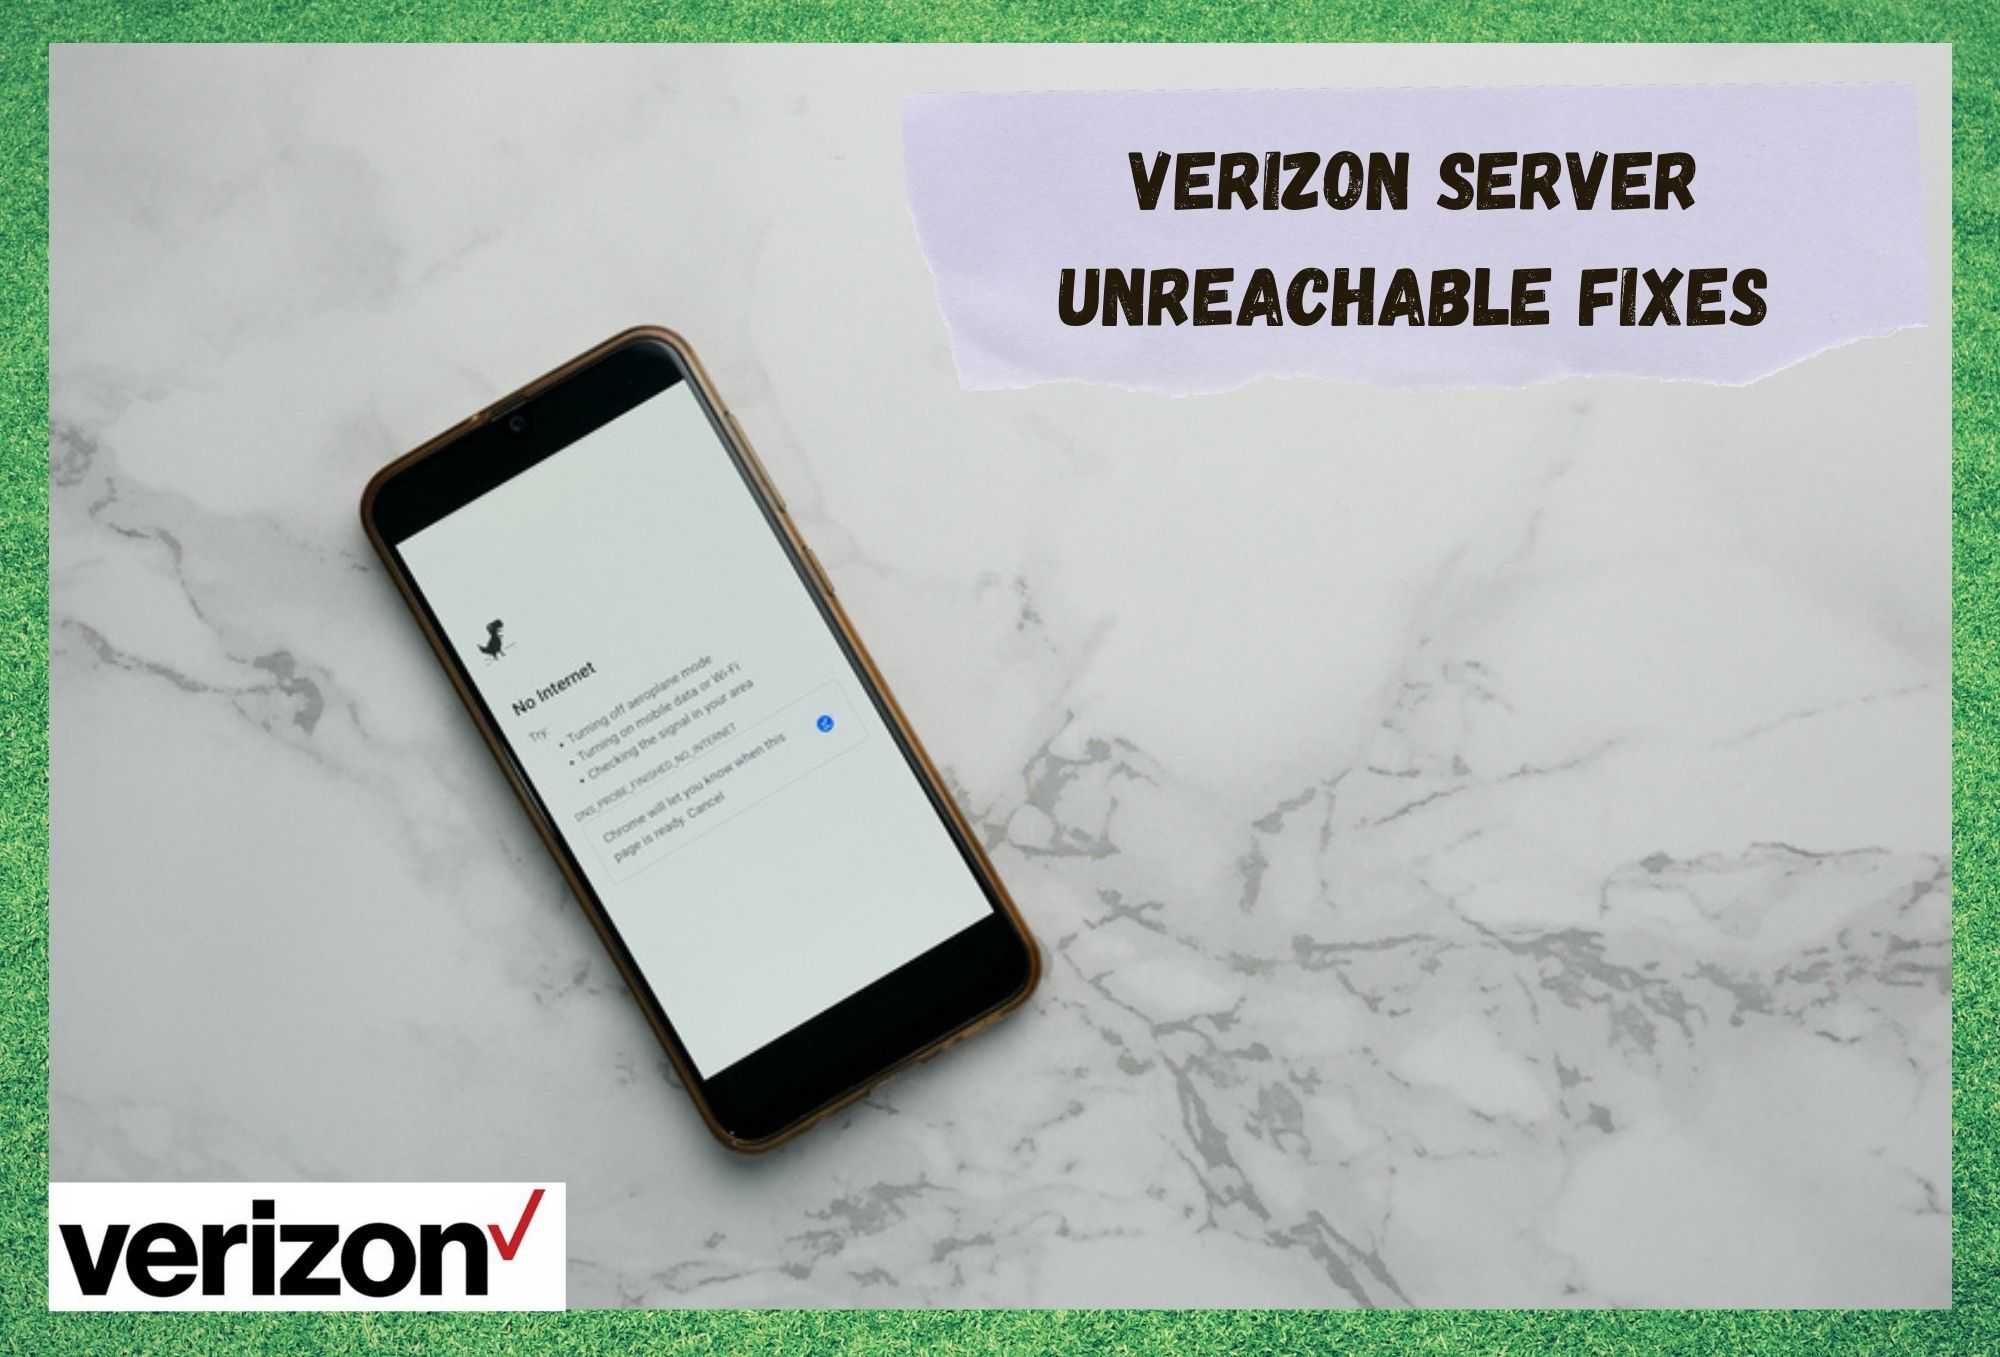
Having seen that there are a few of you taking to the boards and forums at the moment to vent your frustrations and try work out why the Verizon server is showing up as unreachable, we decided to try and fix the problem for you.
Verizon Server Unreachable Fixes
Unfortunately, there are a few different things that can cause the issue. But the good news is that the problem can generally be fixed from the comfort of your own home. If that sounds a bit worrying to you, don’t let it get to you.
None of the fixes below will require you to have a high level of tech skill. We also won’t be asking you to take anything apart or do anything that could damage your equipment.
- Check your Coverage
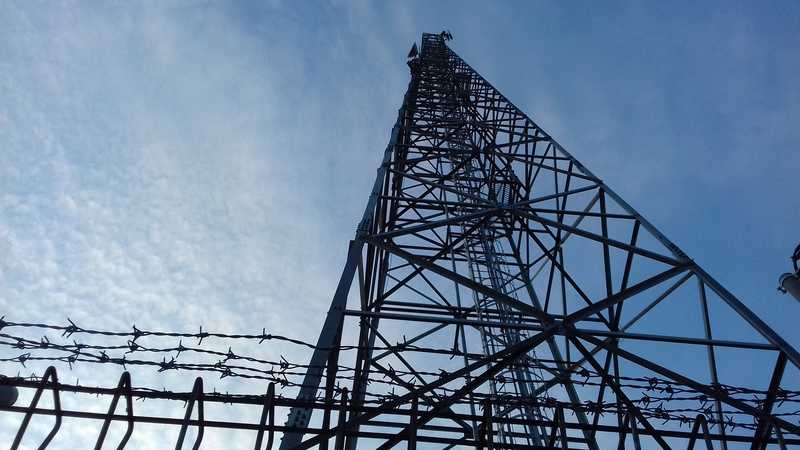
As we always do with these guides, we will kick off with the easiest fix first. So, all that we are going to do here is check that you have coverage. Though Verizon have a really incredible system of towers to cover the country, there are still a few black spots out there. You may have just stumbled across one.
If you happen to be somewhere incredibly remote, the chances are strong that that’s what’s happening here. Telecommunications companies will always show preference to more built-up areas when sorting out their coverage.
If this all seems to be lining up for you, the best thing you can do at the moment is to aim for higher ground to try and pick up a signal. There are all sorts of objects that can act as obstacles for your signals. In the wilderness, this can be trees, bushes, cliffs, and the likes. In urban areas, sometimes even buildings can interfere with your signal.
- Give your Phone a Restart
Once you have established that you are in a place that can get coverage, it is time to have a look at the workings of the phone itself. Every now and then, phones will pick up the occasional bug or glitch that will cause all sorts of weird little malfunctions.
So, let’s not rule this out as a possible cause of the issue. If this is the case, the problem should generally be really easy to remedy.
The best way of getting rid of minor bugs and glitches is to simply give the phone a restart. As soon as you have done that, all of the networking components will be forced to set up again from scratch, hopefully giving the phone the push it needed to connect to Verizon’s network.
To check whether or not this had made a difference, you should dial #832 after the restart is done. This is the number Verizon use so that their customers can check the strength of their signal.
- Try Resetting your Network Settings
If the restart didn’t work, there is a decent chance that there is some error in your settings that is preventing you from getting on the network. Every now and again, we can accidentally make these changes without even being aware of it.
So, to get to the bottom of this one, we would suggest that you go into your network settings and switch the network selection to auto. By doing this, you’re giving your phone the best chance of connecting to the tower it needs to.
As a general rule, always make sure that your settings are on default unless you know exactly what you’re doing. Once you have made the changes, you will then need to restart your phone once more to make sure they take hold. After that, everything should be back to normal.
- Make sure your SIM card isn’t damaged
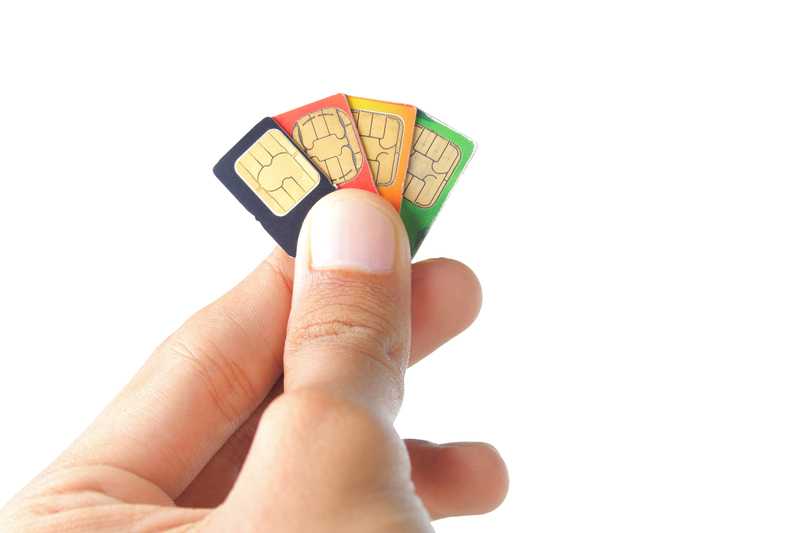
Should everything above have had no effect whatsoever, this would indicate that there may be a problem with the SIM. Though they are easy to forget about, they can get damaged quite easily. After all, they are delicate and thin in stature. When a SIM gets damaged, it can cease to work entirely.
So, we would suggest that you check the SIM out for any obvious signs of damage. If you see anything that looks out of place, the only thing to do is get a replacement SIM.
If there aren’t any clear sings of damage, the next thing to do will be to try out another SIM card in the phone to see if that works. This SIM will also need to be from Verizon. If this SIM works perfectly fine, then the issue is definitely with your SIM. Again, the solution will be to order a replacement one.