TiVo, the digital video recorder, or DVR was designed by Xperi back in 1999 and has been gaining ground on the entertainment business ever since.
The device allows users to download TV shows, movies, sports events and a range of other content their TVs display. You can also schedule the device to download media at a certain moment of the day.
TiVo also works with cable boxes and, through a connection with your home network, gains access to all the programs delivered by your carrier. This means anything that is on your TV screen can be recorded for you to enjoy later on.
The TiVo Roamio, on the other hand, came as a sort of evolution of the previous device. The new device can also record media from On-Demand video content. This means you can download videos from platforms such as YouTube, Netflix, Amazon Prime and many others.
However, most recently, TiVo Roamio subscribers have been facing some difficulty in the setup of the device. So, should you find yourself in these same shoes, bear with us as we walk you through all the info you need to properly perform the installation and configuration of your TiVo Roamio.
How Can I Setup My TiVo Roamio OTA?
Now that you got your hands on a TiVo Roamio OTA, you are probably asking how to proceed with the installation and configuration. Since these two procedures are fairly easy to go through, TiVo sends an official booklet along with the device.
That booklet includes all the steps you should take, quite descriptively actually, in order to perform the easy setup and get the device working.
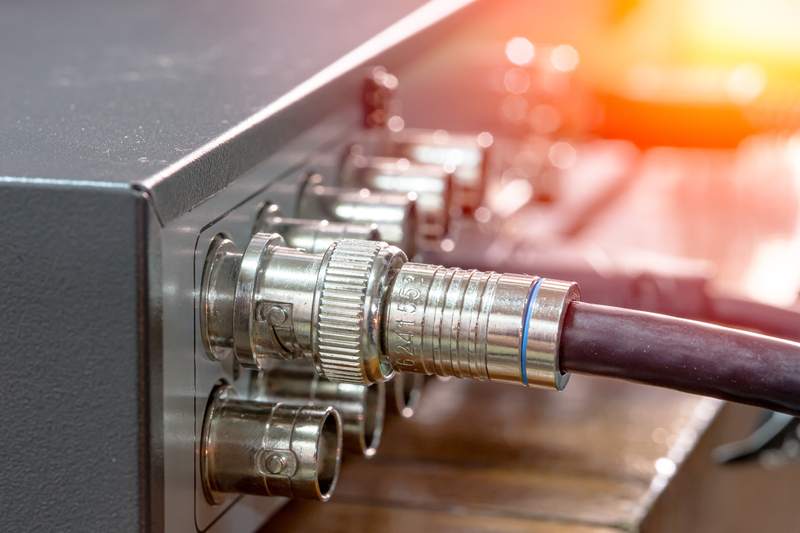
Now, for the antenna setup, even though it might seem like a harder task at first glance, it is actually as easy as the first steps you covered in the installation and configuration parts. To get your TiVo Roamio OTA to work with the antenna, simply connect the coaxial cable to the corresponding port.
The coaxial port should be on the back of the device, and it simply cannot be mistaken by another one due to its unique shape. After that, just give the device a few moments to connect to the antenna and access all the content that comes through the signal.
Bear in mind that, since TiVo Roamio OTA is a service that records content from streaming platforms, it will require not only an active internet connection, but a fast one as well.
We all know the internet works through a constant exchange of data packages between both sides of the deal. When it comes to streaming, the amount of data being exchange is quite large, so your internet connection should be able to handle all that data traffic.
In the event you notice your streaming sessions are experiencing problems such as lagging, longer loading times or pixeled scenes, what is most likely causing it is a slow internet connection.
So, make sure to upgrade your internet plan in order to enjoy the outstanding content your TiVo Roamio OTA can deliver in an uninterrupted manner.

As for the steps you should cover to properly set up your TiVo Roamio OTA, here is all you need to know:
- Before getting to the actual cabling and configuration steps, first make sure you are already using a HDTV antenna. In the event you are not, you should purchase and install a CableCARD decoder to receive the digital cable and HD channels on your TV.
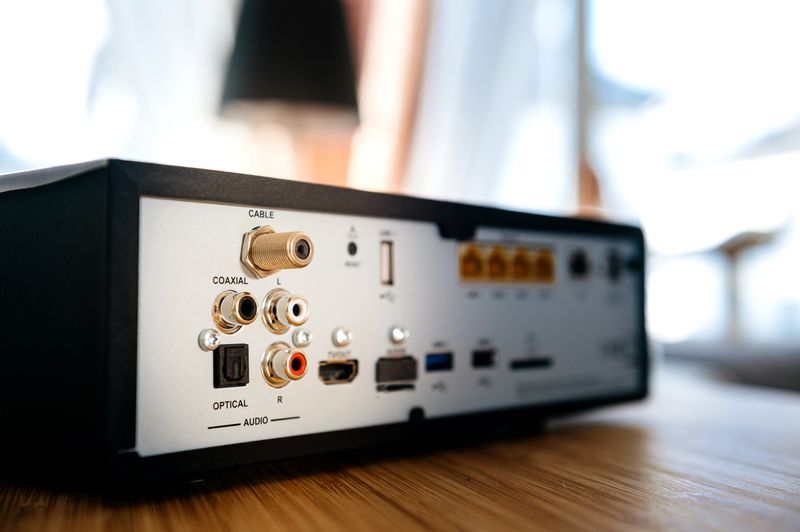
- • In the first step of the installation, you should connect your coaxial RF cable or the HDTV antenna cable, which is also coaxial, to the corresponding port on the back of the device.
- • Secondly, connect your DVR to your wireless network or perform an Ethernet connection to deliver the signal the device needs to access and display the streaming platform content. You can also create a MoCA network, which normally increases the speed and stability of wireless networks and even reduces the latency (time it takes for a video to load). As for the Ethernet connection, simply connect the cable to the port on the device, or use a bridge, if you want to have more than one device connected at the same time.
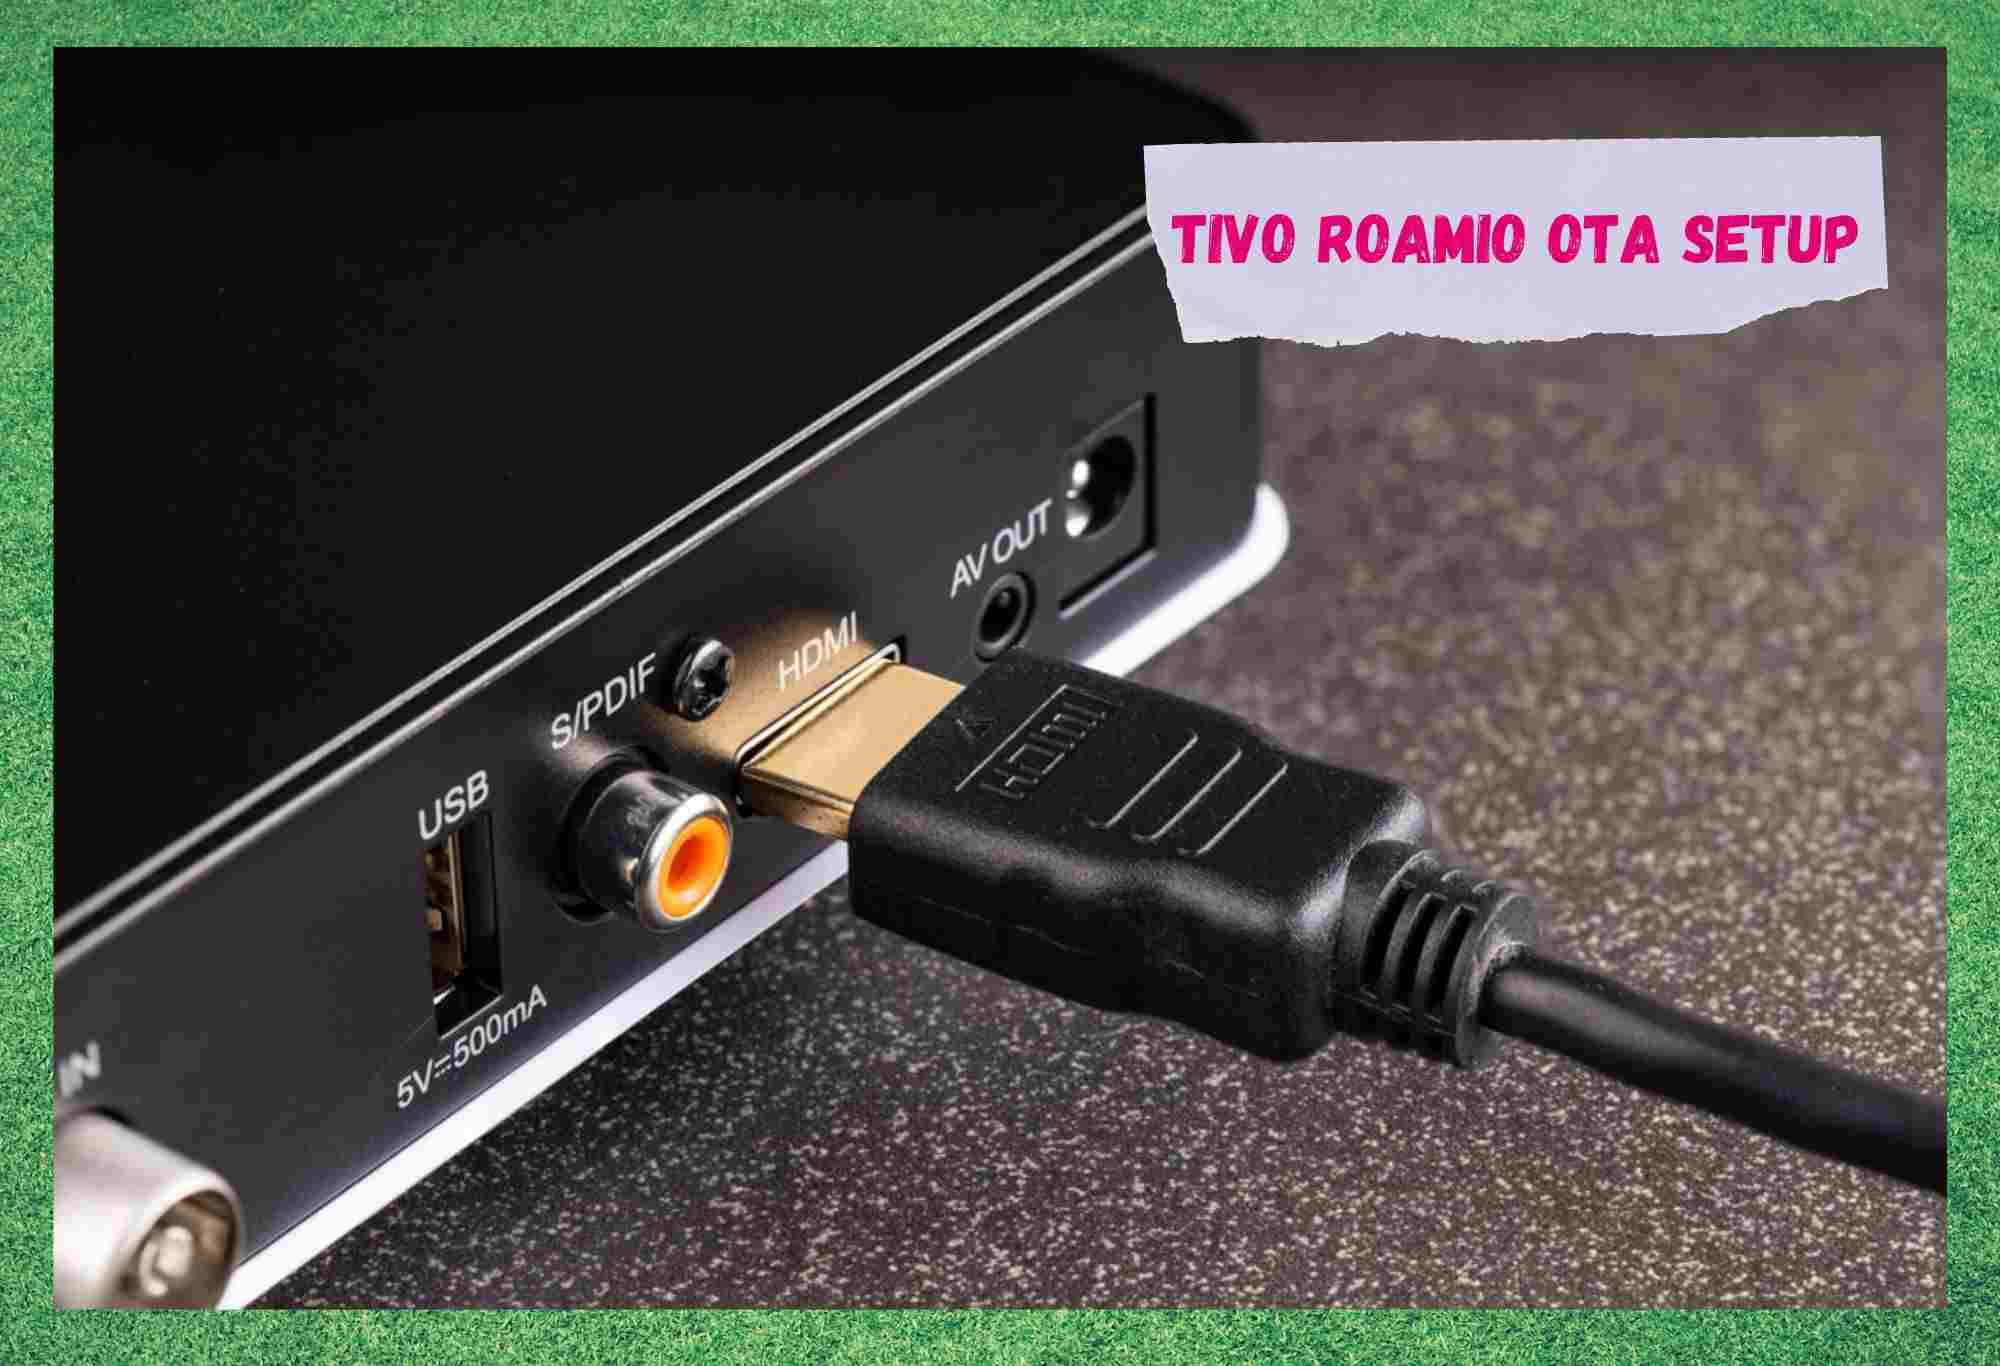
- Thirdly, once you notice your TiVo Roamio OTA is successfully connected to the internet, which might be identified by the green internet LED light on the modem or router, connect the DVR to the TV set. The connection is made through an HDMI cable, which also comes in the box. Make sure to connect the HDMI cable to the correct port on your TV. Most TV models nowadays have more than one port and that might mislead you into thinking you are not properly following the installation guide.
- Then, connect the power adapter to the DVR and to the power outlet and wait for the initiation process to go through all its steps. A green light on the power LED should inform you that the procedure was completed successfully.
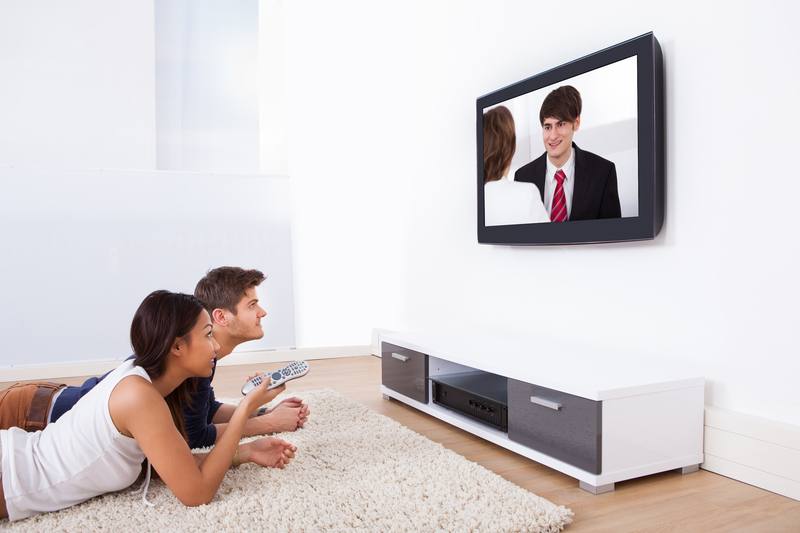
- Lastly, switch on the TV and notice the welcome screen. Once you reach that part, a series of windows will pop-up on the screen to prompt you to go through the configuration steps. That part is as simple as the ones before, so you should be able to go through them without any fuss. Bear in mind that you will be also prompted to insert your login credentials, so make sure to have them around. In the event you still don’t have them, you can set up a new account within the configuration steps.
That should do it, and you will be able to enjoy all the content of regular channels, streaming platforms, and On-Demand videos. So, sit back and enjoy all the outstanding content you will get on your TV with your TiVo Roamio OTA.
In The End

Should you fail to complete any steps of the installation or configuration processes, you can always get some help from TiVo’s customer support department. Simply give them a call and have them guide you through the process in no time.
On a final note, in the event you find out about other relevant information regarding the installation and configuration of TiVo Roamio OTA, make sure to let us know.
Drop a message in the comments section and help your fellow readers go through the procedures like a master. Also, every piece of feedback helps us build a stronger and more united community. So, don’t be shy and tell us all about what you found out!