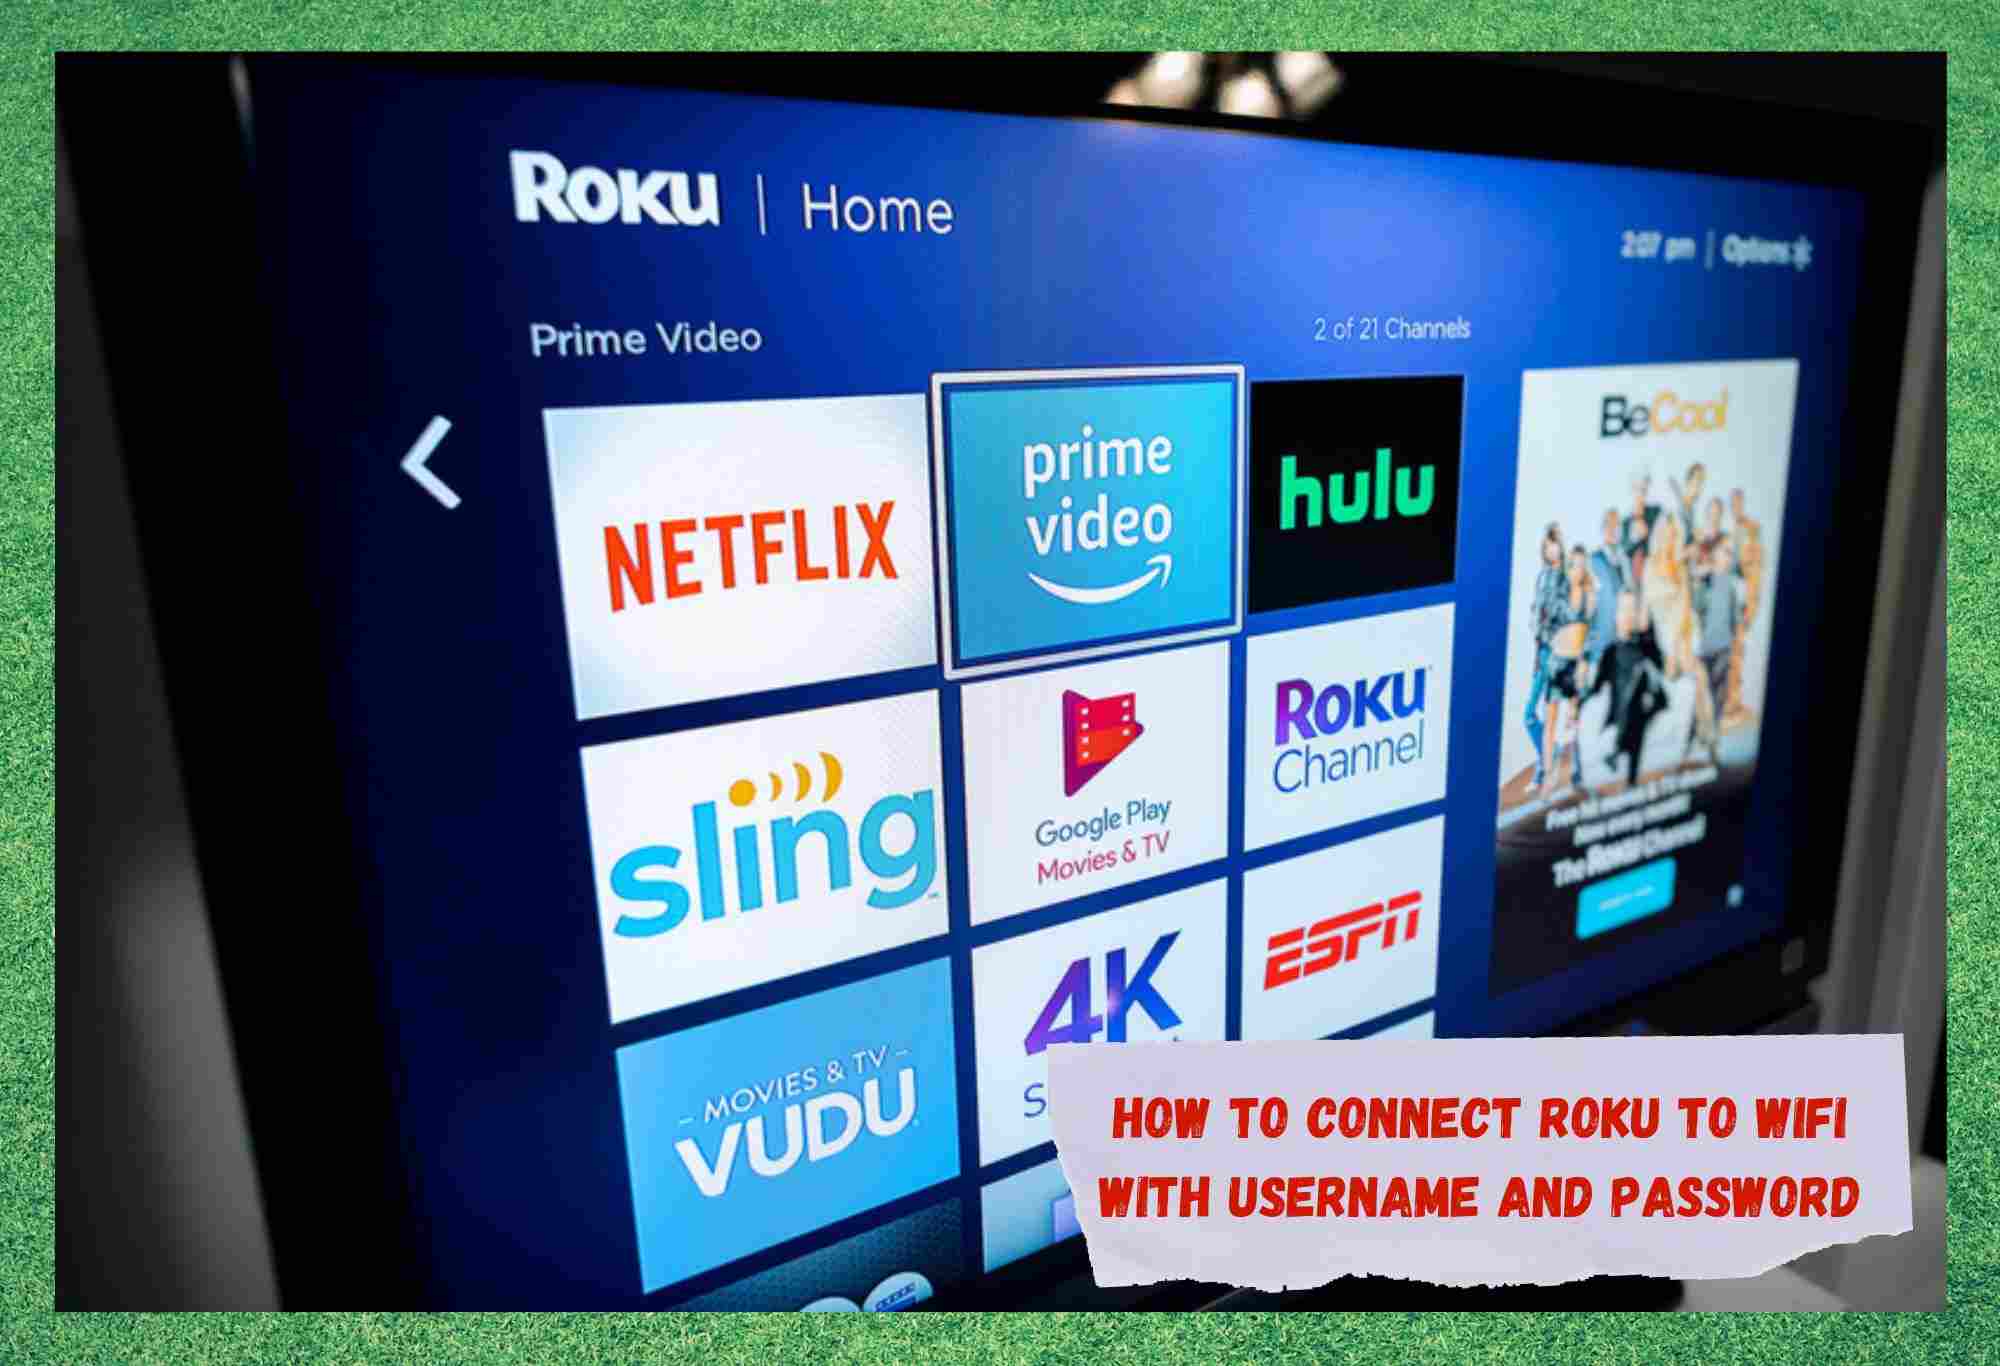
Though there are many streaming platforms out there, there are few that have managed to pick up as much steam in recent times as Roku. We can only assume that at least some of this newfound popularity is due to the fact that Netflix keeps upping their subscription.
However, they do also back their service up with a huge amount of content – some of which can’t even be found on other streaming platforms. All in all, they’re a pretty solid company and deserving of a bit of respect.
All that being said, they can be a little tricky to set up and get working at times. Due to the minimalist way in which they work, there’s no browser built into them to help you out either. So, this leads to quite a few problems with something you would expect to be quite simple – connecting the thing to the internet in the first place.
So, today, we are going to run you through two different techniques to get it done, which should cover any situation that you could end up in. Let’s get the ball rolling and allow the Roku to turn your TV into a smarter version of itself, pronto!
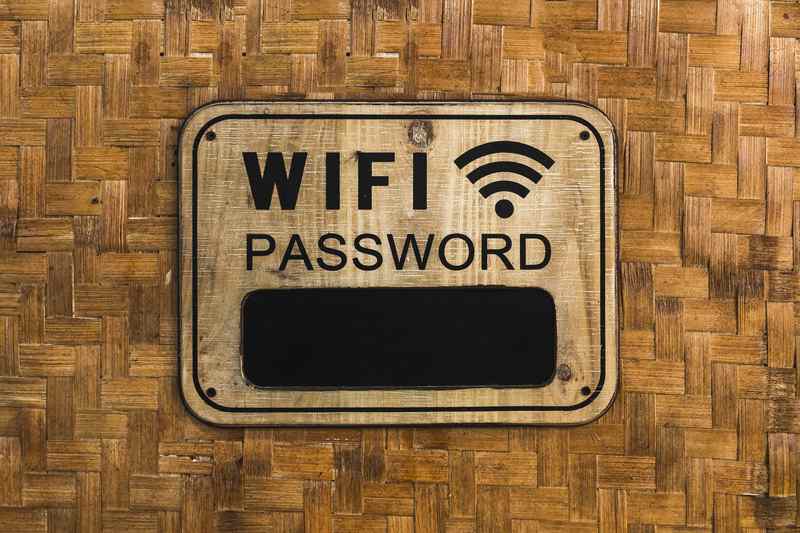
How To Connect Roku To WiFi With Username And Password?
As quite a few of you will know, there are three different ways by which to set up a home Wi-Fi network. There are the SSID options – with a password or without. Then, there is the possibility of a Wi-Fi connection with a captive portal. Regardless of which of these applies to you, one or the other of the methods will apply to you.
So, even if you are not sure what kind of setup you have in your house, just follow the steps until you find the method that works. First up, we’re going to take a look at the method that applies to Wi-Fi networks that have a password built in.
- How to Connect your Roku to the Home WiFi with SSID and Password
The SSID, if you have no ides what it is or does, is just the name of your Wi-Fi network and is commonly just referred to as the Wi-Fi network’s username. The two terms are interchangeably used, but don’t mean anything all that complex.
Now for the long-winded step by step guide on how to get your Roku connected if there is a password to negotiate.
- First things first, let’s make sure that your Roku is connected to both the TV and the power outlet. It’s also a good idea to double check that it is also switched on, has all of its updates, and is activated.
- Now, switch on the TV and make sure that it is set to receive its signal from the HDMI port.
- Next up, you can go ahead and either press the ‘home’ button on the Roku remote or use the smartphone interface if you are more comfortable with that.
- On the home screen, you will need to scroll until you get to the ‘settings’ option and then click on the ‘OK’ button to open the menu.

- Now that you are in the settings menu, the only option that concerns you from here is the one called ‘network’. Click on it to open.
- In this menu, you will be able to look for all of the Wi-Fi connections that are within range of your device. Go into the option that is known as ‘set up connection’ to proceed.
- Seeing as you’re looking to connect to a Wi-Fi home network, the option to choose from this menu will be ‘wireless’. As always, hit ‘ok’ to open it up.
- You will now be presented with a list of every Wi-Fi network that is within the Roku’s range. Make sure you know which one is yours and then click into that one.
- Roku will now prompt you to enter your Wi-Fi network’s password. Once you’ve done that, you will be good to go!
- How to Connect a Roku to a Password Protected Wi-Fi Network
Okay, so if the first tip didn’t work for you, there is a good chance that you are using a captive portal. When using one of these, you will inevitably be asked to input the correct information before you can use the Wi-Fi for anything.
These sorts of connections are widely used on public networks, but in rare cases can also be found in a private setting. More often than not though, this is the type of connection you will be on if you find yourself at a school, library, college, or place of work.
The reason they will use a captive portal is that they allow for the tracking of the various IP addresses that access the network and to see (if they want to) the type of sites each IP address is visiting.
On a captive portal, anyone can generally log in using their web browser, but seeing as a Roku doesn’t have a built-in browser, this can cause quite a bit of difficulty. However, not all is lost.
Seeing as you have that limitation of not having a browser working against you, you just need to use this handy little workaround to get your Roku up and running. Here’s how:
- As with the first tip, the first thing to check is that your Roku is hooked up to both the TV and the power outlet. And of course, make sure it is updated, powered on, and has been activated.
- Next, turn on the TV and make sure that it is set to receive its signal via the HDMI port.
- Now you will need to either press the ‘home’ button on the Roku remote or use the smartphone interface to do the same thing. This will bring you to the ‘home’ page.
- You will now need to scroll up or down until you are resting on the ‘settings’ option and then hit the ‘OK’ button to go into that menu.
- Now that you are in the settings, the option that you should be looking for is the ‘network’ one. Hit ok to get into that.
- The ‘network setting allows you to browse through all of the available networks that are being picked up by your Roku. Look for the option that says, ‘set up connection’, highlight that, and then hit ok.
- Seeing as you are connecting to a wireless network, you should now go into the option that say ‘wireless’ and hit ok.
- Once you are in the wireless menu, you should now see the complete list of networks that are in range of the Roku. So, all you need to do is choose the one you want to use and hit ok.
- After you have hit on the Wi-Fi SSID that you normally use, you will next need to select the option, ‘I am at a hotel or college dorm’ – weirdly specific, we know.

From here, everything gets much easier. You will now get a set of instructions. All you really need to do from here is to follow the instructions given using your phone or laptop.
One thing to watch out for, though: go through these steps pretty quickly as you are only given a few minutes before it times out and brings you back to the beginning.
The Last Word
And there you have it. No matter what type of network you are trying to access, one of the above tips will be enough to get your Roku connected. In the rare event that neither worked for you, it is likely that there is something up with your Roku device.
In this situation, the first thing to do is make sure that it has all of its updates in order. After that, it may be time to consider giving customer service a call as you may have a faulty device.