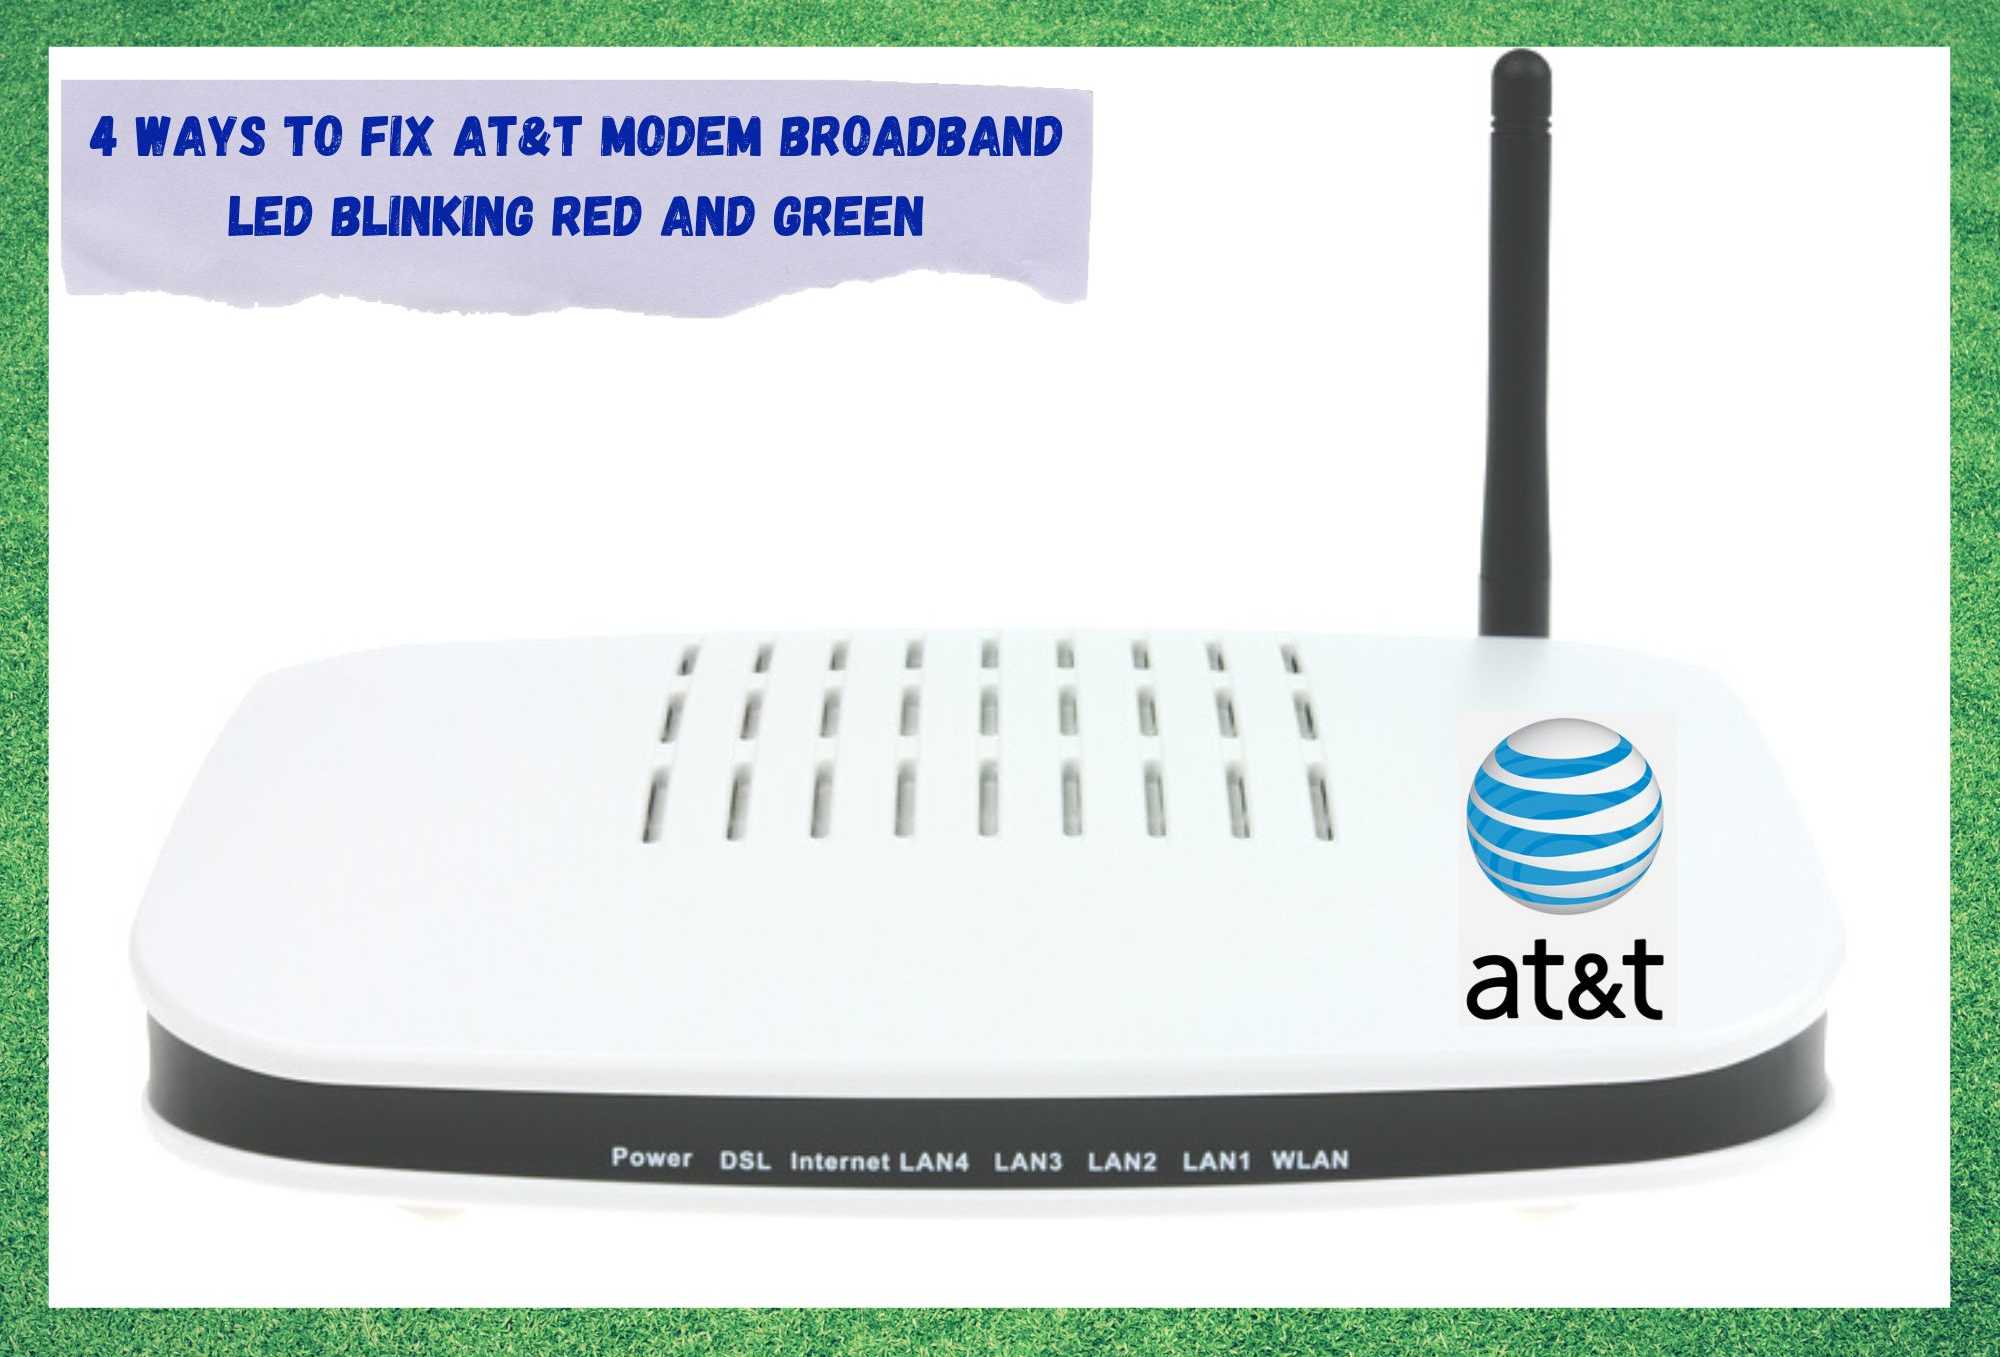
AT&T, the oldest of the telecommunications giants in the U.S. today, has always been a reference for its quality of service and products. Owning the majority, if not all of the national telephone service in the last century has certainly made AT&T a mark in the history of the business.
Nowadays, the company still sits comfortably among the top three carriers in the country and as the largest telecommunications company in the whole world by revenue.
Their services and products are known for their high-quality standards and, even if other carriers offer more accessible plans, due to its solidified position in the market, AT&T keeps getting more customers by the day.
Their internet service is no different, delivering an outstanding quality signal for fast and stable internet connections. It is practically impossible to be out of service in the U.S. as an AT&T customer.
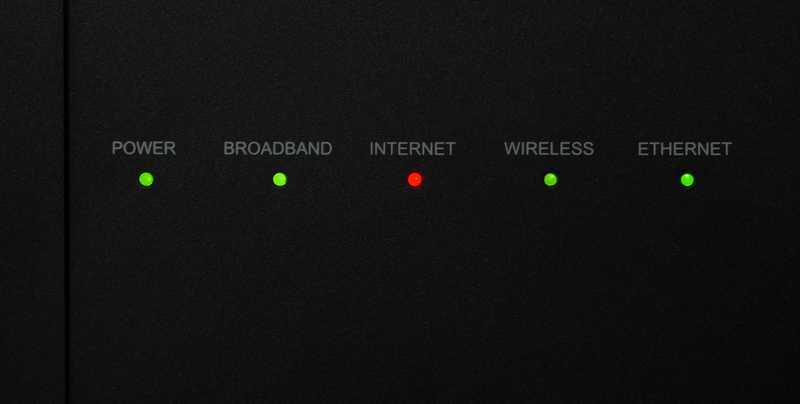
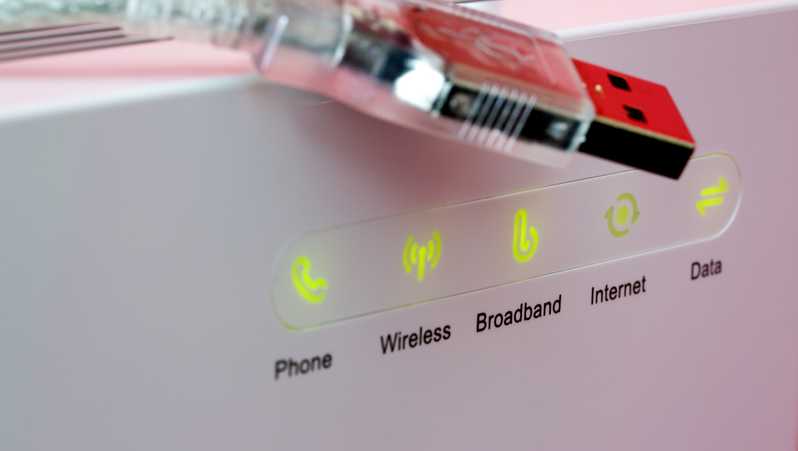
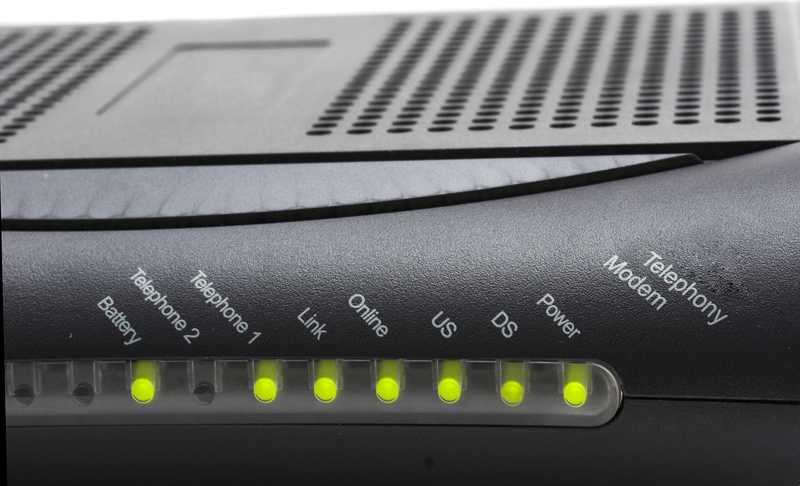
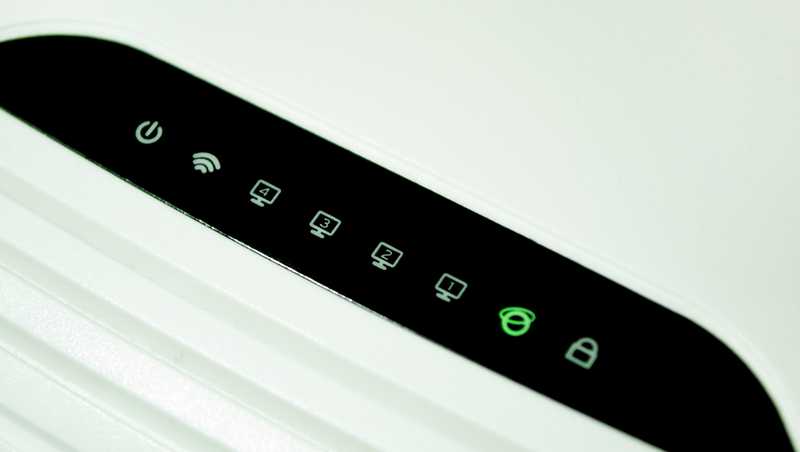
Their modems are of the highest quality and offer users a series of features that help enhance the navigation aspects. They also have a LED panel that indicates the condition and status of the internet connection.
Knowing what the lights in the LED panel are trying to tell you is paramount to keeping track of your internet connection, as they are even capable of foreseeing potential issues.
So, if you are the proud owner of an AT&T broadband modem and are experiencing problems with your internet connection, the LED indicators might have something to say about it.
Therefore, we came up with a set of information that should help you better understand the behaviour of the LED lights and allow you to act on possible issues even before they become a bigger problem.
Why My AT&T Modem Broadband LED Blinking Red And Green?
As mentioned before, AT&T broadband modems have a series of LED lights that indicate the condition and the status of the internet connection. Depending on the model, there may be more or fewer LED indicators, which doesn’t mean the outstanding features that attest to AT&T’s renowned quality aren’t there.
It is quite important for users to understand what these LED lights are trying to say in order to keep track of their internet connections’ health. Therefore, we came up with a list of functions of the LED lights that should help you get rid of any connection-related issues, especially the broadband LED blinking in red and green.
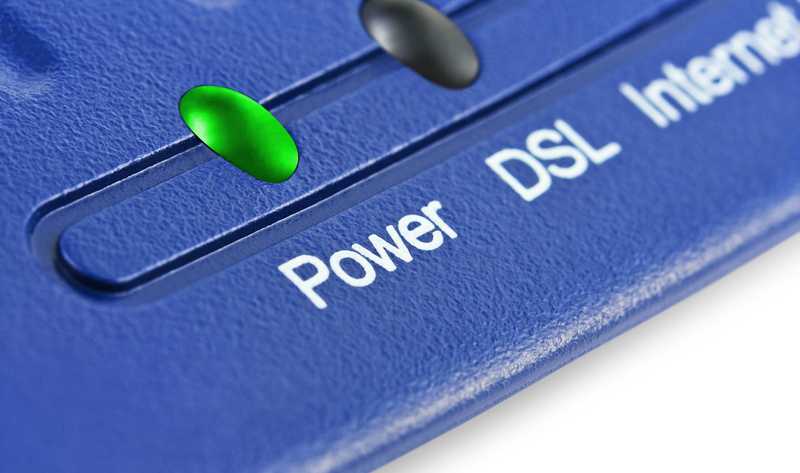
Power LED: This light indicates if the device is plugged into the power outlet and if there is enough current going into it to perform the tasks. If this light turns red, it means that there is something wrong with the power system.
Battery LED: This light indicates the level of the battery of the device. It should be green during usage, so keep an eye out for when it turns amber as the device is calling for a charge. If it turns red, immediately connect the charging cable, as it is trying to tell you the battery level is extremely low.
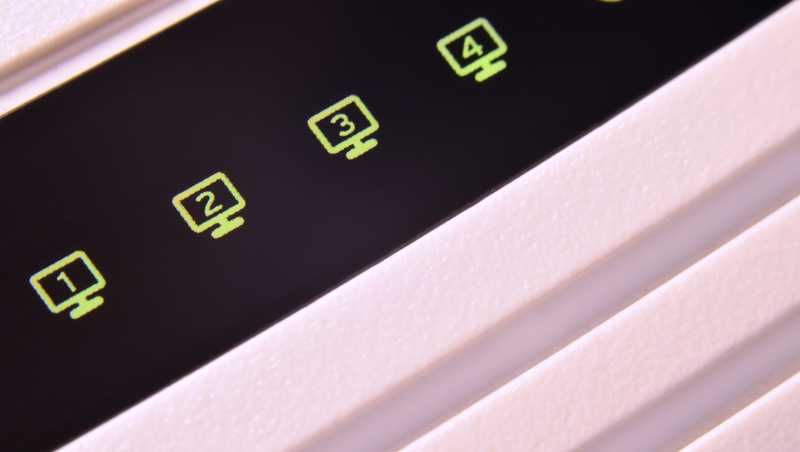
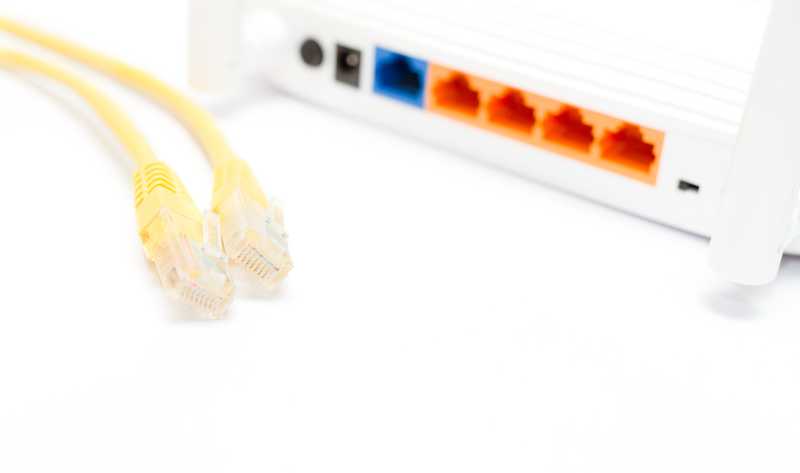
Ethernet LED: This light indicates if the Ethernet connection, should there be one, is active. Many users opt for a modem and router system for their internet setup and this kind of connection is mainly established through Ethernet cables. If this light turns amber, it means that there is a disruption in the signal transmission and if it turns red, there is probably no signal being passed on.
Wireless LED: This light indicates if the wi-fi network is active and running. Upon the connection, the LED light might blink in red until the procedure is successfully completed. If this light turns amber, there may be something wrong with the wireless signal, so check the connection with the router. If this light turns red, then the wireless network is down and more specific fixes should be attempted to restore it.
Home PNA: This light indicates if a PNA connection is active and running. PNA is an alternative to Ethernet as cabled connections and it is more largely used with devices such as video game consoles, TV set-top boxes, and other devices that require a more constant flow of internet signal.
Antenna/Signal LED: This light indicates the intensity of the internet signal that the device is receiving and transmitting. If this light turns red, there probably is an outage or the equipment may be damaged.
Download LED: This light indicates the flow of data that is being sent from your device to AT&T’s servers. It should be blinking in green the whole time so, if it turns amber or red, check the connection for problems.
Upload LED: This light indicates the flow of data being sent from AT&T’s servers into your device. It should also blink in green the whole time so, if it turns amber or red, give the connection a check as well.
Broadband LED: This light indicates if the connection with AT&T’s servers has been properly established. It also states the condition and status of the connection throughout the navigation so, if, at any point, this light changes colours, focus your efforts on finding the fix to the problem.
These are the most common LED light indicators on AT&T broadband modems and their behaviours. This list should help you further understand the lights and also know where to act in case they change colours.
Now, if your AT&T modem’s broadband LED is blinking in red and green, that means that the connection between the device and AT&T’s servers has not been properly established. In that case, your internet connection should not work. If that is the case, follow the easy solutions below and get rid of the issue once and for all.
1. Give The Modem A Reset
The first and probably most efficient solution for the problem is to reset the modem. Sometimes, it may happen that the connection hasn’t been properly established due to some faulty step along the procedure.
Resetting it may cause the whole procedure to be restarted from scratch and whatever faulty step may be redone in the proper way. To reset the modem, simply locate, press, and hold down the reset button for at least 30 seconds.
Once all the LED lights blink at the same time, you can let go of the button and allow the device to carry out the resetting procedures.
2. Give The Router A Restart
It may also happen that the broadband LED indicator blinks in red and green if the router is not able to process the signal sent by the modem. In that case, your efforts should be focused on the router itself, rather than on the modem.
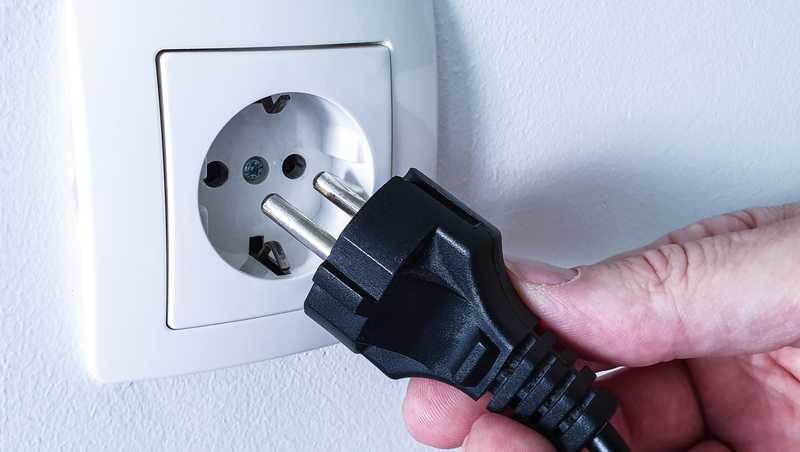
Even though most routers have a reset button hidden somewhere on the back, forget about it and simply unplug the power cord from the outlet. Then, give the router a minute or two to breathe before plugging it back into the power outlet.
Now, simply give it time to work through the reboot diagnostics and protocols and see it resuming its operation from a fresh and error-free starting point. Once the whole procedure is successfully completed, whatever configuration error that was causing the disruption in the signal transmission should be fixed and the connection should work.
3. Redo The Whole Connection Setup
Thirdly, it may happen that the connection between the devices may be experiencing problems. It could be something as simple as a loose or damaged cable or even an authentication problem with AT&T servers.
Whatever the case may be, redoing the connections should help you get rid of the issue, so unplug all the cables and redo the connection between the devices.
4. Contact Customer Support
In case none of the fixes above gets the problem solved, your last option is to contact AT&T’s customer support. With professional technicians of the highest level, the odds they will have a few extra easy solutions for you to try are extremely high. So, grab your phone and give them a call to ask for some extra help.
In A Nutshell
The problem that is causing the broadband LED to blink in red and green in your AT&T modem may have various causes. So, go through the easy solutions in this article and see the issue gone for good and your internet connection back to work in no time.
Lastly, if none of them works, give AT&T customer support a call and get some extra assistance.
