Internet technology has evolved a huge amount in the last few years. For most of us, even the idea of having a dial-up connection seems laughable now.
And, with an ever increasing demand for cutting edge technology, there are more and more manufacturers out there trying to get a foothold in the market. Of these, ASUS are definitely one of the more reputable brands out there. Their gear is at once decently priced, effective, and relatively reliable.
These days, most of us out there will see the obvious advantages to choosing a dual-band router. The main reason for this is that many devices work on the 2.4 GHz bandwidth, and very few operate on the 5GHz one.
So, if you are finding that your signal is getting interrupted and intercepted, you can simply switch over and generally everything will work as it should again. However, we also realize that there is very little chance you would be here reading this if everything was working as it should.
Seeing as there are an increasing number of you reporting difficulties getting the 2.4GHz bandwidth to work on your ASUS routers, we thought we would put together this little guide to help you get it fixed. So, if this is the trouble you are facing, you have come to the right place!
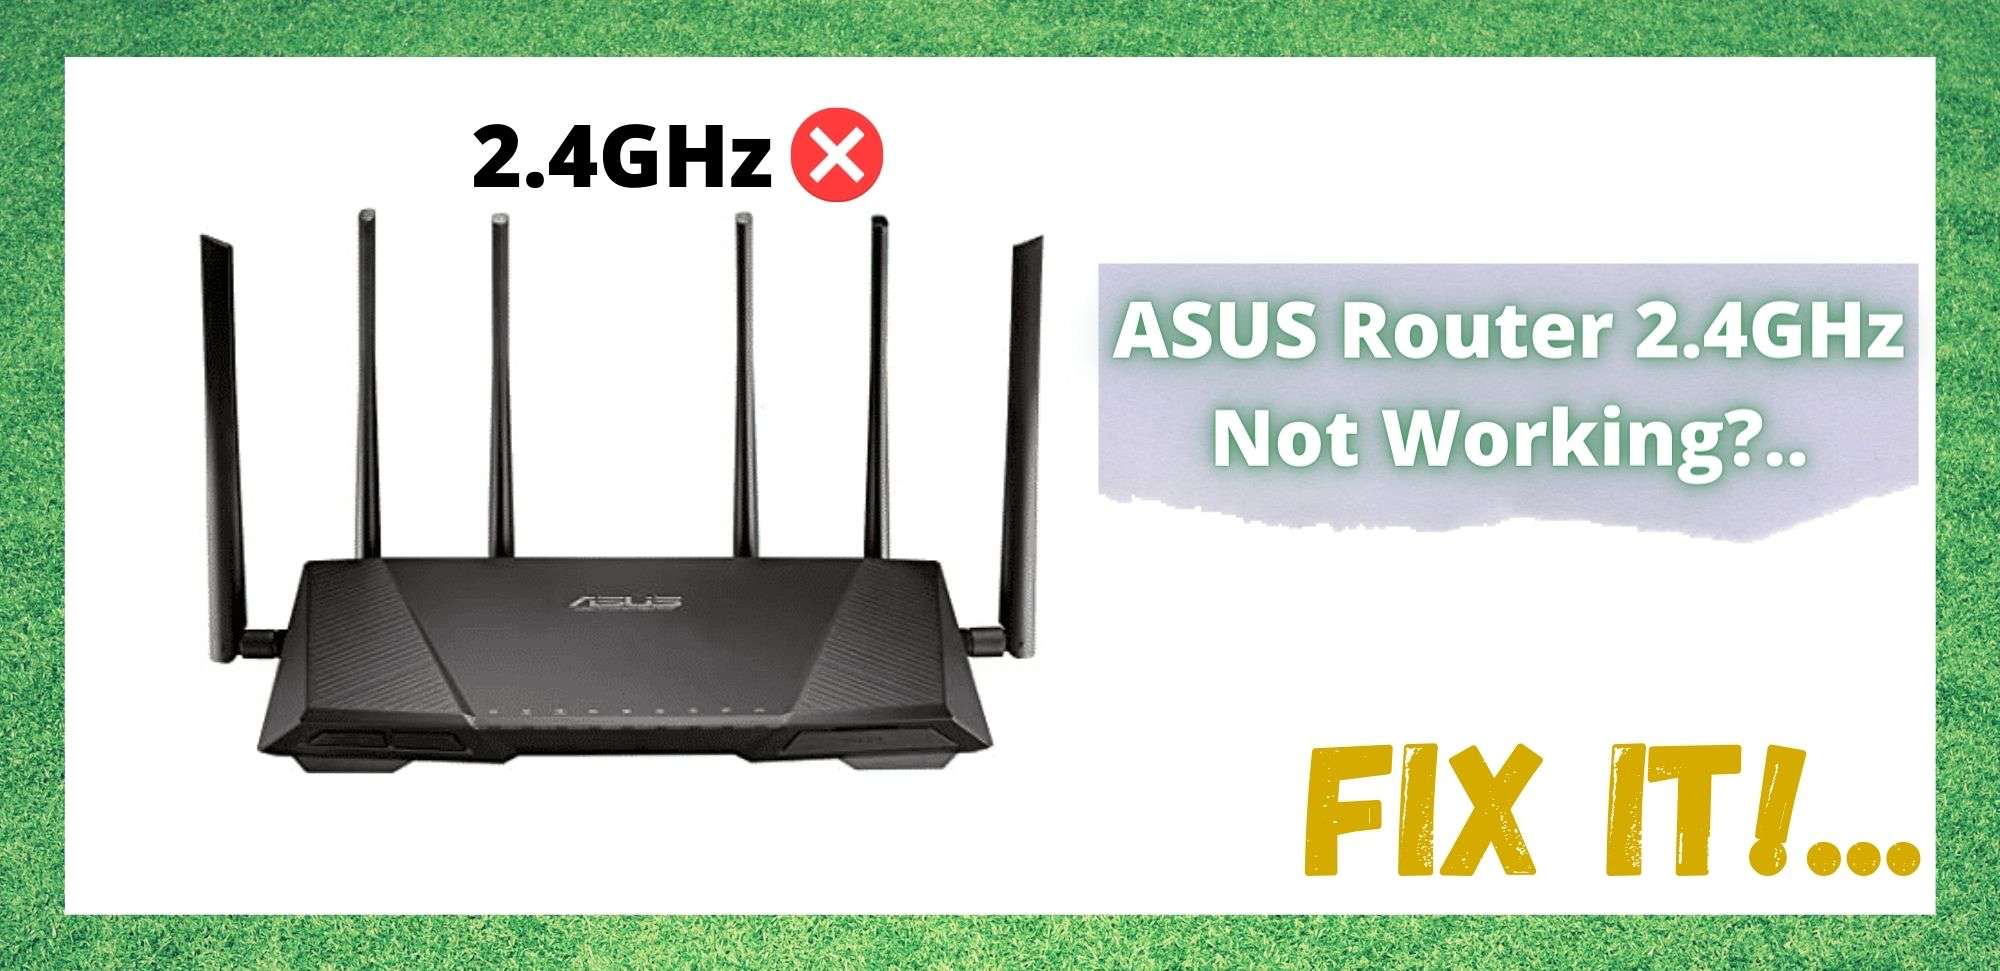
ASUS Router 2.4GHz Not Working?.. This is How to get the 2.4GHz on your ASUS Router working
As we mentioned above, ASUS are generally a very reputable and reliable brand. Really, there is only one reason for this reputation – their stuff is very well designed and built. As a result of that, problems with these routers are few and far between and normally really easy to fix.
So, if you aren’t all that techy, don’t worry about it. The steps below are all really simple and won’t have you taking anything apart. With that being said, let’s get this problem fixed!
1) Check that you are using up to date Firmware

With routers and pretty much all other net devices, it is always important that you perform routine updates to keep them in top condition. Normally, these updates will be performed automatically.
However, it is possible that you may have missed one along the line somewhere. When this happens, the performance of the device can be compromised, every now and then to the point that they can’t do their job any more. So, to check whether this is the case with your router,
there are two ways to go about it. If you want to update your firmware manually, all you will need to do is visit the official ASUS website. While you are there, you will notice that there is a file that you can download. Alternatively, you can get the same updates by going through ASUSWRT too.
2) Switch to a different Control Channel
Every now and then, you can end up connected to a control channel that is just a little too congested. If this is the case, the result will end up being that you may not be able to establish a decent connection on your 2.4GHz band.
This may all sound a little tricky for some of you, but fixing it is really easy. All you will need to do is switch to less congested control channels. If you have never done this before, don’t worry. We will lay out the steps for you below:
- The first thing you need to do is go into your wireless and then go into “general settings”.
- Then, choose the band you want to use (2.4 in this case) and move to the control channel.
- Next up, all you need to do is just scroll down and choose a new control channel and hit “apply” to save your changes.
And that’s it! For quite a few of you, that should be the problem fixed. If not, it is time to move onto the next step.
3) Adjust your “Smart Connect” Settings
With new and advanced routers, there is always going to be some new features that we may not have even realized were there. For ASUS’ news range of routers, this feature is the Smart Connect.
Like any other advancements that they have made, this is designed to assist you forming a connection to the internet. However, when you aren’t able to connect to your 2.4GHz band, it is actually quite likely that it is the Smart Connect that is holding you back.
So, the only thing to do is reconfigure it so that it becomes a help rather than a hindrance. To do this, just follow the steps below:
- First up, you will need to input your router’s IP address in the browser search bar.
- Then, when prompted, you will need to login using your username and your password.
- Finally, all you need to do is go into the menu and hit “enable smart connect”.
As soon as you have done this, give your internet connection a quick test. With a bit of luck, the Smart Connect will have made all the necessary adjustments and optimized your connection on your 2.4GHz band.
4) Try adjusting the Antennae
Ok, so if the above steps haven’t worked for you yet, it may be time to make some adjustments on the physical end of things. Though it may seem that the antennae on your router can work no matter what direction they are pointed, these things do have an effect on your signal.
In fact, given that their entire bit is to receive signals, the opposite is true. However, seeing as we are not physically there to guide you on the optimal set up, the best we can do is advise that you gradually tweak their positions until you get the result you are looking for.
So, if you see one at a 45 degree angle, move it until it is at 90 degrees, and vice versa. With a bit of luck, this will improve your signal.
5) Minimize Interference from other Devices
In the opening paragraph of this article, we briefly mentioned that the 2.4 GHz bandwidth is more prone to interference than the 5 GHz one. The simple reason for this is that there are quite a few devices that operate on the 2.4GHz band.
So, if there are a few devices like this in a small area, your signal can end up getting caught up in what we could probably best describe as a traffic jam. Of all of the devices in your home, the most likely culprits are things like cordless phones, Bluetooth speakers and devices, and microwaves.
In addition to having to keep an eye out for these devices, it can also be the case that your signal is being blocked by things like walls and heavy furniture. So, when placing your router, try to accommodate for all of these factors as best as you can and you should notice that your signal strength will be boosted.
The Last Word
Unfortunately, if none of the above fixes have worked for you, it may be time to consider the theory that your router may have some serious malfunction. As a last resort, we do have one more thing that you can try.
Given that you have probably updated the router’s software and firmware already, it is time to do the same for the drivers on your PC.
So, if you are using a PC, make sure that you have updated the network card driver. Beyond that, we are afraid that the problem is far too serious to be fixed via a troubleshooting guide. It is time to call in the pros!
I had to change my Authentication Method from WPA2-personal to WPA before i could connect to my wifi from the TV.
If you are experiencing issues with your 2.4Ghz & 5Ghz networks.
Step 1: Hard Reset the router (Hold the reset button on the back of the device for 5 seconds) and do not import a config.
Step 2: During the initial setup do not use capitals or special characters in the SSID or password fields for your 2.4 & 5Ghz networks, use only lowercase and numbers.
Step 3: Use whatever you would normally for your admin login and password.
Step 4: Connect devices on your 2.4Ghz/5Ghz networks.