In the early days of everyone being able to get access to the internet, there wasn’t really that many providers to choose from. You sort of just had to accept what you were given. These days, that just isn’t the case anymore. In some ways, this is an excellent development for the consumer.
After all, with more competition out there, prices will inevitably be pushed down. And on top of that, companies will fight to offer better speeds and more and more reliable connections.
However, this can be a double-edged sword, too. Though there are several great companies out there, some providing truly excellent equipment, there are also some entities that are just chancing their luck. And with that, they’re cutting corners where they really shouldn’t be.
Thankfully, ASUS fall into the category of the ‘better’ and more reliable when it comes to their kit, with their routers being amongst the top in their class. They generally are reliable, and they don’t burn out anywhere near as fast as some of their competitors.
Still, with that being said, they can still face a few minor issues every now and then. Of these, the most prevalent at the time of writing is the issue wherein the router seems to be running at a fraction of the speed it should be.
There’s good news though. This doesn’t necessarily mean that your little ASUS router is done for. So, before you write it off, have a look at our 8 simple fixes below.
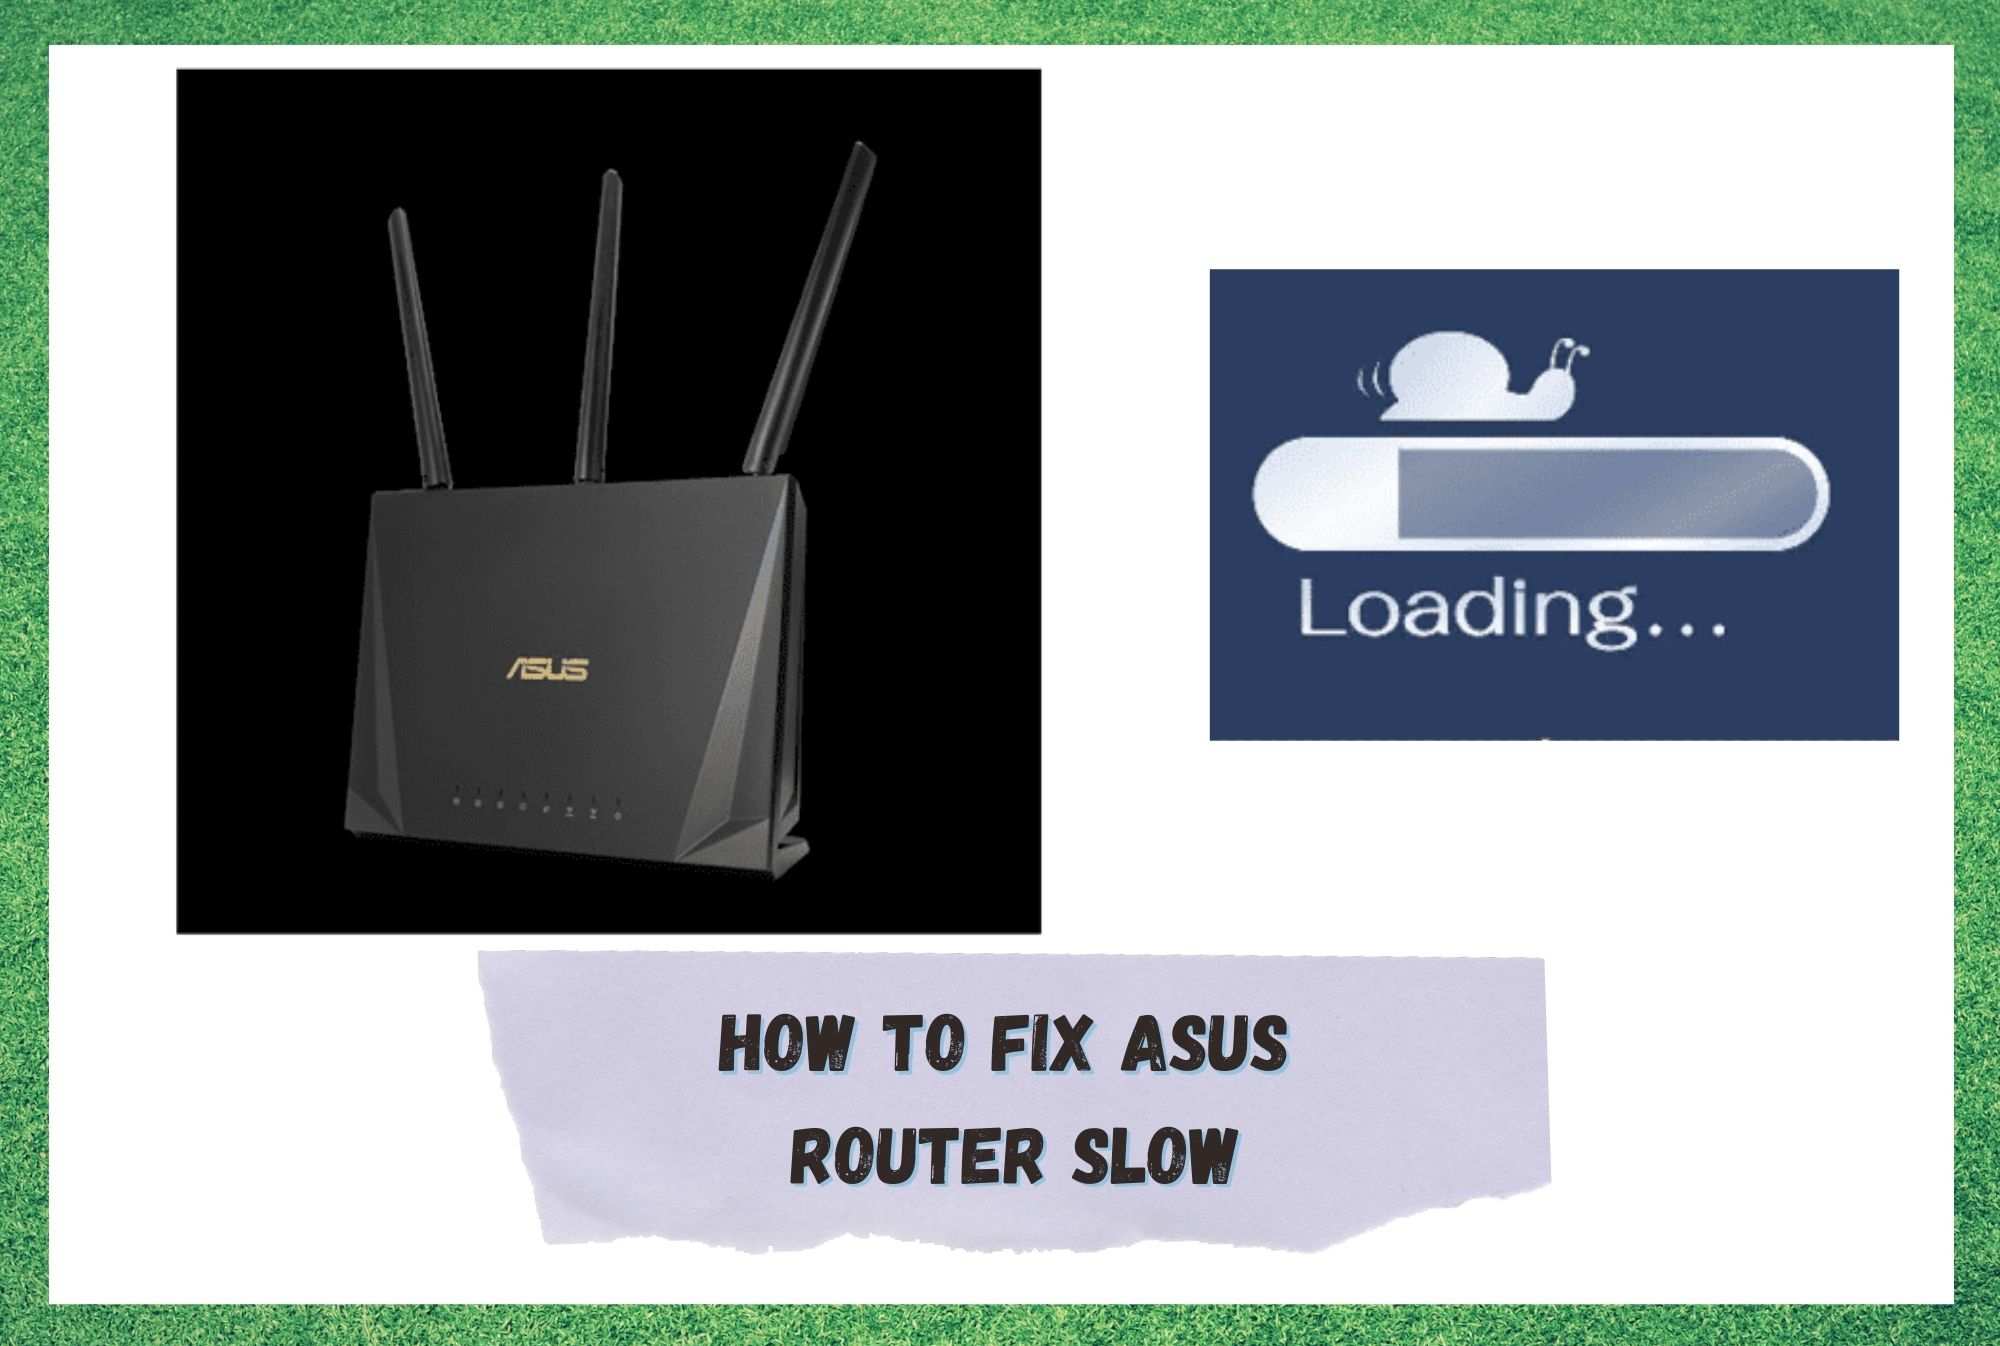
How To Fix ASUS Router Slow
Right, it’s time to get stuck into the business end of this article. But before we begin, we should note that you don’t need to be a tech whiz to get through these steps. None of them requires you to take anything apart.
We also won’t be asking you to do anything that could end up damaging the device. Consider these steps as the first port of call when your router starts acting up. Your role is as the first responder, effectively.
- Check various networks in your area
When your speeds have dropped dramatically for what seems like no reason at all, the first thing you should think to check is the speeds of other networks in your area/region.
This may sound a bit tough to do, but seeing as we live in the future, there are actually apps out there that can do all the hard work for you. By downloading one of these apps, you can scan for less congested channels, giving you the best chance possible of regaining a high-speed connection.
- Make sure you are using the right settings
One great advantage of using ASUS gear is that they give you access to mobile apps that you can use to manage how your Wi-Fi network works from your phone. The downside? There is a limit to what you can do with this. It’s a bit limited in terms of how many things you can customize.
So, let’s go for the jugular here and use your PC to work it out. Basically, all you need to do here is find your IP address. Then, just type that into the web browser that you use. This will then give you access to a full range of settings that you couldn’t get to from your smartphone.
Among these, you’ll have settings such as passwords, internet speed provision, what devices are connected, and access points. If you are not familiar with adjusting these sorts of settings, we would always advise that you simply restore anything that you may have changed (perhaps accidentally) to their defaults.
- Make sure you are using the correct wireless mode
This step again falls under the rather broad umbrella of ‘settings’. These days, pretty much all routers will come with a few different wireless ‘modes’ as a standard. Though they’ll have their own sets of advantages, having the wrong one on could likely be causing you a bit of hassle.
Here is a quick rundown of the modes and quick tips on which may be best for your situation and needs:
- Auto: In the vast majority of cases, this is the one that will get you the best results. Basically, it’ll normally top out your speeds.
- N: If you are using the 2.4GHz band, along with some older devices, this will be the best choice for you.
- Legacy: This one is rather aptly named as it will work best with devices that are over the decade-old mark.
- N/AC: If you are fond of using the 5GHz band, this will be the best choice for you.
- Adjust the channel bandwidth
It is possible that you may just need to adjust the bandwidth settings. This can be done from your general router settings by selecting the to-be-configured band from the general tab, then scrolling down the list.
You will notice that there will be several available options here; 20, 40, and 80MHz. If you want to, you can even try making a combination of them.
- Free Channels
Next up, we will need to make sure that you have selected the right band to configure and then the right channel – the free one. As a standard, absolutely every area will have a few free channels.
The trouble is that these can quickly become congested. So, what you need to do here is choose a lesser-trafficked one and then click into it.
- Multi-user MIMO settings
By accessing this setting, you can effectively allow for the serving of different clients at the same time – all from the same router. The bad news is that this feature can only be used if the router you have is able to transmit a signal on the 5GHz band.
This will mean that you may need to upgrade to a more modern router if you happen to be stuck with 2.4GHz or 802.11n.
- Beamforming
Beamforming settings are all about making sure that you are directing your signals in the right direction. So, it’s pretty useful stuff. To check this, all you need to do is go to the beamforming section of your settings menu and make adjustments from there.
Once you’ve played with these settings for a while, you should then notice that you can work out how to improve your signal reception without adding any extra interference into the mix. This can be done with both the 2 and 5GHz bandwidths.
- Disable DoS protection
If nothing else has worked yet, we have but one more suggestion before it’s time to call up customer service. There is a feature called DoS protection, which most people will have disabled as a default. However, it may have been switched on at some point in the past.
If it has, there is a decent chance that this is the culprit behind your ASUS router being sluggish as it demands quite a lot of the hardware. Again, you’ll need to go into your settings and make sure that this feature is disabled. Once you’ve done that, you should notice a marked increase in your speeds.


I tried all this.
What worked for me is to disable “ IGMP Snooping” for Sonos, AppleTV and other remote devices to work faster.
Because of security I disabled UPnP (224.0.0.1).
For real spread up I have put together this list of commands, that have to entered through SSH. One line is one command. Normally everything can be copy-pasted (start/finish between the #):
#####
Alle:
ebtables –flush
ebtables -A FORWARD -p IPv6 -j DROP
ebtables -A OUTPUT -p IPv6 -j DROP
ebtables -A INPUT -p IPv6 -j DROP
ebtables -A INPUT -p IPv4 –ip-dst 224.0.0.1 -j DROP
ebtables -A FORWARD -p IPv4 –ip-dst 224.0.0.1 -j DROP
killall -q -9 mcpd
brctl setfd br0 20
brctl setfd br1 20
brctl setfd br2 20
brctl sethello br0 4
brctl sethello br1 4
brctl sethello br2 4
exit
#####
Have to SSH into every mesh router. The username is admin, and password your router admin password.
All the settings will be lost if you restart the router.
Disabling QoS gave me an extra 100 Mbps. I had it enabled to throttle the other connections in the house.
thnk u for the qos disable saved my life