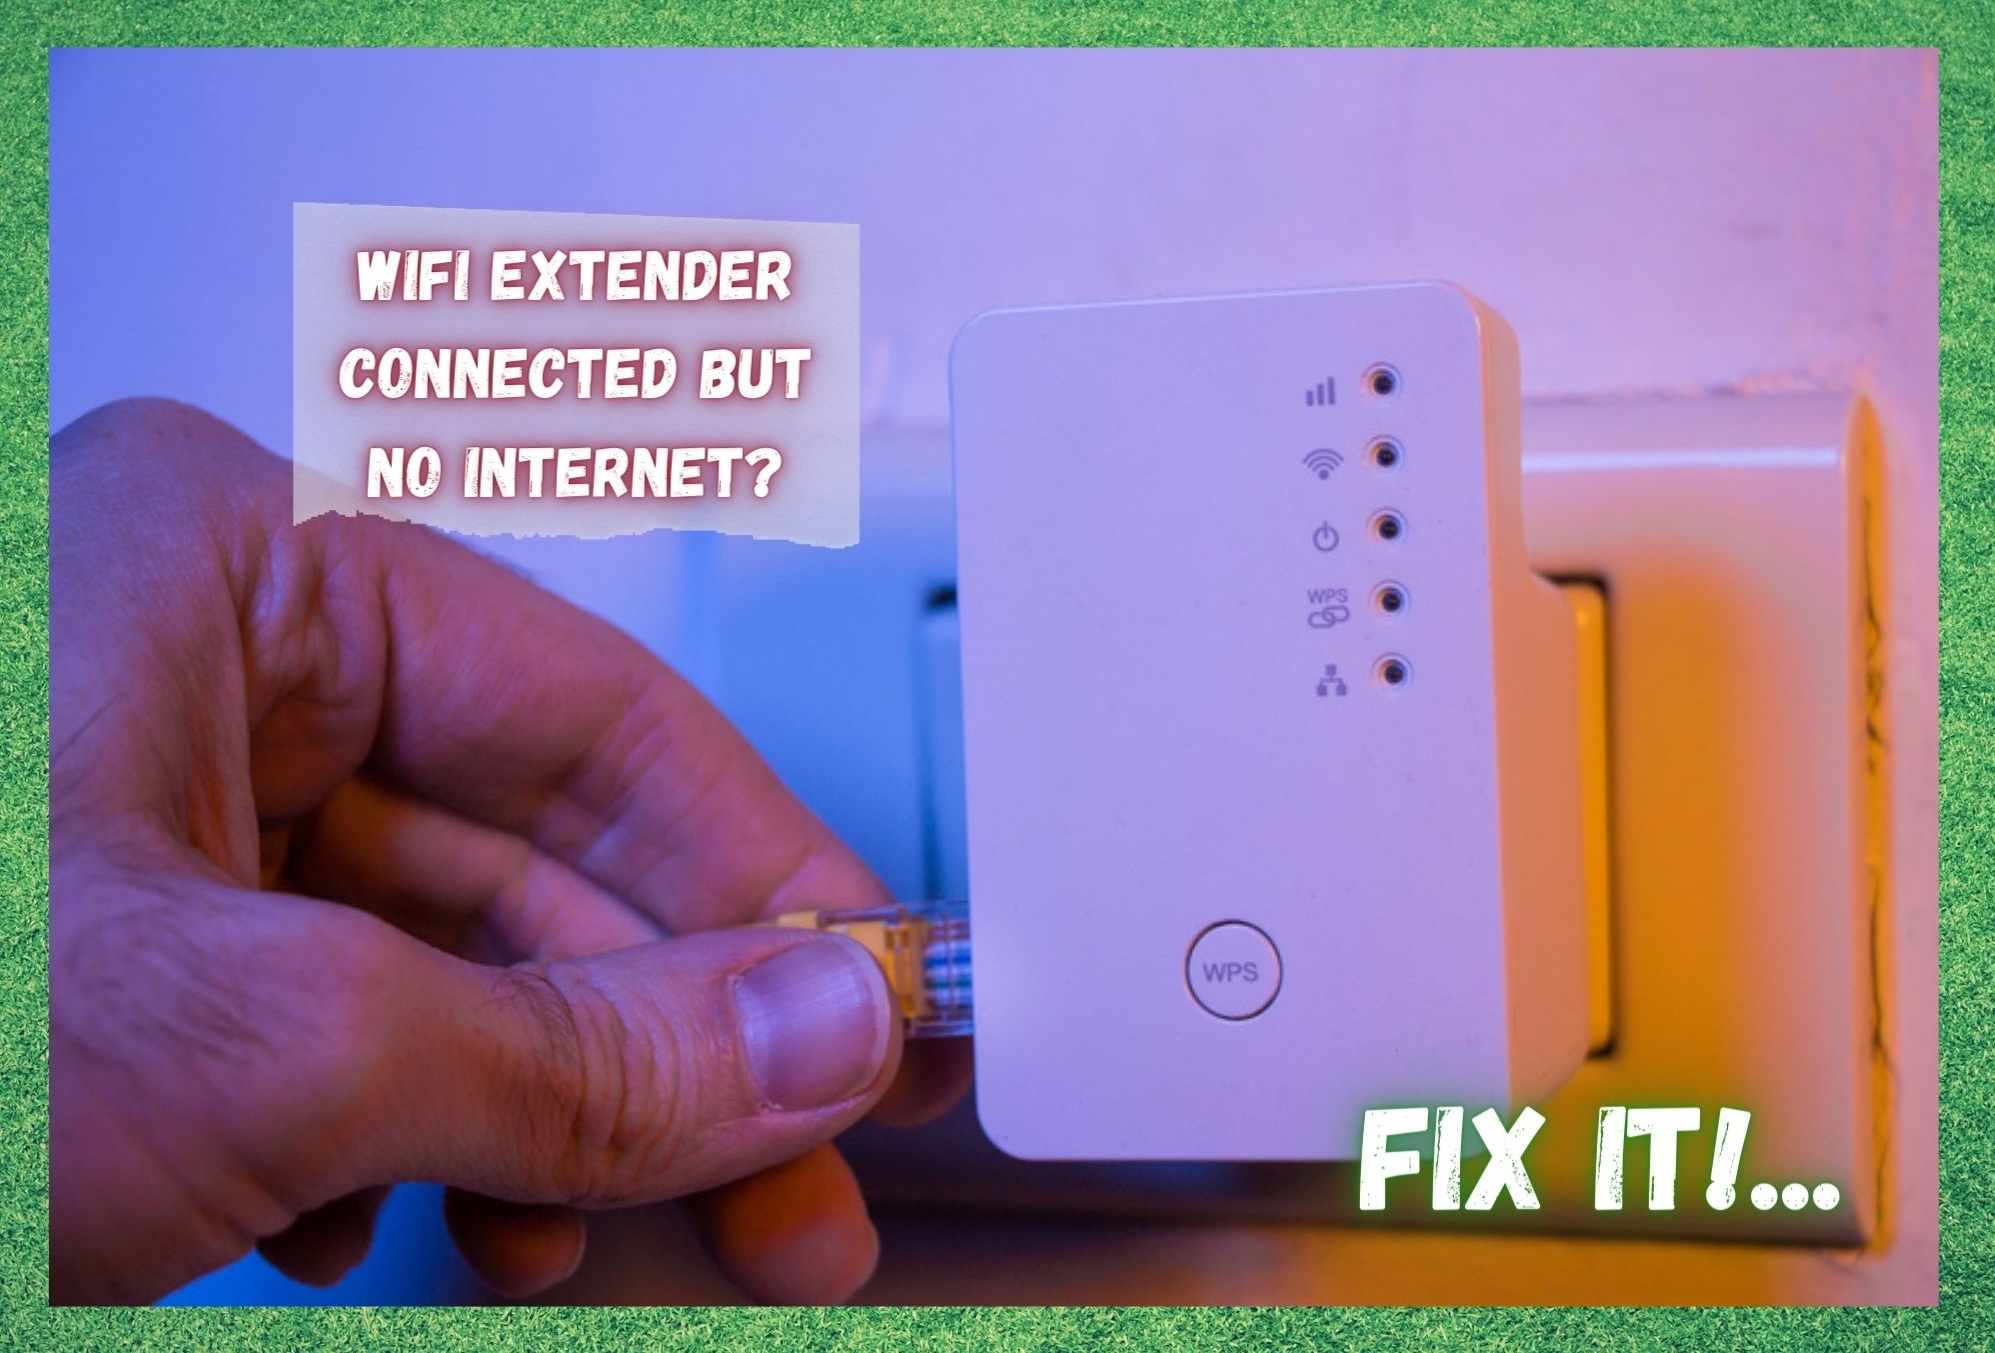
For people who have bigger homes or offices, Wi-Fi extenders have become the go to choice when it comes to improving the strength of their internet signal.
They also increase the coverage of the Wi-Fi signal, which is one of the main reasons they are so popular. It’s much more practical than getting a second router- not to mention that it’s also much cheaper.
That being said, there are still some issues that you may face if you choose to get a Wi-Fi extender. One of the most common errors that occur is that there is no internet even though the Wi-Fi extender is connected. If that’s something you’ve also been struggling with, you’re in the right place. Keep reading to find out five ways to fix this problem.
Wi-Fi Extender Connected But No Internet?
Below are 5 fixes for this problem. If you have no experience fixing issue such as these, try not to worry about it too much. We will do our best to lay out all of the info we have in the most logical way possible.
In addition to that, we won’t be asking you to do anything that could risk damaging your device. With that having been said, let’s get started!
1. Try Downloading An Antivirus App
Most people don’t even take this into consideration but using an antivirus app or software on your device can greatly improve your internet connection. That’s because viruses and other malicious files can cause all sorts of troubles with your connection.
If your device has a Windows OS, it should come with a built-in firewall which you can enable either in the network settings or in the security settings. It just depends on the version of your Windows OS. However, if you are using some other device, you will probably have to install the antivirus app yourself.
On the other hand, if your firewall is already enabled and you have an antivirus program and you are still having issues with your internet connection, then we suggest that you disable the firewall. You will also have to disable the antivirus app on your device. Maybe even delete the app completely if you are using a smartphone.
2. DNS Provider
If your Wi-Fi still isn’t working, that could mean that the issue lies within the corrupted DNS. If this is the case, it might be smart to switch from the server that’s provided by your internet service provider to Google DNS or Cloudflare DNS.
Your internet connection should be able to work once you’ve made the switch to better DNS providers. Not only that but the speed of your internet should improve as well.
3. Flush The DNS Cache
If you’re using a laptop or a PC and the internet connection issue is still persistent, we suggest that you flush your DNS cache. If you’ve recently changed which DNS server you use, this step is crucial for optimizing your internet connection.
In order to flush the DNS cache, you’ll need to hold the Windows button and the “R” key and type in “cmd”. You can also type “cmd” in the Start Menu’s search bar for the same results.
Once you’ve typed that, press enter and Command Prompt should open up. Type “ipconfig/flushdns” in the Command Prompt and press enter. After this you should receive a message saying that you’ve successfully flushed the DNS cache. Your internet should start working after this.
4. MAC Address Filtering
If your internet still doesn’t work, we suggest that you check whether the MAC address filtering is enabled on your internet router. If it is, you won’t be able to connect to your Wi-Fi until the MAC address of your device (that you are trying to connect to the internet) allows it to attain the IP address. In that case, there are two things you can do.
You can either disable the MAC filtering on your router or you can add the device to the whitelist. You also have to make sure that your MAC address is not being spoofed by your device. Once you’ve made sure of that, your internet connection problems should be gone.
5. Change The Wi-Fi Channel
Your internet connection issue could be caused by interference from other devices on the same network. This usually happens when there is some other signal that’s using the same wireless channel as your device.
So, in order to fix this, you just need to change the wireless channel and connect to a channel that is not as crowded as the one you’re using at the moment. This should fix your Wi-Fi issues.
If this doesn’t help either, we suggest that you contact your internet service provider and ask them for help. Make sure to mention the methods that you’ve tried so far. That way, they can likely get to the root of your problem much quicker. Hopefully, they will be able to help you solve this issue without too much difficulty.

