Many TV viewers opt for satellite services due to their large range of channels, outstanding audio and video quality, and most of all – their affordable prices.
Nowadays, users have tons of options for satellite TV providers, who are also investing in streaming platforms to deliver even more content. With this, satellite TV providers are aiming at securing an even higher share of the entertainment business.
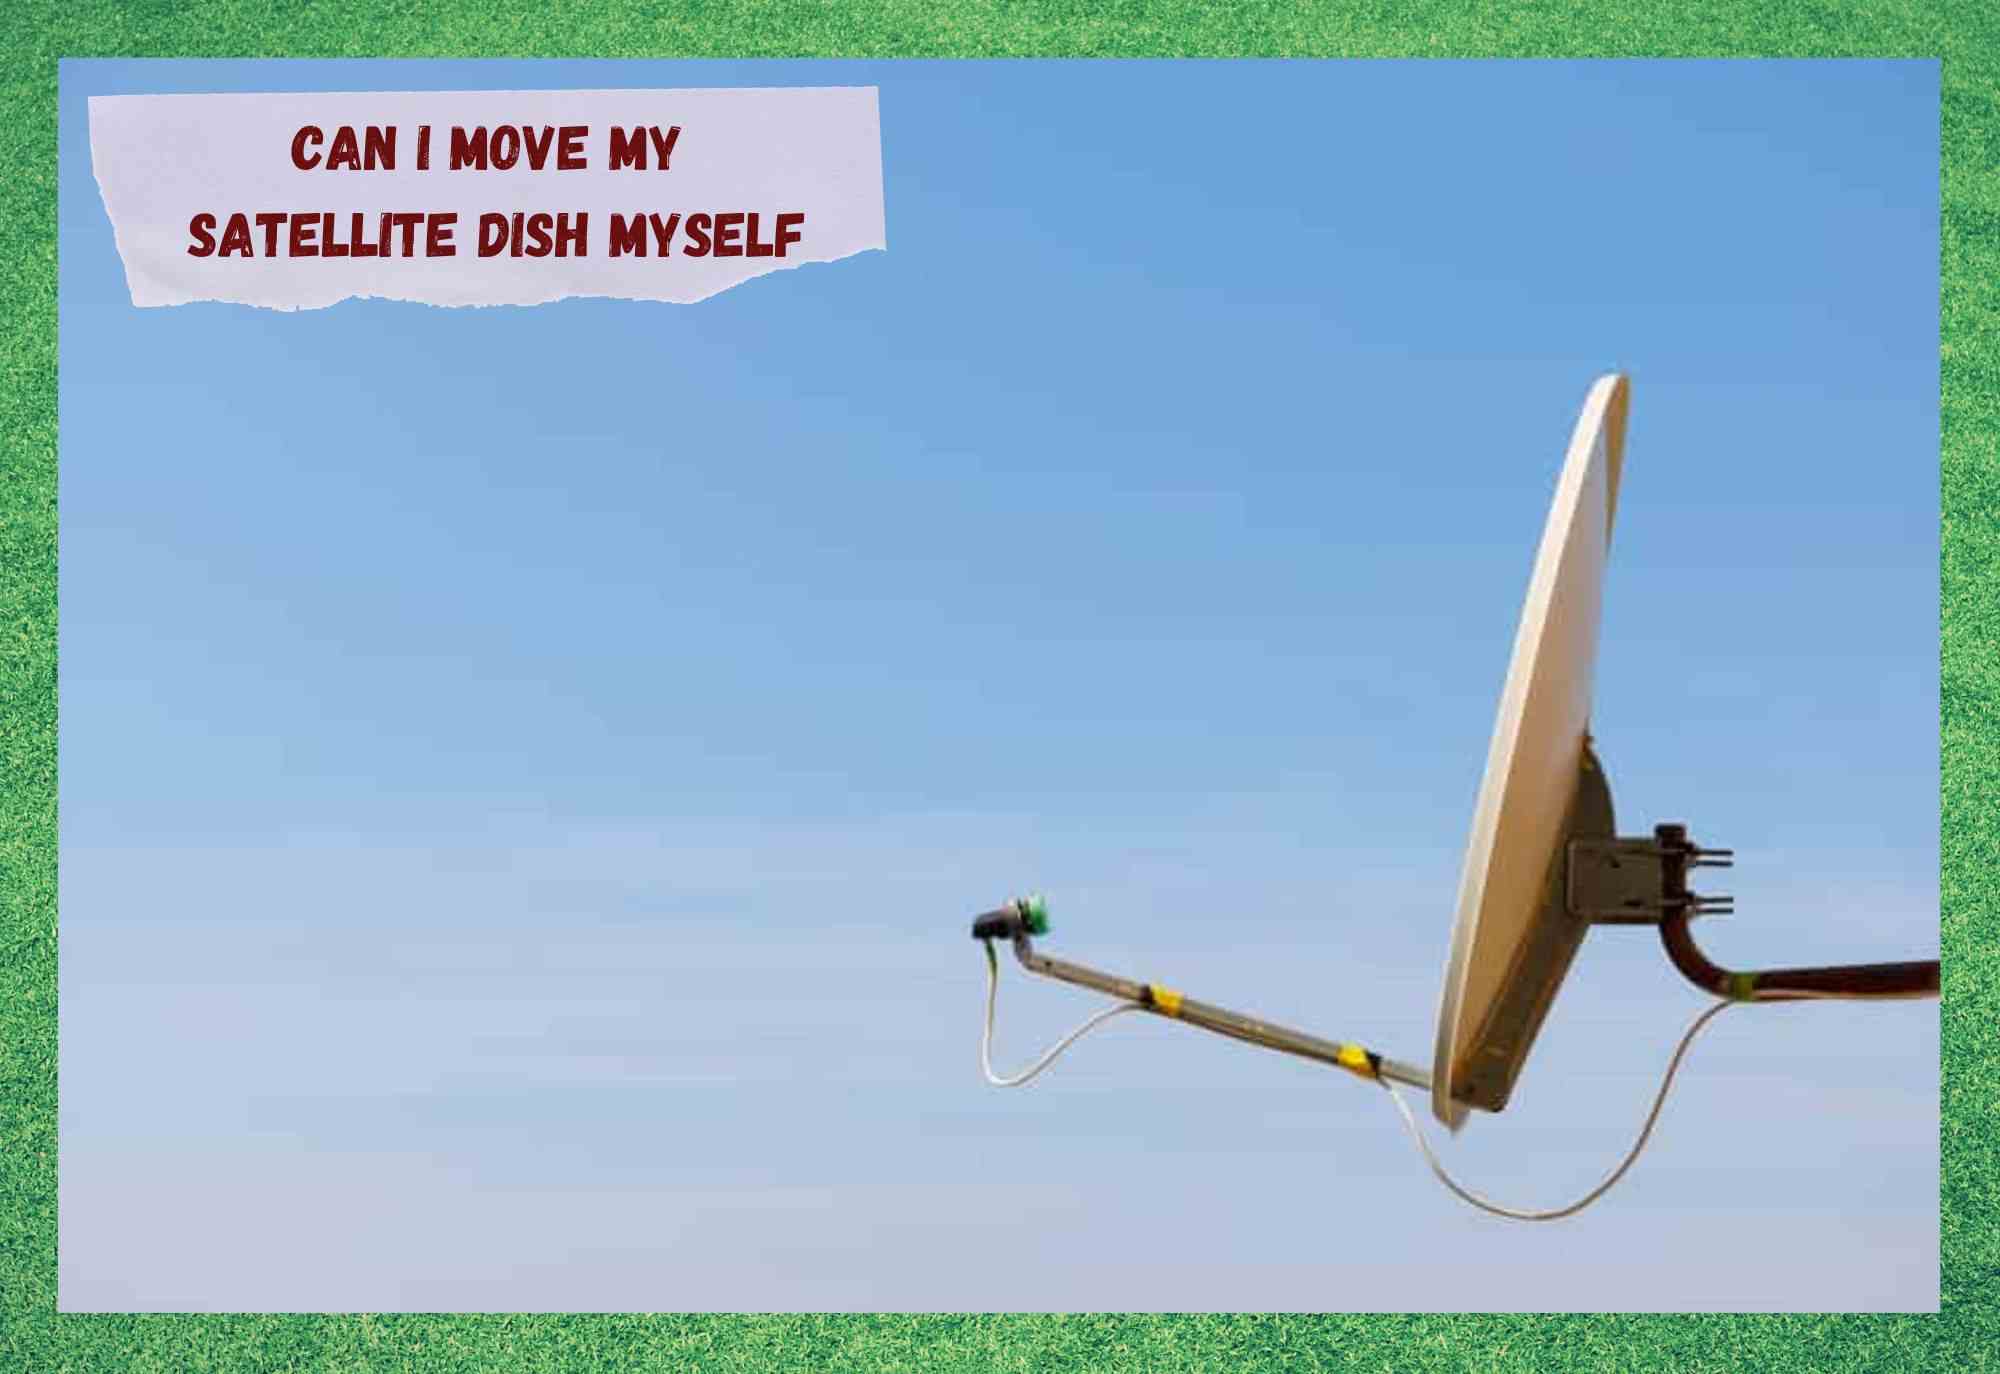
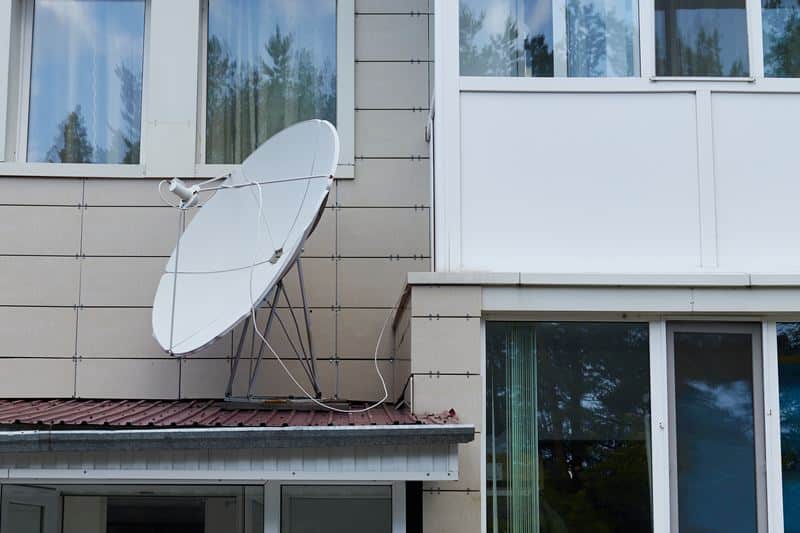
Satellite TV services, in case you don’t know, operate through a signal that is sent by an orbiting satellite to users’ own satellite dish, which is normally placed on top of roofs or outside windows.
This is mainly because the signal is less likely to suffer any sort of interference while travelling from the orbiting satellite to the users’ dishes. The signal is then sent via a coaxial cable to the TV receivers which, in turn, send it over to the TV set.

That is a fairly simple setup to understand, although, for providers, it can work out to be quite expensive to send a satellite into space.
What can be costly for users are the moving fees for their satellite dishes. Not only do they have to go through the hassle of contacting their providers (we all know how long that can take) but also wait for confirmation whether the new address can receive the service or not.
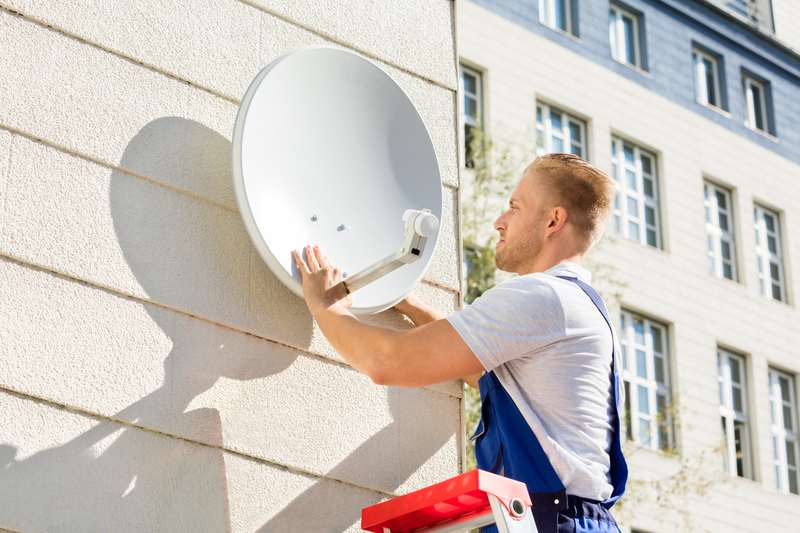
Then, the provider sends someone over to uninstall the satellite dish and move it over to be installed in the new location. All that takes longer than users normally want to wait, which can lead them into thinking they can do this part of the moving on their own as well.
If you are wondering if you can move the satellite dish yourself, from the top of your roof to the house you are moving into, check the info we brought you today.
I Want To Move My Own Satellite Dish
First of all, as you are probably still wondering if it is possible to move your own satellite dish, the answer is yes, you can. The best part is that it is actually not that difficult a job, as you will find out. However, it will definitely come in handy to have the user’s manual around, especially during the re-installation process.
Many people, after getting their electronic devices properly installed, forget to keep their manuals around. This means they will have to go through the internet to get the info they need again.
Gladly, they are fairly easy to find – so, in case you lost the user’s manual of your satellite dish, find an online version that will aid you during the moving task.
Once you decide to move the satellite dish on your own, you will notice the procedure described in the manual is quite easy to perform. Whether you have the user’s manual or not, here are some easy steps you should take to ensure the uninstallation and re-installation go as well as they could:
Can I Move My Satellite Dish Myself
- Be Aware Of The Equipment You Will Need
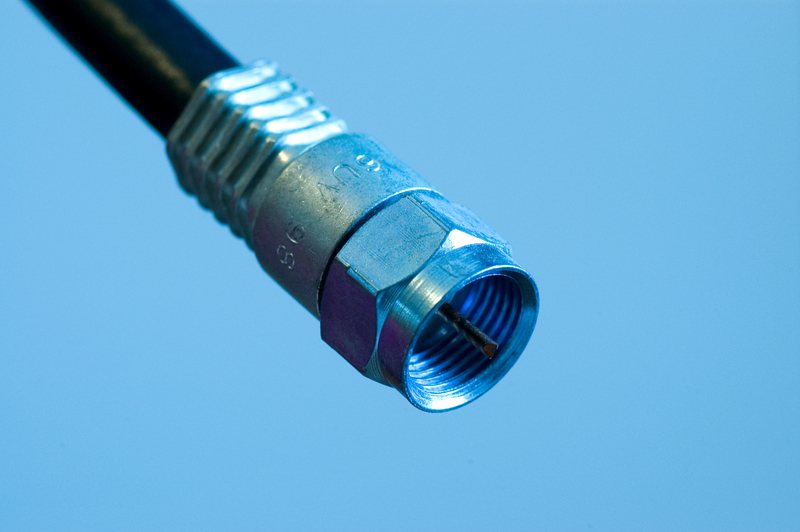
However easy the uninstalling procedure is, there are some noteworthy parts when it comes to the equipment necessary for the task. First of all, make sure you have a long enough coaxial cable to connect the satellite dish to the receiver at the new house.
Also, refrain from using tools that are not proper for the job. That is to say, screwdrivers and wrenches are more efficient than pliers, and safety gloves might also seem like too much, but they shouldn’t be disregarded.
Additionally, the position in which you pick to re-install the satellite dish should be carefully chosen. Any sort of obstruction, even the slightest, can already cause the signal not to reach its destination or do so in parts.
This will give you a few headaches as you will have to go through the whole calibration and the channel tuning once again, from scratch. That is, if you are lucky enough not to have to go through the frequency band selection.
- Run The Satellite Setup Mode
Once the satellite dish is properly installed in a part of the house where the signal won’t experience any kind of obstacles, make sure to run the setup mode. Most satellite TV services provide users with an easy and user-friendly prompt-led installation process.
Even though it might seem, at first glance, that installing and configuring a satellite dish is such a hard task, with the installation prompt, the job gets that easier. So, simply follow the steps and get the satellite dish properly installed and configured.
- Make Sure To Properly Adjust The Satellite Dish
After configuring the satellite dish through the prompts in the setup mode, the next step is to adjust the position of the satellite. As you know, the signal received by the satellite dish on your roof, or outside your window, comes from the provider’s orbiting satellite.
That means the signal is travelling all the way from space directly to your own satellite dish. Throughout the whole way, there are chances of something interfering with the signals path, but it is your job to find the best possible position for the dish.
Since the advent of the Azimuth adjustment mode, satellites have been calibrated through this method.
The explanation and the steps of the Azimuth method are in pretty much every satellite dish user’s manual. So, grab yours and check how to perform the adjustment in such a way that your dish gets the best possible signal.
- Have A Helper On Hand For The Fine Tuning
Even though the Azimuth positioning method is quite easy to go through, it may be necessary to make slight adjustments once the procedure is completed.
For this, you should get some help, as it might be impossible to make small adjustments and keep track of the signal strength at the same time. So, call a friend or a family member and have them keep track of the signal while you tweak the dish to the position where the reception is the strongest.
This fine-tuning may be performed by simply unscrewing the bolts and moving the satellite dish. Don’t forget, at any cost, to screw the bolts in tightly again after the dish is set to the perfect position.
Bear in mind also, that the final calibration should be done for both the horizontal, or direction, and vertical, or angle, aspects. The intensity of the signal may be checked through the network tab on the main menu. So, split the task and get the satellite dish calibrated correctly as a team.

Lastly, in case any step of the way proves to be too hard, make sure to get some professional help. Give your provider’s customer support department a call and let them know you are facing difficulties.
There is a good chance they will ask why you decided to move the satellite dish on your own if you cannot properly perform the re-installation. However, this is the cost of getting your device installed in the best possible way.
In A Nutshell

You can actually save the time and money here. However, it will require the proper equipment and tools, as well as a friend or family member for the final adjustments.
So, simply make sure to follow all the steps in the user’s manual as carefully as possible and the whole thing should prove to be easier than it sounds at first.
Finally, in case you’ve heard about other relevant information concerning the moving of satellite dishes by users, don’t keep it to yourself. Write to us through the comments box below and tell us all about it.
Also, with every piece of feedback, you’re helping us build a stronger and more united community. So, don’t be shy and share that extra knowledge with all of us!