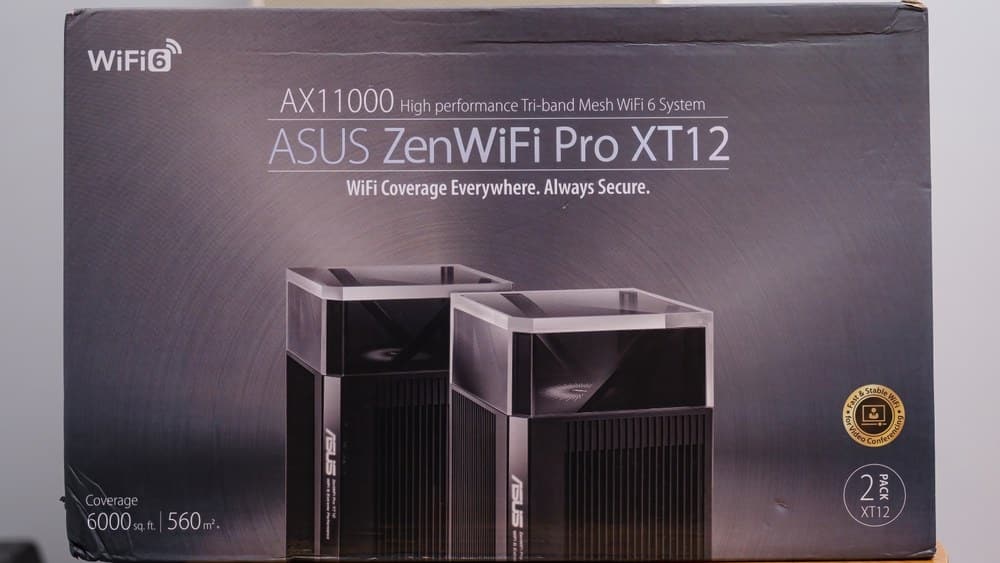
ASUS has designed one of the top wi-fi mesh systems in the market. ZenWiFi has come to help users that suffer from dead zones in their homes or offices. With a fairly simple system, ZenWiFi’s main wireless router receives the signal that comes from the modem and distributes it to its satellite devices.
Once the signal reaches the satellite devices, it is then transmitted throughout the coverage area. That means having one or two extra wireless routers working in parallel to deliver internet signals to every corner of the building.
Apart from the simple but extremely effective system, ASUS ZenWiFi counts on a complex design of components to deliver great signal quality. Its Wi-Fi 6 transmission technology ensures a fast and stable signal distribution, allowing a multiplicity of devices to enjoy reliable wireless connections at the same time.
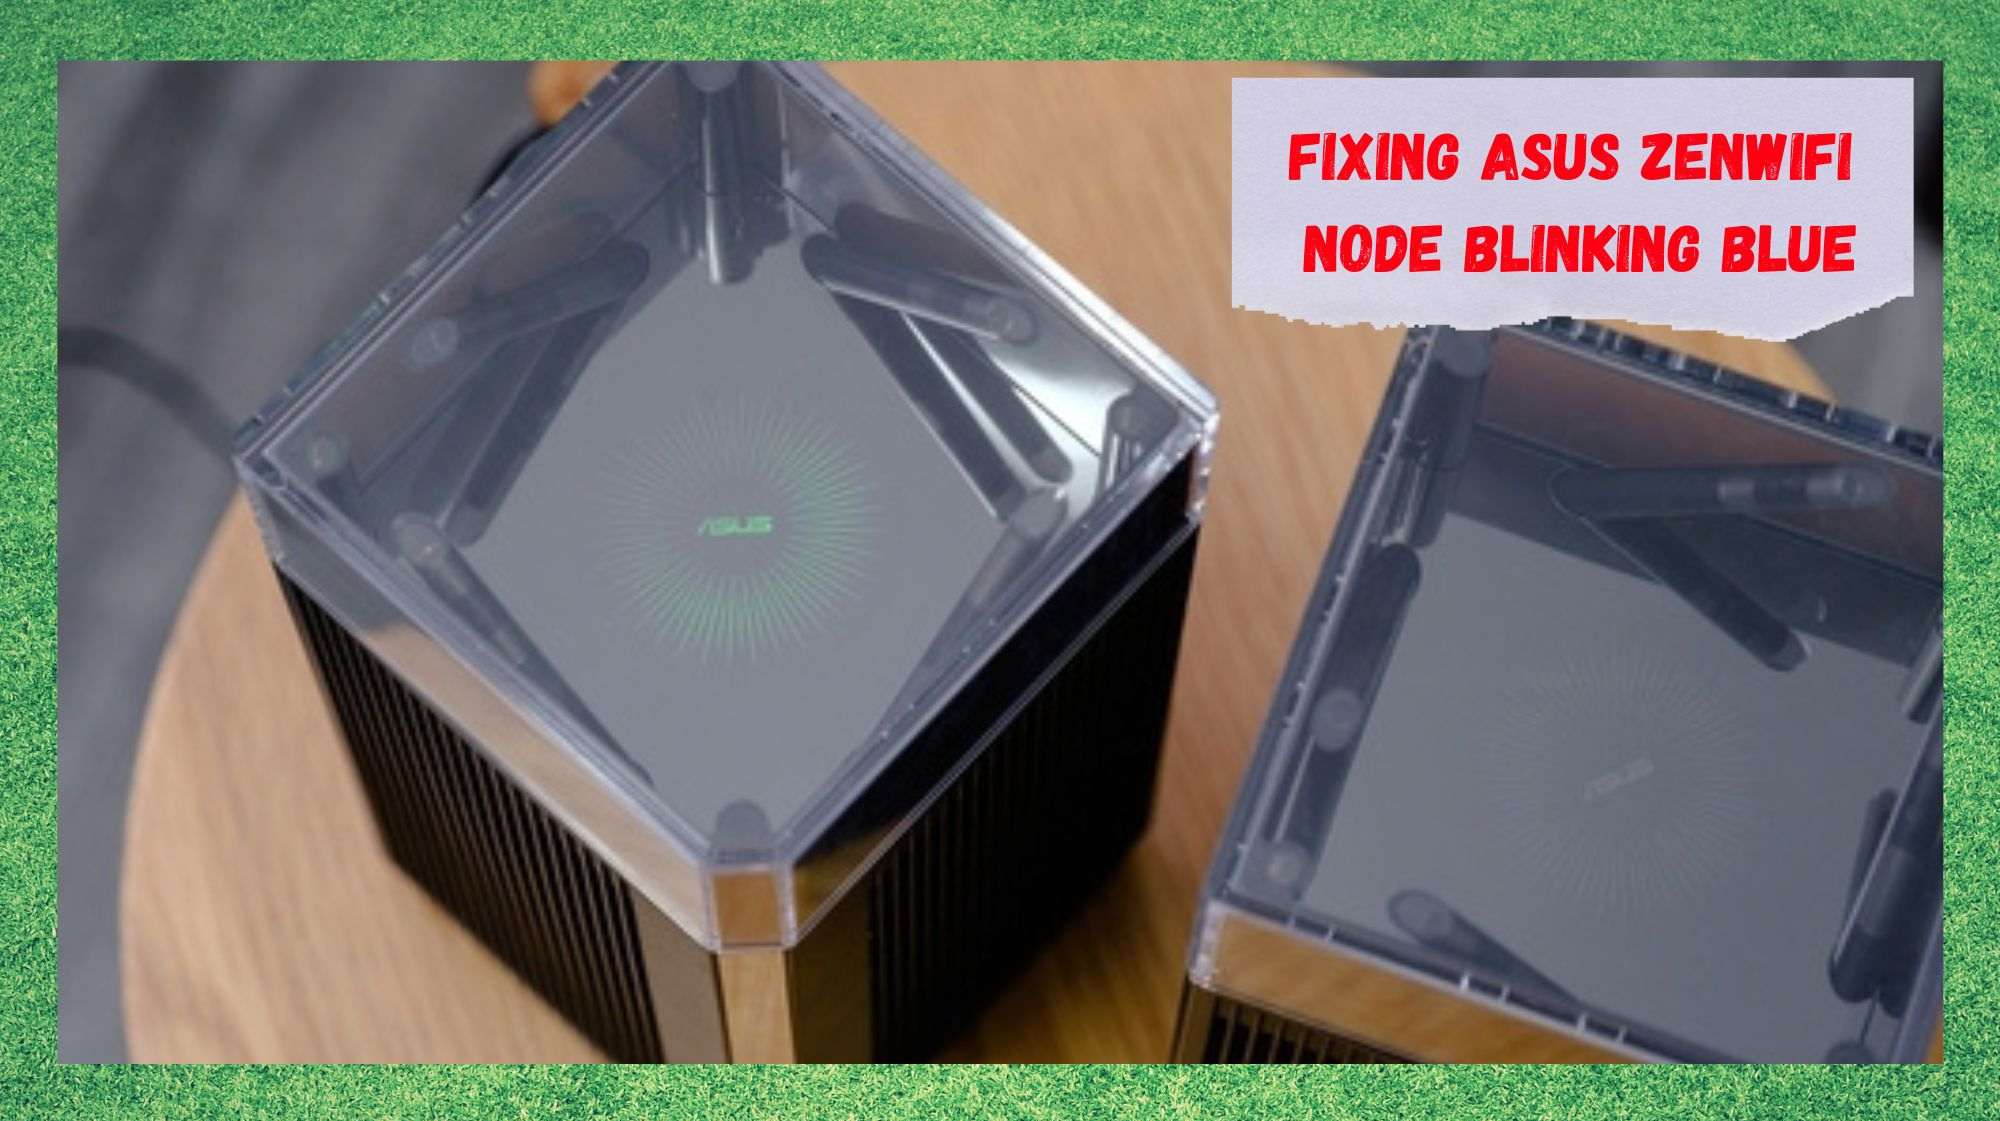
Moreover, the manufacturer has invested quite a great deal of time and money into developing a device that still doesn’t seem to have a match in the market. ZenWiFi devices also have a LED node that indicates the condition and status of the connection.
Similar to the series of lights wireless routers normally have, which inform the user about the status and condition of the internet connection, the LED node on the ASUS ZenWiFi satellite devices seems to do the same.
Although it is limited in comparison to the series of LED lights on wireless routers, it is still extremely useful in informing the condition of the connection.
However, some users are experiencing a problem with their ASUS ZenWiFi mesh system, causing a blue light to blink on the LED node. As these users haven’t been able to find a useful explanation as to why the device is displaying the blue light, we came up with the ultimate guide for the ASUS ZenWiFi LED node.
What Are The Colours On The LED Node Trying To Say?

The LED nodes on pretty much any network devices are indicators of the condition and status of the many connection aspects. From the level of electrical current to the speed of the connection, these LED lights allow users to keep track of their wi-fi networks’ multiple features.
What also usually happens is that users only acknowledge the LED node on their ASUS ZenWiFi satellites when they are solid green. That is because the solid green light means that everything is working as it should and the internet connection is up and running.
But this isn’t the only light you should look for. As it goes, there are different behaviors that may involve only the router, only the satellites, or even both devices. So, for the sake of understanding the functioning of the LED lights, here is a list of different colors and behaviors they can display and what they are trying to say:
- Solid White: If the LED is in solid white, it means the satellite is connected to the main router via an Ethernet cable and that the connection is properly established. There is nothing to do but enjoy the extra stability that kind of connection delivers.
- Solid Yellow: If the LED is in solid yellow, it means that the connection with the main router is not working as it should. Redo the connection or restart the devices to re-establish the connection from scratch.
- Solid Green: If the LED is in solid green, it means that the satellite device is attempting to connect to the main router. That should happen naturally every time the devices are restarted or accidentally in the event of a connection issue. Should the latter happen, troubleshoot the connection or restart the devices.
- Solid Red: If the LED is in solid red, it means the satellite is disconnected from the router. Redo the connection or restart the devices to re-establish it from scratch.
But there are also colors and behaviors that should be simultaneously displayed on the main router and on the satellite devices. These are aspects that are strictly related to the connection between the two:
- Flashing Yellow: If the LED blinks in yellow, the main router has been reset. That may be done due to issues with the connection with the internet or with any of the satellite devices. Simply wait for the procedure to complete and check if the connection is working once again.
- Flashing Green: If the LED is blinking in green, it means that both devices are booting up and undergoing all the diagnostics and protocols it needs to cover before establishing the connection. Once again, simply wait for the procedure to finish and for the connection to be established.
- Solid Blue: If the LED is in solid blue, it means that the devices are properly booted up, but haven’t finished the configuration procedure yet. That may happen in case the set-up wasn’t properly completed or any of the steps suffered problems. Redoing the configuration should do it.
- Solid Magenta: If the LED is in solid magenta, that means there is a problem with the firmware update that is preventing the satellite from connecting to the main router. The solution to this problem involves putting the satellite in ‘Rescue Mode’ and performing the update manually. Once the firmware is updated, the devices should be able to re-establish the connection.
These are all the possible colors and behaviors that the ASUS ZenWiFi mesh system can display on its LED indicators. However, there is one more that is also stopping the system from working as a whole and causing the satellite devices and the router to display a blinking blue light at the same time.
Why Is The Asus ZenWiFi Node Blinking Blue?
When your ASUS ZenWiFi LED lights blink in blue, it means that synchronization between the satellite devices and the main router is underway. This procedure should happen every time the system or any of the components are restarted.
It shouldn’t last longer than a minute, so if that is not the case, it means that the device is trying to tell you something is wrong with the connection procedure. ASUS has labeled the connection between the main router and the satellite devices AiMesh.
This coined term refers to the procedure that links the satellite devices to the main router and distributes the internet signals throughout the coverage area. While this process is undergoing, the LED lights on both the main router and the satellite devices should blink blue and, once it is completed, it should turn to solid green.
If, however, the procedure lasts more than a minute, it means there is something wrong. Should that be the case, this is what you should do:
1. Upgrade The Router Firmware
The first thing to check is if the software version of the router is the latest one. For that, simply go to the ASUS ZenWiFi interface and then to the network tab. From there, a list of information concerning the router and the satellite devices should appear and so does the firmware version.
Once you locate it, you will see an ‘Update Firmware’ option. Click on it and let the system check for possible updates. If there are any, make sure to perform them.
Alternatively, you can download and install the update file from the support section of ASUS’ official webpage. This will require a little more tech expertise, but if you’ve already done it before, it shouldn’t be hard.
2. Give The System A Reboot
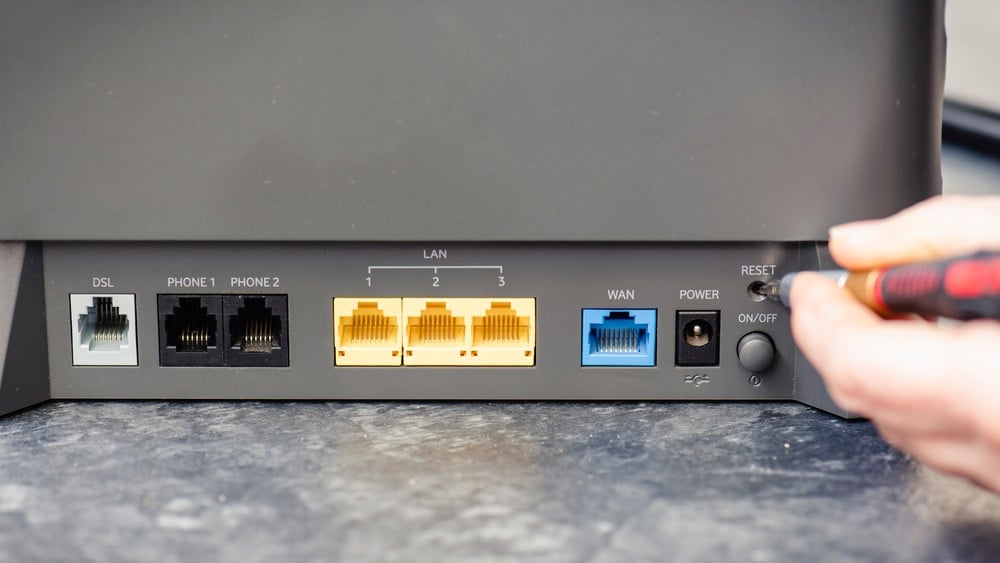
Rebooting network equipment is always a good idea when facing problems. It restores the cache and deals with minor errors that may be corrupting the connection.
So, grab the power cord and unplug it from the power source. Then, give it a minute or two and plug it back in again. Finally, let the devices go through the booting steps and redo the connection.
3. Connect Via WPS
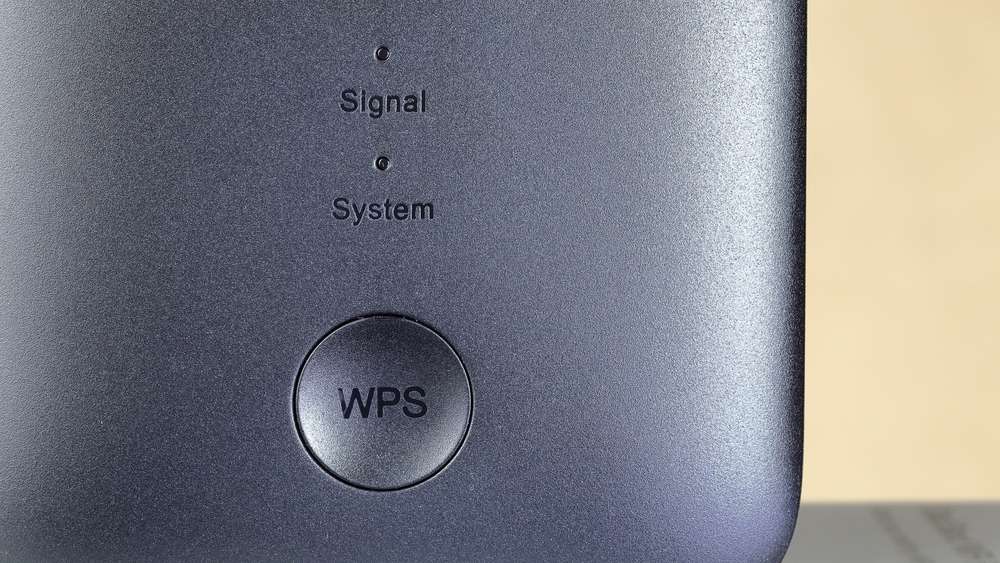
Wi-Fi Protected Setup is a connection type that skips a few security steps and allows devices to connect to network equipment in an easier way. This can come in handy when the main router is having problems connecting to its satellite devices.
Simply press the WPS button on the main router and then on the satellite devices to allow them to locate each other and perform the connection.
Bear in mind, though, that this form of connection cannot ensure the safety of your computer, or whatever device is connected to the network. So, once the problem is fixed, try to re-establish the connection through the standard security protocols.