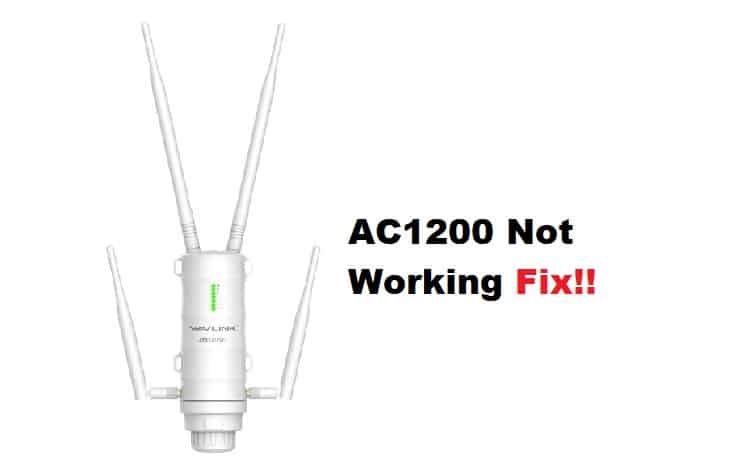
Even the most reputable networking companies have FAQs and troubleshooting pages to assist users with their problems. Connection issues, hardware malfunctions, and configuration issues can all cause your routers/extenders/modems to behave erratically. So, if you are experiencing such problems, you should be aware that they are unavoidable because these devices are incapable of providing optimal performance.
They can, however, be fixed with a little knowledge and proper diagnosis. However, if your Wavlink AC1200 is not working, it could be due to a configuration mismatch, interference, or security mismatch. As a result, we’ll show you how to fix them.
Wavlink AC1200 Not Working Fix:
- Check The Installation:
The setup and installation of an extender are critical. Because your extender communicates with your main router, you must ensure that they are connected properly for both to function. Make sure you extend the correct network if you connected your extender via the WPS button or the web interface. The extender network is usually named the same as your existing network, but with an EXT suffix. Ascertain that you have not connected it to another network.
- Relocate The Extender:
When it comes to your extender’s stability, location is also important. Because your router and extender should be at a reasonable distance from one another, make sure your Wavlink extender is in an open area. If there are structures around the extender, it is most likely not receiving enough signals from the router, resulting in poor performance. So, for your extender to work properly, keep it open, neat, and close to your router.
- Reset Wavlink Extender:
One of the most common causes of your Wavlink extender not working is configuration mismatches. If the settings on your router and extender conflict, it may cause a network failure, resulting in your devices recognizing but not connecting to your extender network. As a result, the best option is to reset the extender.
- Locate the reset button on your extender.
- For an AC1200 you will find the button on the back panel of the device.
- Using a paper clip, press the button for 10 seconds until the lights go out.
- This will reboot your extender and all the LED lights will illuminate slowly.
4. Check Latest Updates:
If your router has been updated to the latest version and your extender is awaiting an update, your extender may not function properly. Aside from that, failing to update the firmware on your networking devices is the worst thing you can do to your network. These updates are intended to improve performance and correct errors, so ensure that you have updated your extender to the most recent software.
- Connect your extender to a device using an Ethernet cable.
- Go to the ap.setup webpage from your connected device.
- From the drop-down menu select the firmware update option.
- If you are having any new updates then follow the instruction on the screen to upgrade your software.