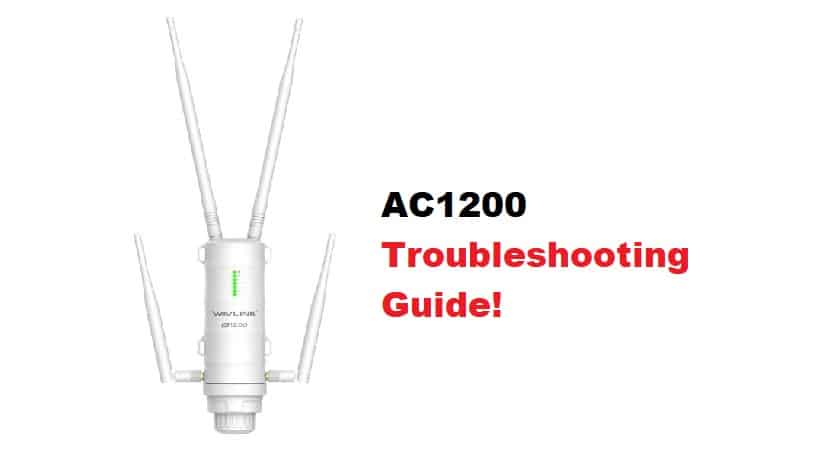
Wavlink AC1200 is one of the most popular Wi-Fi extenders out there and it’s a reliable way of creating a high-speed internet connection. This is a dual-band wireless extender that promises a high-speed internet connection and there are four omnidirectional antennas to improve the signal reception and extension. However, the Wi-Fi extender is still prone to technical glitches, which is why we are sharing the in-depth troubleshooting guide!
Wavlink AC1200 Troubleshooting:
- Internet Network
The first step of the troubleshooting process is to check the internet network and make sure the Wi-Fi extender is connected to the right internet network. That’s because when you connect the extender to the router, it will create a new network. The name of the extended network will be different from the previous network.
There are high chances that you’ve connected all the devices to the previous connection rather than the new one. So, if you have installed a Wavlink extender, make sure you connect to the internet network with _ext at the end. Last but not least, you should always double-check the internet connection you are connected to.
- Installation Location
If you are already connected to the correct internet network but it’s still not working, there are chances that the wireless extender is not installed properly, causing the dropping internet connection. For this reason, we are sharing some factors that you have to consider while installing the extender. First of all, you should put the extender in a clean spot and make sure there are no obstructions around.
Some of the obstructions you’ve to look out for include home security systems, Bluetooth devices, refrigerators, and microwave ovens. In addition to this, you should keep the extender away from metal doors, mirrors, fish tanks, ceiling fans, aluminum studs, and concrete walls because they can block internet signals. Last but not least, never put the extender in the cupboard, under the table, or in tight corners, as it helps improve the internet signal strength.
- Reboot
Rebooting the extender is one of the easiest ways of resolving internet-related errors. For this reason, you have to remove the extender from the power outlet and take out all the cables that are connected to it. Then, wait for a few minutes, connect the extender to the power outlet again and start plugging in the cables. Once the cables are connected, give it a few minutes to optimize the connection. Once the lights stabilize on the extender, connect to the internet and it’s likely to work alright.
- Firmware Upgrade
If there is an internet issue with the Wi-Fi extender, there are chances that the firmware upgrade hasn’t been installed. That’s because outdated firmware will create various internet issues. The firmware upgrade can be completed by accessing the web-based dashboard of the extender, opening the advanced tab, and tapping on the firmware button. Then, just press the upgrade button and follow the on-screen prompts to complete the firmware upgrade. In addition, it’s recommended that you enable the automated firmware upgrade feature!