Having an active internet connection stopped being a luxury and became a necessity some time ago. As the internet becomes more and more present in everyone’s lives by the day, being disconnected seems like going centuries back in time.
While it’s fairly easy to get a reliable internet connection in the main urban centers, the same cannot be said for more rural areas. The challenge of ringing fast and reliable internet connections to the most remote parts of the country was taken on by Starlink some years ago.
From then on, it has been a series of successes as new technologies that allowed internet signals to be transmitted to the countryside in a more reliable fashion became the main goal of the company.
User-friendly set-ups that deliver high-quality internet connections helped many families and businesses remain online even far away from the cities. Unfortunately, not everything is perfect in the Starlink world.
What To Do If Your Starlink App Says Disconnected
Even though Starlink has been a gargantuan success in most parts of the countryside, some of the aspects were rendered not so useful in some cases. According to some dissatisfied customers, their networks have been displaying signals of malfunctioning as the Starlink app informs them that the connection is not working.
Upon that problem, they began attempting to contact Starlink to get some information about the problem, and also, some sort of solution. In face of that, Starlink’s representatives informed users that the error is mainly caused by a connectivity problem between the router and the satellite dish.
As there are many reasons why Starlink internet connections may fail, we came up with a list of the solutions for the most common problems users experience with that provider. So, if your Starlink internet connection is suffering performance drops, try the solutions below and get rid of whatever issue is causing it in no time.
1. Inspect Cables And Connectors
Most users are not aware that cables and connectors are as important to an internet connection as the signal itself. What usually happens is that they end up experiencing problems with the service and automatically assume the cause of the issue lies with the software.
That normally leads them to attempt more sophisticated and elaborate solutions instead of simply replacing a cable or a connector. Don’t make that mistake! Inspect your cables and connectors periodically and avoid wasting time when you face an internet connection problem.
Frays, bends, and other signs of damage, may already be enough of a reason for you to replace these components. Moreover, repairing cables and connectors rarely delivers performance levels as the ones they had before, and the lifespan is reduced when compared to new components.
Thirdly, the cost of these components is usually low in comparison to the overall cost of an internet connection set-up. So, head to the nearest hardware shop and get yourself a new cable or connector at the first sign of damage. This will save you the time and the trouble of finding a solution when the cause of the problem is so easy to deal with.
2. Use The Remote Connection Feature
Among the top features of Starlink internet connections is the remote access to the network. This function allows users to establish a connection with Starlink’s network, even without the use of their routers.
Considering that the problem that is causing the Starlink app to accuse a non-working internet connection is related to the link between the router and the satellite dish, this feature may come in extra handy sometimes.
Think about it. You will be connecting to Starlink’s network without the use of the component that may be causing the problem in the first place. That is a key feature that will help you handle the problem even when the main components of the internet connection are not functioning.
So, in order to activate and use this outstanding feature, simply connect your device to an LTE or even to a different wireless network. Then, go to Starlink’s official web page and log in to access your profile. This step can also be done through the Starlink app.
Once the system identifies that you are connected to the internet, the app should no longer inform you that your internet connection is down. This is how you may gain access to the remote access feature and get a hold of your Starlink app’s functions.
3. Try Stowing The Dish For A While
Whenever there is a signal transmission problem, it may be a good idea to stow your Starlink satellite dish. If you have never heard of the procedure, it means setting the satellite dish into a harmless and optimal position for transporting.
This gives the device some time to breathe as it will be in a state of constant connection attempts when this kind of issue occurs. To get to the stow feature, run the Starlink app on your device, log in, and go to the general settings.
From there, scroll down until you find the “Stow” function. Then click it and let the system do the rest. It will be a good idea to allow it to remain in the stow mode for at least 15 to 20 minutes before deactivating the feature.
This should cause the connection to be re-established from scratch and whatever corrupted step in the connection procedure may be dealt with. Bear in mind that once the stowing procedure is finished, the device will also perform a reboot.
This should help the router clear its cache and tackle minor compatibility and configuration errors that may be occurring. That way, once the whole procedure is successfully completed, your Starlink internet connection set-up will be able to resume its operation from a fresh and error-free starting point.
4. Try Logging Into The App Once Again
If you inspected all the cables and connectors and found no traces of damage and after attempting to connect through the remote access and stowing the satellite dish the connection problem persists, there is not much to do. You can, however, check if the problem is not with the Starlink app itself.
As it goes, some users reported that the connection issue was merely caused by a configuration error with their apps.
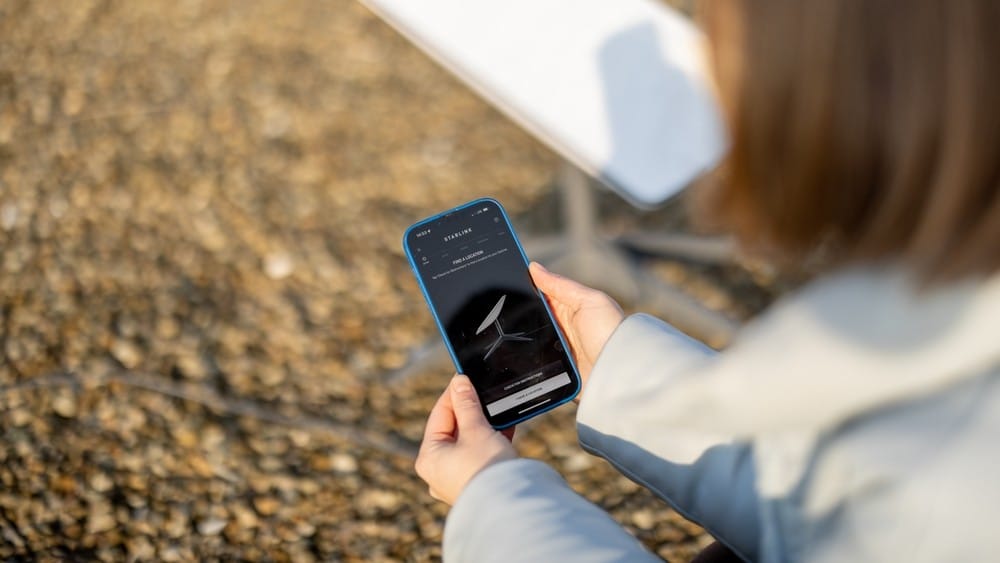
So, make sure to log out of your Starlink app and log in once again after a minute or two. If that doesn’t work, try uninstalling the app and downloading it again.
Lastly, make sure you are inputting the correct credentials. Some users change their passwords for security reasons and find obstacles when attempting to log in using the old credentials.
Lastly, if the problem still remains after you attempt all the solutions in this article, your last resort should be to contact Starlink’s customer support and get yourself some professional help.
Their highly trained technicians will be glad to walk you through a few extra easy solutions and, in case any of them are too hard for you, they can always stop by for a visit and handle the issue on your behalf. So, go ahead and give them a call!
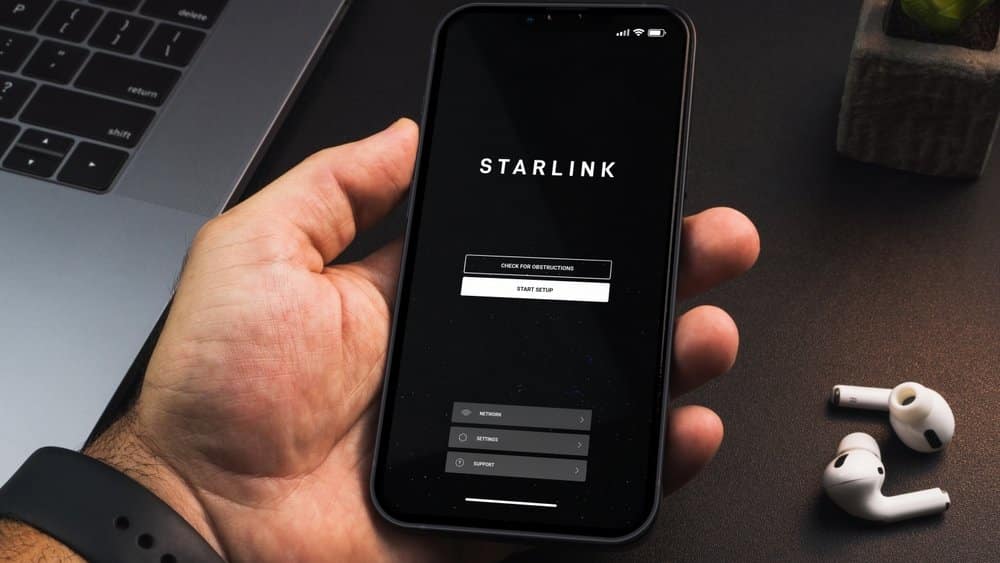
Have my wifi router connected to the dish via Lan Adapter. I was seeing the Disconnected status and didn’t know how to remedy. Turns out I just needed to sign in again to my account (click on profile icon top-right on app home screen) to restore Online status.