One of the very best things about a home PC is that with relatively little technical ability you can build your own system from scratch. Not only that but of course when a problem occurs, rather than having to get a new machine, often times individual components can be replaced when needed.
Not only can this prolong the life of your machine, but each time you do this you understand your machine that little better and improve your confidence in making these repairs. Many people find this work is fun as well as satisfying – as long as it all goes well, of course.
Care and consideration should be taken when selecting replacement components. Whilst a lot of pieces are universal, sometimes this is not the case. Of course, installing a non-compatible part into your unit will cause further issues and could even prevent your machine from working fully.
The most important elements that make up your computer are the motherboard and the processing unit. These aside, the next most essential component is the RAM (Random Access Memory). It is typically used to store working data and machine code.
Essentially, it gives the applications you use on your machine a place to store and access data on a short-term basis. Storing it in this way allows your computer to quickly access this information when it’s needed. The more applications you use, the larger your RAM will need to be, which is why a lot of users choose to upgrade their RAM.
Unfortunately, given its importance, if you make an error whilst installing your new or increased RAM you can quickly find your machine won’t work at all and you have nothing on your display screen.
Watch Video Below: Summarized Solutions For “Installed New RAM But No Display” Problem on Laptop or PC
Then, one issue that many people can get is that their system shows no display after the new RAM is installed. Often, this is an easy fix. So, in this article, we will provide you with a few quick troubleshooting options to try and help you put this right.
Installed New RAM But No Display
- Check If RAM Is Seated Properly
The most common issue is simply that the RAM unit hasn’t been correctly installed. This often happens when people are building or replacing this for the first time and are not fully familiar with the process. Of course, if this is not relevant to you, if indeed you know for sure that you have installed your unit correctly you can skip this step.
For those who aren’t sure, the first step is to disconnect your machine from its power supply and discharge all electrical power from within the unit. This is done by pressing and holding down the power button on the casing for 30 seconds.
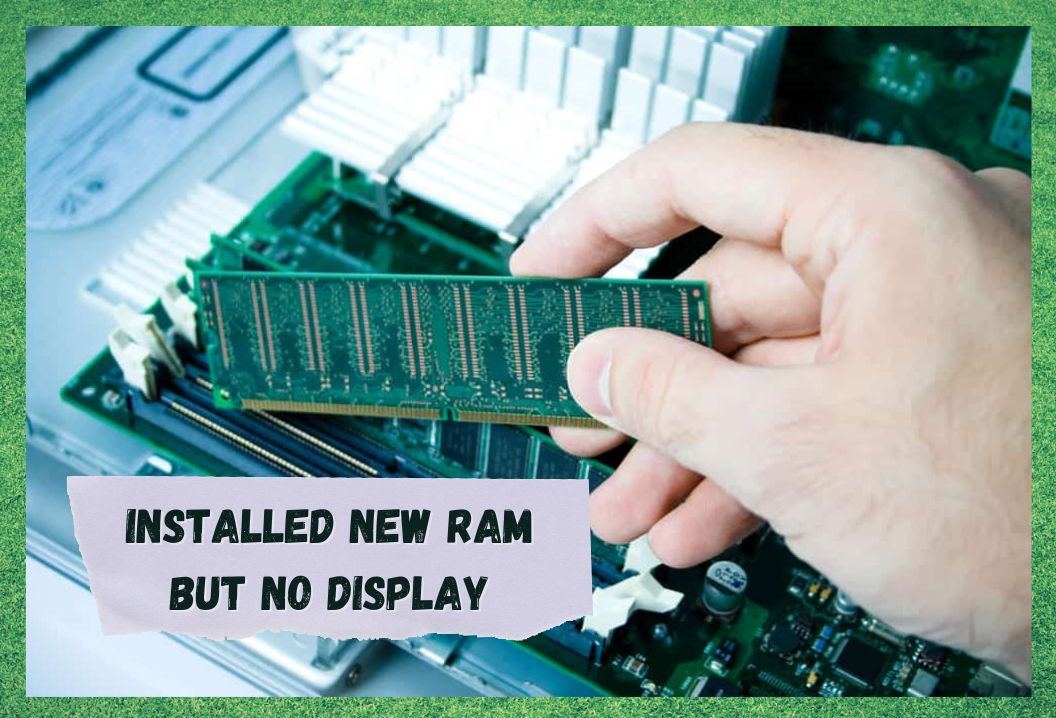
Then, remove your RAM sticks and reinstall. Be sure to install one end of the RAM stick into the slot until you hear a light click as it fits into the latch. Then, push down the other side of the RAM until you also hear that securely click into place.
Reconnect the power supply and try again to boot up your system. Hopefully, this is now working correctly, and your issue is solved. If not, please read on.
- Problem with RAM Slots
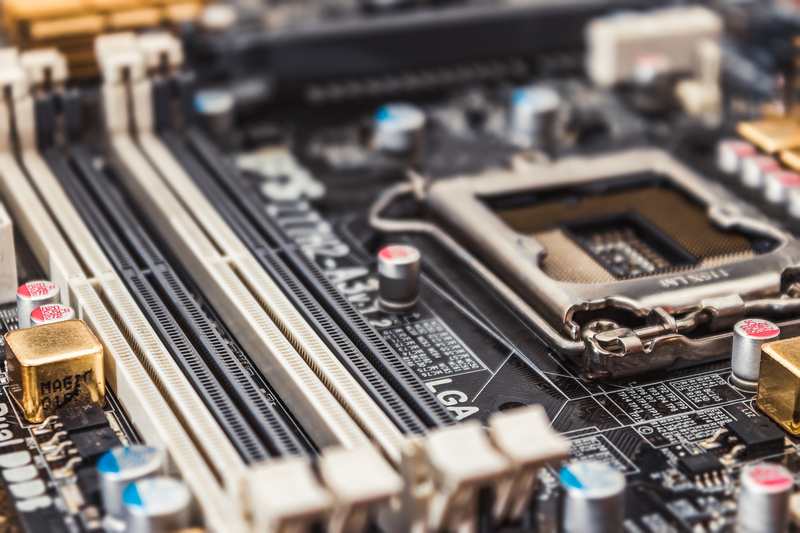
If you are confident that you have now correctly installed your RAM and your problem persists, then there is a chance that the actual RAM slots within your motherboard are faulty. Another possibility is that one of your RAM sticks is damaged or faulty.
You should once more discharge all the electrical current from your unit, then carefully remove these sticks from the motherboard. Once out, you should clean the metal pins on the bottom that make the connection.
Any detritus on those can prevent them working properly. Take special care not to apply too much force however as these pins are very delicate and can be easily damaged.
After that, you can reconnect your RAM sticks one at a time to see if your machine will start up. If it does, you know this RAM stick is working.
You should then repeat this test for all your other RAM sticks individually to see if you can eliminate any that may not be operating. If you find one doesn’t work, then you should try that same RAM Stick but within a different slot to see if the slot is at fault rather than the stick.
This test will really help you to narrow down where your problem might be and with which component. As a third option, you can also try changing the order in which the sticks are slotted into the motherboard as this can sometimes resolve the issue.
- Check GPU
If neither of the above works to solve your problem, then there is a chance your GPU (Graphics Processing Unit) is faulty or that your display wires are at fault. So even though there is no display, you would be able to tell if your system is working because there will be an audible single beep upon starting up.
Again, with the graphics card it’s worth checking that this has been correctly installed and seated within the motherboard. There should be a similar latch and you should hear a faint audible click as it slots into place. If you are confident this is done, then you can try to attach your display cable directly onto your GPU rather than the motherboard.
Check that the cable is securely attached not only at the graphics card but also at the monitor end and hopefully this will give you a working display on screen. If it doesn’t then unfortunately you are probably going to need to seek some more specialist help.


