It is not uncommon for your router to provide weaker signals in specific areas such as the basement, storeroom, and backyard because these areas are typically remote from the router and thus the signals do not reach them.
If you have a large multistory home, you know how difficult it is to maintain consistent signal strength throughout. Although there are some more expensive and powerful routers on the market, it is unlikely that you have them.
As a result of interference or physical disruptions, your router is unable to provide you with a complete blanket of internet access to your home or office.
Some users prefer Wi-Fi access points in areas with insufficient signal strength, while others prefer the more stable and long-term solution of Wi-Fi extenders.
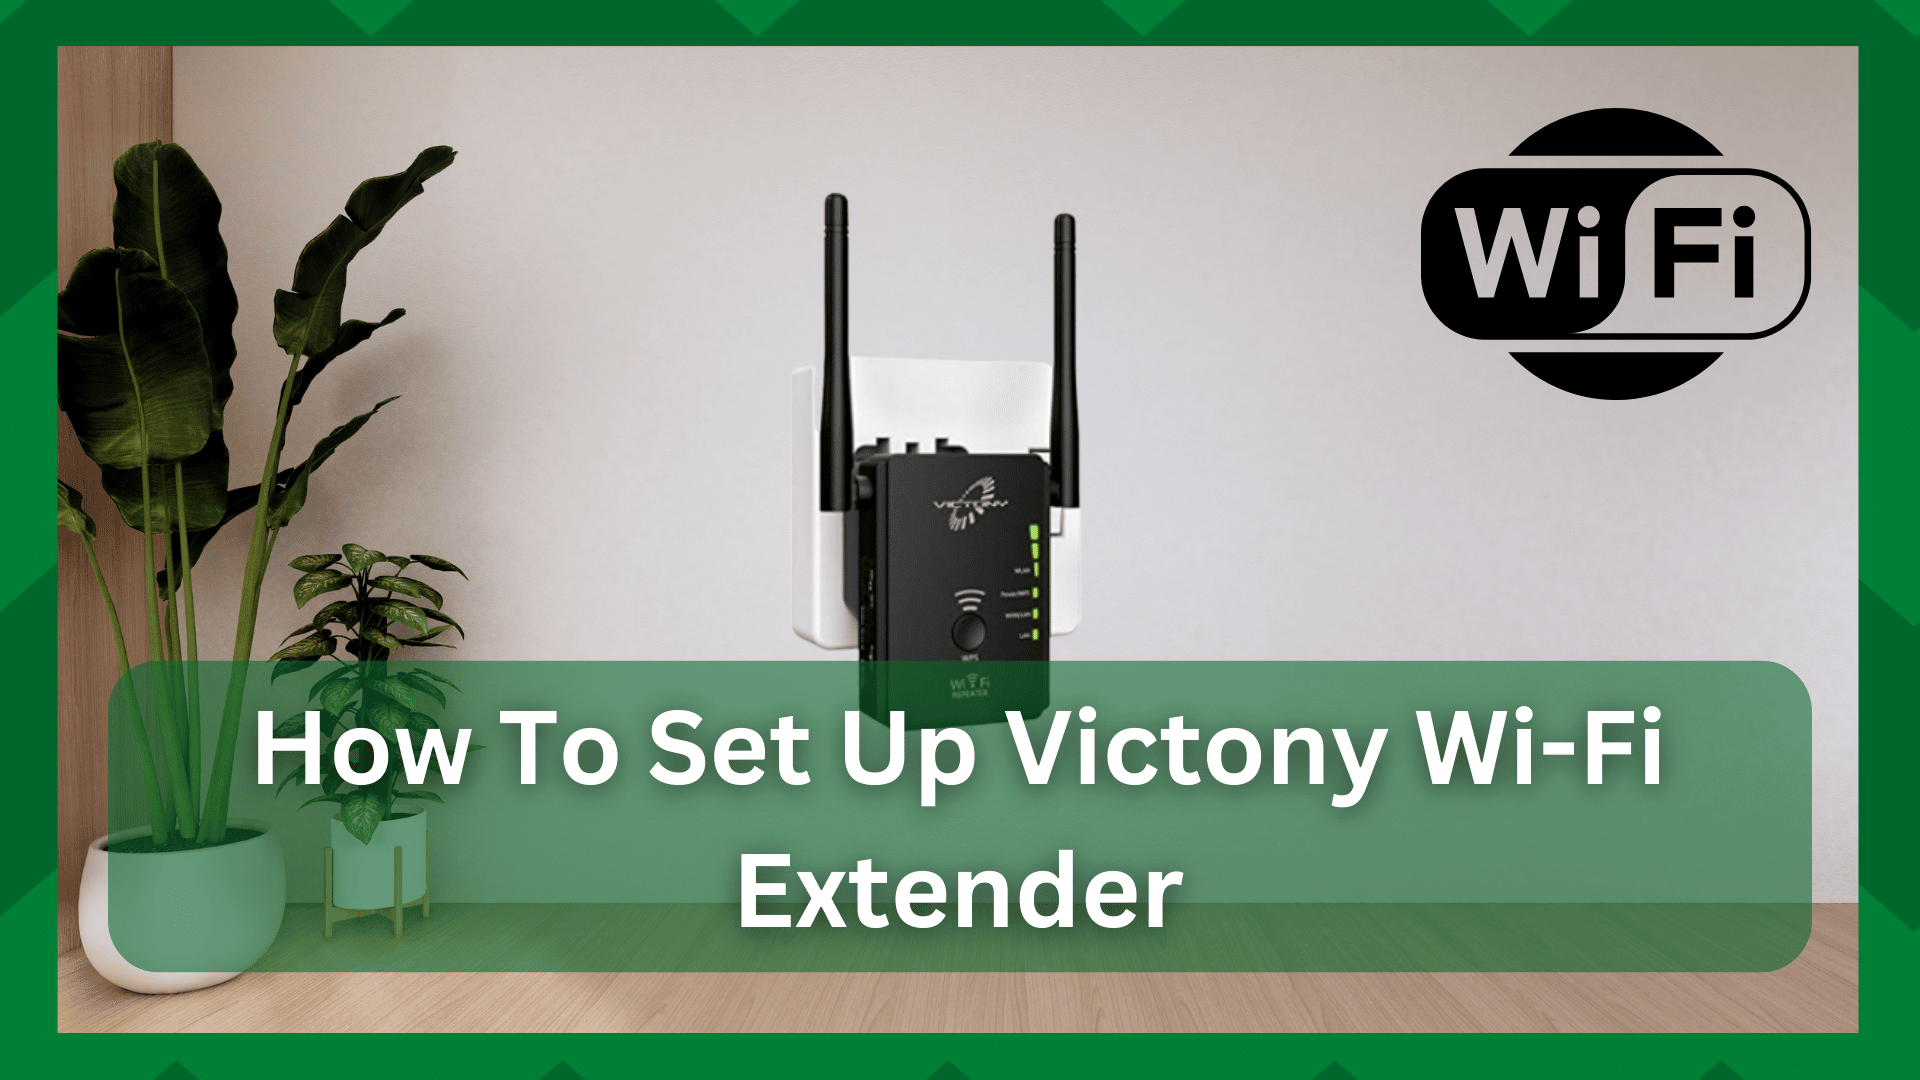
How To Set Up Victony Wi-Fi Extenders:
As the name implies, Wi-Fi extenders aid in maximizing and extending signals to areas where your standard router will not reach. Modern Wi-Fi extenders are effective at eliminating dead zones and significantly increasing Wi-Fi signal strength.
Victony Wi-Fi extenders are worthy of mention among the best Wi-Fi extenders from Netgear, ASUS, and Linksys. These are interactive and provide one of the best results for increasing your range.
Extenders connect to your base network, which is the network provided by your primary router in our case. It amplifies and extends its signals to reach areas further away from the router.
But the real question is, how do you set up Victony Wi-Fi Extenders? Networking equipment is connected in a specific way. Speaking of which, before you set up the extender, make sure you have all of the information about its modes and features.
So, if you want to buy a Victony extender and aren’t sure how to set it up, you’ve come to the right place. We will provide you with a detailed setup guide.
Part 1 – Modes Of Victony Extender:
The Victony extenders not only perform the functions of an extender, but they also include two additional modes. This is ideal for users looking for an all-in-one device to complete their connection. The modes are described further below.
The Victony extender’s access point mode is used to improve network connection and stability.
This is a mode in which the extender is placed on the network in such a way that it creates an access point that is connected to your primary router via an Ethernet cable and respective Wi-Fi-enabled devices.

So, if running cables isn’t a big deal for you, you can easily create an access point with the same SSID as your primary network and improve network performance.
The repeater mode, as the name implies, duplicates your primary network but with a different SSID. This is similar to access point mode, but the fact that it requires two routers for setup makes things a little more complicated.
In this mode, an Ethernet cable connects the first router to the extender. Now that this is completed, the second router will receive the signals sent by the extender and provide a stronger signal to your devices.
In router mode, you can use the extender as a router for your network, as the name implies. In addition, if you do not currently use a router and your modem is your primary connection device, you can use this extender to create a private network.
Part 2 – Setup Victony Wi-Fi Extender:
You can configure your Victony Wi-Fi extender using one of two methods. Using the browser or the WPS button. There is no hard and fast rule as to which one you should select because it is entirely up to you.
But we’ll go over both procedures so you can pick the one that works best for you.
Method 1 – Using WPS Button:
Almost every router and networking device has a WPS button. Have you ever wondered why they adhere to the WPS so strictly? This feature makes it much easier to connect your devices to the networking device.
Here are the steps for configuring your Victony extender via WPS.
- Plug the extender into a socket close to the primary router.
- A static red light will be illuminated by the power light.
- Locate the WPS button on both the router and the extender.
- Now, press the button on both devices at the same time until a flashing green light appears.
- Wait a few moments for the LEDs to turn a solid green color. This means that both devices have recognized each other.
- Your extender is now connected to your network. Unplug it and relocate to a location where you were previously experiencing signal problems.
Method 2 – Using The Browser:
The first method was relatively simple, but connecting through the browser can be difficult for some users due to the need to configure some settings. The following is the procedure for doing so.
- Insert your extender into a socket. Because there is no direct connection between the router and the extender, you can plug it in anywhere in the space.
- When the extender is turned on and a green light appears, it is ready to connect.
- Take a Wi-Fi-enabled device, such as a smartphone or a laptop, and look for the Wi-Fi manager settings. On a phone, scroll down to open the device control panel, and on a laptop, simply click the Wi-Fi icon at the bottom of the home screen.
- Join your device to the main network.
- Navigate to any web browser and type the “ setup” URL into the address bar.
- A login screen will appear. Because the extender has not yet been configured, you must sign in using the default credentials. Enter “admin” as the username and password.
- When you log in, you will see the dashboard. From here on out, things are pretty simple. All you have to do is follow the prompts and you’re good to go.
A device can also be used to connect to the extender. To do so, log in to ap. setup and enter “admin” as your credentials. Once logged in, you can select your existing SSID from the list on the screen.
Enter your network password to obtain the SSID of the extender. Wait for your extender to reboot before proceeding.