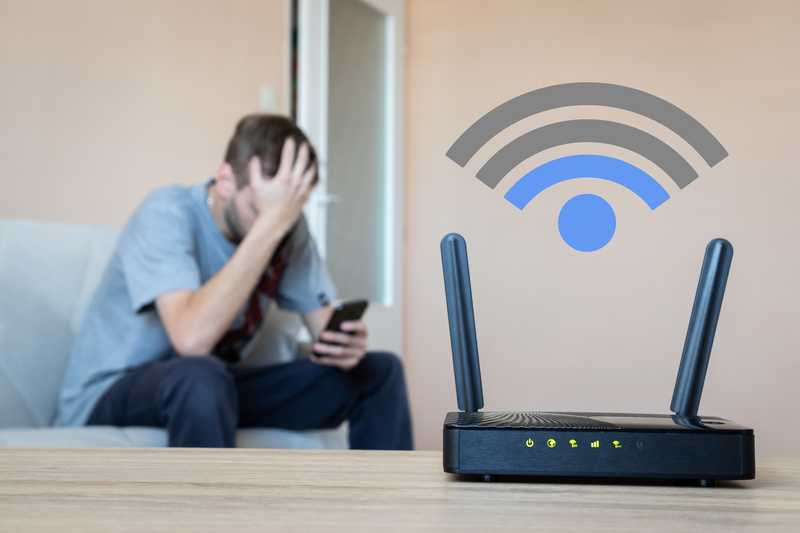
Users who prioritise speed when connecting to the internet are used to running ethernet connections on their devices. They also usually deliver higher stability as the data transfer is made through a cable, making it less prone to interruptions or obstacles.
However, just like a wireless connection, the data transfer must be properly working in order for the connection to remain active.
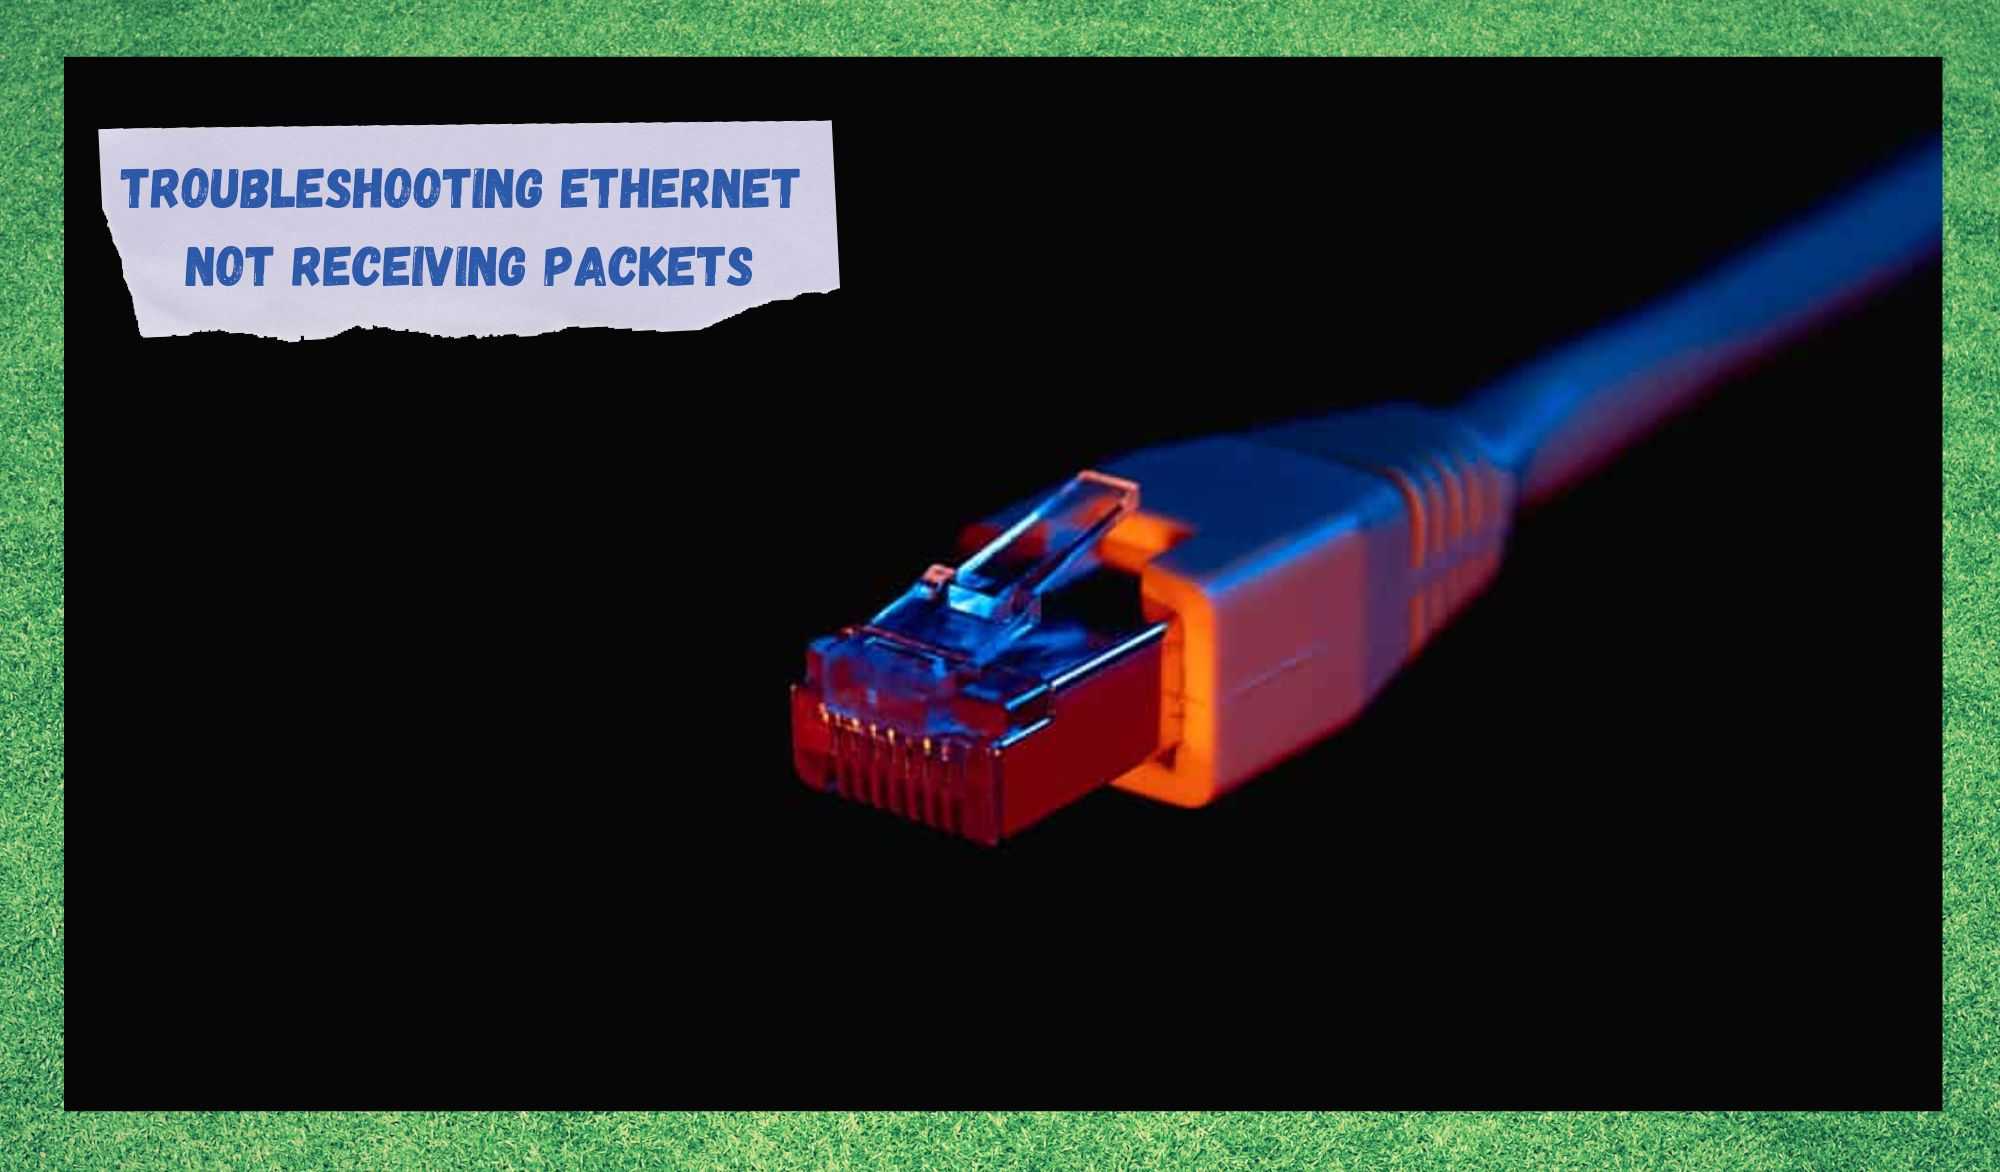
Most recently, users have been looking for a solution to the issue that is causing their ethernet connections not to receive packets. Should you be amongst those users, let us walk you through what to do.
Troubleshooting Ethernet Not Receiving Packets
- Check If Your Firewall Is An Obstacle
Due to security and data usage control, programs such as firewalls and antiviruses might exercise a larger control over the data traffic. One of the ways these programs exercise such control is by clocking the DHCP requests.
This means the packets are ready to be sent from the other end of the connection, but your side is not always open for reception. As we know, internet connections work as a two-way road, constantly exchanging data packets.
Therefore, if there is any sort of interruption or disruption on the way, what is most likely to happen is that the traffic will be interrupted as the packets do not reach their destination.
In this case, by clocking the DHCP, your system is saying to other end of the connection that your side will only receive a certain number of packets in that period of time. So, no matter how many packets are ready to be sent by the other end, they will not reach your end until the clock resets.

Luckily, there is a fairly easy way to get around the DHCP clocking issue, which is to simply switch off your firewall, or at least add an exception, so the program stops exercising this form of data usage control and all the packets sent from the other end will be received.
The same control might also be exercised by your antivirus program, so make sure to go through the same procedure and either switch it off or add an exception there as well.
- Give Your Router A Reboot
Even though many specialists do not consider the rebooting procedure as an effective way to check for errors and fix them, that is exactly what a system does when given the command to reboot.
Surely, it seems too plain a process to cover so much but, in fact, that is the perfect moment for the system to do so.
When you give the command for your router to reboot, it troubleshoots minor configuration and compatibility errors and clear the cache of unnecessary temporary files that might be overfilling the memory and causing the device to run slower than it should.
In the end, your device will be able to resume its operation from an error-free and fresh starting point.
On the other hand, one of the reasons why most people refrain from rebooting their devices is because most of the times they end up losing personalised settings, access credentials, and the files that were helping accelerate the loading time of webpages and other online features.
Disregarding how much data or info you are prone to lose, we all acknowledge the importance of having a router properly working, so the work of gathering that data and info again is worth it.
Additionally, a faulty router might not even take advantage of these loading time accelerating files, or not allow you to connect to the internet in the first place, rendering the access credentials null and void.
So, go ahead and give your router a reboot. Forget about reset buttons hidden somewhere on the back of the device and simply unplug the power cord from the outlet. Then, give it al least two minutes before plugging it back again.
That should give the system enough time to go through the diagnostics and protocols required to perform the troubleshoot and the cleanse. Once the procedure is successfully completed, reconnect the ethernet cable to the device and see the packets receiving issue gone for good.
- Manually Assigning The IP Address Might Solve It
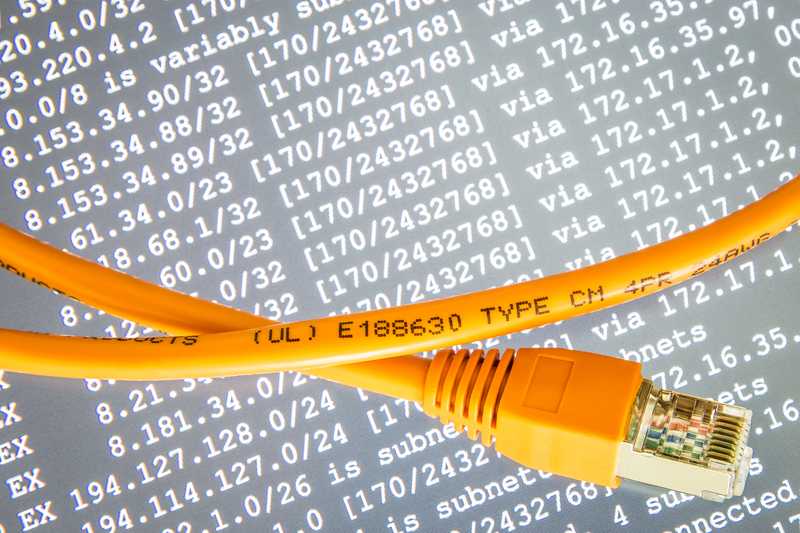
As DHCP issues are usually related to changes in the IP address, which is a numbered sequence that gives your end of the connection an ID, you might want to check the parameters for that feature.
While doing so, also check the parameters for the gateway and mask, since these are also prone to be altered the same way.
As it has been reported by many users who got through the packets receiving issue, one of the indicators that the system is undergoing that kind of problem is a change on the IP address and consequently, of the gateway and mask as well.
Since there are many theories as to why the system automatically changes the IP address, gateway and mask, we will not address that for now. We will let you know, though, that this is an obvious defence mechanism the system uses to avoid invasions.
If you are not acquainted with how to change your IP address, here is what you should do:
- Reach the start menu, locate and click on the ‘Run’ function. Then, type ‘cmd.exe’
- That should open a black screen with a small typing line, where you should input ‘ipconfig/all’
- Check the IP Address, Gateway and Mask parameters to see if the system has actually changed them
- If so, type ‘exit’ or simply close the cmd window.
- Grab your router and locate the IP address on the tag. Open your browser and type on the address bar the IP address you see on the router. Then, input the login and password that should be located near the IP address on the router tag
- There you will see a bunch of information in different fields. Locate the IP address and change the parameter to 192.168.1.10, then change the gateway to 192.168.0.1 and the mask to 255.255.255.0
- Save the settings before closing the window.
- Now redo the first part of the procedure, with the ‘md.exe’ and the ‘ipconfig/all’ to check if the changes were saved.
That should do it and the traffic should be restored to the normal state, but make sure to reset your router before attempting to check the traffic so the system can process the changes and resume operating with the new parameters.
In the event, after the parameter change and the reset, the connection is still not running as it should, you will probably notice the IP address has been changed once again to one that starts with 169. Should you notice that IP address, it means, unfortunately, that the procedure did not work.
Alternatively, you can simply go to the ‘cmd.exe’ and type ‘ipconfig/release’, then ‘ipconfig/renew’ and finally ‘ipconfig/all’ to check if the parameters were altered.
- Check The Condition Of The Cables
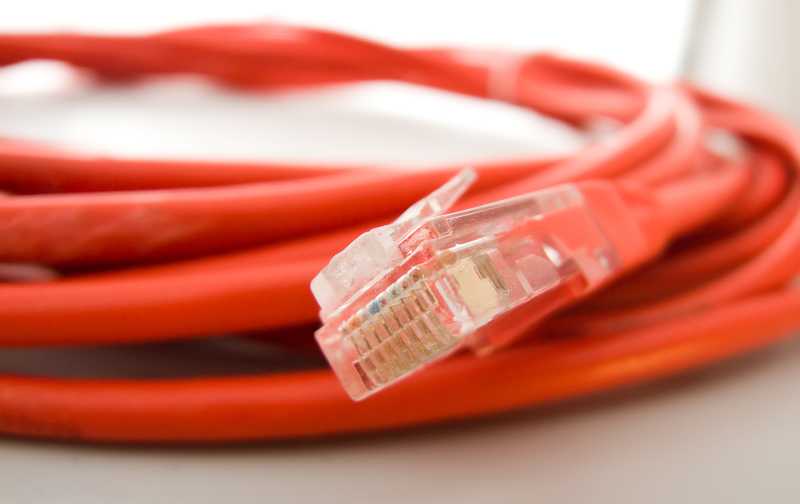
Since the ethernet connection is established through a cable, it is of utmost importance that it remains in good condition, or else the traffic might suffer interruptions or disruptions.
Frays, bends, or any other sort of damage may already be enough to hinder the performance of the connection, so make sure to inspect the quality of the cables every now and then. In the event you notice any form of damage, replace it for a new one.
Apart from being one of the cheapest components in informatics, cable repairing rarely delivers the same result as a new one. Also, most users have commented that repaired cables usually do not last, which means you end up paying for the repair and soon for a new cable anyway.
Should you have a multimeter, check the cable to make sure it is indeed in perfect state.
In order not to lose money, make sure to purchase the brands recommended by the router manufacturer, or at least a brand that is renowned to have great quality.
- Contact Customer Support

Should you attempt all four fixes above and still experience the packet issue, make sure to contact the customer support team of your ISP, or Internet Service Provider.
Their professionals will be glad to help you with all their expertise. Also, they are more than used to dealing with all sorts of issues, so the odds they will know a few more tricks are fairly high.
Thirdly, should you not consider yourself tech-savvy enough to perform the procedures they recommend, all you have to do is schedule a visit and have them get the problem out of the way.
On a final note, should you find out about other easy ways to get rid of the packets receiving issue, make sure to leave us a note in the comments section. That should help our fellow users get through the problem and enjoy their high-speed and stable ethernet connections.