Want to start an important conference but your Wi-Fi is secured but not connecting to Android? Unfortunately, this is a common and aggravating problem for all internet users.
You may have noticed that your Android device is unable to connect to Wi-Fi even though it is marked as saved and secure beneath the SSID. This can be caused by several factors, which we will investigate in this article.
Wi-Fi Saved Secured But Not Connecting Android:
Many times, not only on mobile phones, but also on laptops, PCs, tablets, and other devices, Wi-Fi will appear but the device will not connect to it. This is usually the result of a temporary glitch that can be easily resolved by following simple troubleshooting steps.
However, it is not always necessary to restart your device or internet connection; some features on your Android phone may also prevent you from connecting to Wi-Fi.
So, if you’re reading this, we’re assuming you’re having the same problem. So, in this article, we’ll go over some general troubleshooting steps for “Wi-Fi saved secured but not connecting android.”
- Reconnect To The Network:
When you try to connect to a Wi-Fi network, it sometimes labels itself as saved and secured, but when you try to connect, nothing happens. This is very inconvenient, but it is easily resolved by reconnecting to the network.
You must first select the Wi-Fi SSID with which you are attempting to connect and enter its settings. Then, on the screen, there will be a “forget network” option.
This will allow you to delete the network credentials you previously saved, and you will need to enter them again to connect.

When you forget the network, the “saved” label for the network is removed. Now, turn off the Wi-Fi and then back on.
You will see the option in the section of your available networks, and if it is a private network, it will prompt you to enter the network credentials when you try to reconnect. Check your credentials, as this could be the reason you couldn’t connect before.
This procedure should resolve your problem.
- Restart The Wi-Fi:
Your network may be experiencing a temporary outage caused by a variety of router-related issues. In that regard, restarting the router may resolve 99 of them.
Memory accumulation and overheating issues can also cause such issues, so it is best to restart your router to refresh it and improve its performance.
All you have to do is unplug the router’s power cord and turn it off. Turn off your phone’s Wi-Fi at the same time. Allow the router to rest for about a minute before reconnecting it to a power source.

When the router has stabilized, turn on your Wi-Fi again and check to see if you can connect to the network.
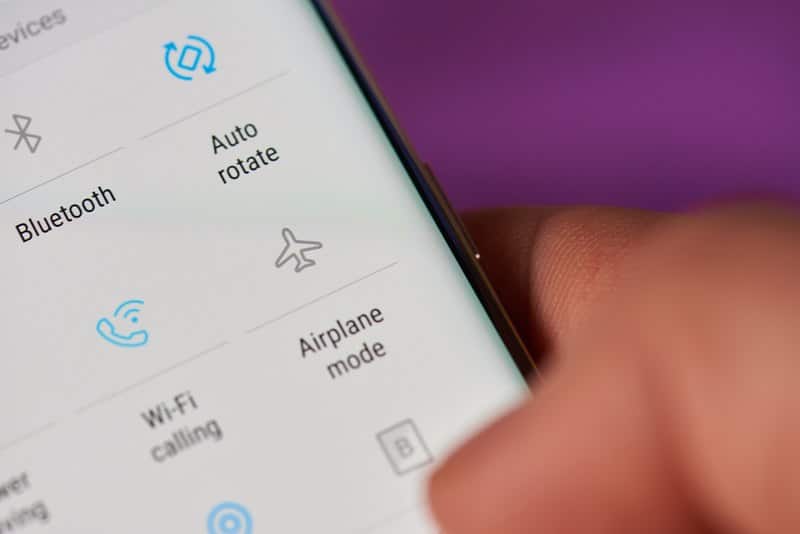
- Disable Wi-Fi Switch Option:
Most recent Android phones include a Wi-Fi smart switch option that allows you to automatically switch to mobile data if your current network is not providing adequate speed and performance.
This is a great way to get a seamless connection, but it could be the reason you’re having trouble connecting to the network. Perhaps the internet speed is slower than your mobile data speed, or the signals are weak.
Because of these settings, your device is being forced to use mobile data. So disabling it may assist you in regaining your connection.
Simply go to your Android phone’s Settings and navigate to any network-related settings. You will mostly find wireless and network settings. Click it and select the Wi-Fi option.
Now, select “more settings,” and from there, you can disable the Wi-Fi switch feature. Check the user manual for your model to see if it has this feature. If you can’t find any related settings on your phone, you most likely don’t have them.
- Shift The Frequency Band:
This problem can also occur if your network is underperforming or you are out of range of the network. In most cases, either your signal strength is poor or your Wi-Fi capacity is at its maximum.
As a result, you have the saved and secured label for the network but are unable to connect to it. This can be fixed by switching to a different frequency band, such as 2.4GHz. Most routers today include a dual-band feature, but if yours does not, you can skip this step.
By default, you are operating at 2.4GHz, but some of you may choose to switch to a 5GHz band for a faster connection. However, if you want to connect your device away from the main router, you should use 2.4GHz.
Because it has a greater range than the 5GHz band. So experiment with switching from one band to another to see what works best for you. For the majority of users, this step resolved the network connection problem.
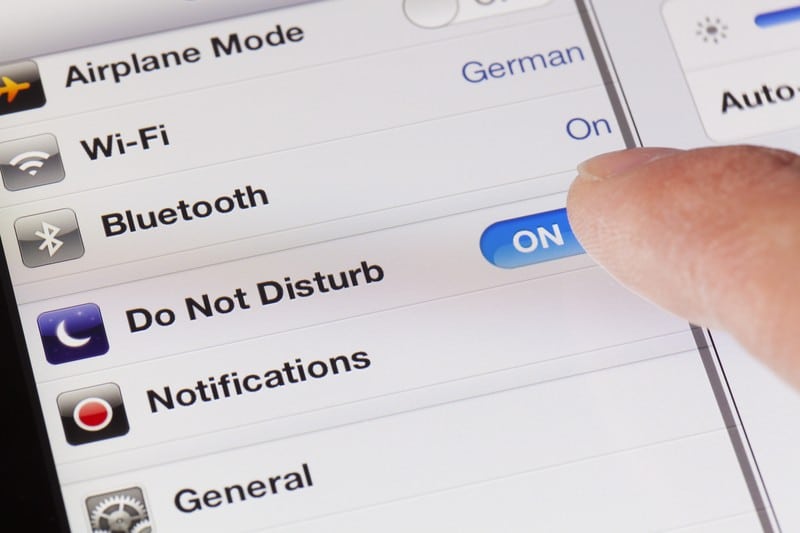
- Disable airplane mode:
Airplane mode may also be the cause of your inability to connect to Wi-Fi despite having strong signals.
Because it disables the cellular network, you will have no Wi-Fi when in airplane mode. You may have accidentally enabled it, and as a result, you are unable to connect to the Wi-Fi.
Simply go to your phone’s settings and turn off airplane mode. Now, turn off your Wi-Fi and then back on. Go to the Wi-Fi network and attempt to reconnect. It should resolve your problem.
- Reset Network Settings:
If your problem is still not resolved after this step, there may be a glitch in your network settings that is preventing your credentials from being recognized. Resetting your phone’s network settings can help to reduce this possibility.
This will refresh all of your connections and give Wi-Fi networks a fresh start. Simply navigate to a system-related setting in your Android phone’s settings. Select which type of settings you want to reset by going to the reset options.

Choose Network Settings. If your phone has a security password, you will be prompted to enter it. Your network settings have been reset to default.