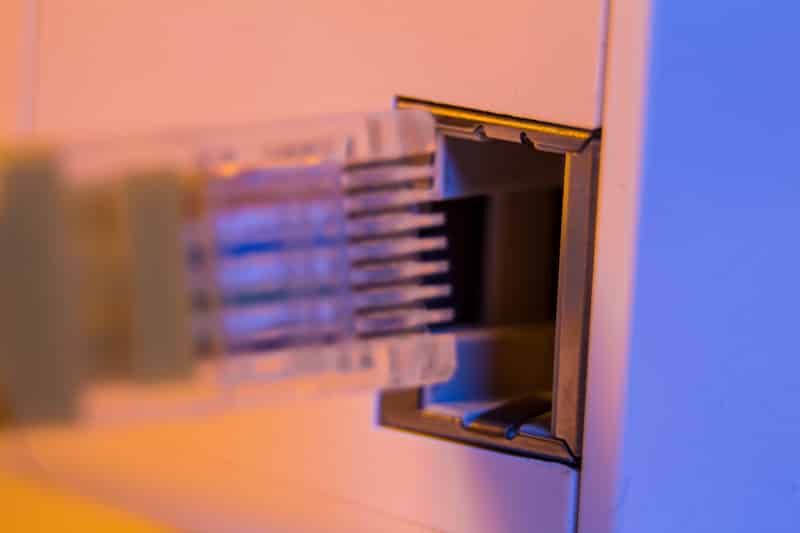
Netgear is a famous American brand that is known for manufacturing networking products for its. The company has a huge lineup of devices that you can select from. Additionally, each of these models has unique features on them. However, one recent product that has been receiving tons of attention is the Netgear AX1800 Wi-Fi Extender. This device uses Wi-Fi 6 which is several times faster in comparison to Wi-Fi 5.
Moreover, people are provided with dual-band channels that they can configure according to their usage. Finally, one more amazing feature is that this model uses a mesh system that allows people to set up multiple of these devices in a single network. The main problem people have is when trying to install the device. This is why we will be using this article to teach you how to set up the Netgear AX1800 Wi-Fi Extender.
How To Setup Netgear AX1800 Wi-Fi Extender
There are a total of two methods that can be used to set up your Netgear AX1800 Wi-Fi Extender. Considering this, we will be providing you with both of them so that you can select one that suits you. Alternatively, if you are having trouble with a specific method then you can try the other one.
Method 1: Manually Connecting the Netgear AX1800 Wi-Fi Extender
Here is a list of steps that you need to follow when connecting the mesh router manually.
- Start by placing the Netgear AX1800 Wi-Fi Extender and connecting its power cable.
- Now press its power button and wait for the device to start up. The green lights on it should blink for some time before becoming stable.
- Connect your computer to the base router using an ethernet cable or Wi-Fi.
- Now visit the login portal for Netgear and enter your credentials to continue.
- If you are having trouble trying to log in then use “admin” as the username and “password” as the password.
- Once you have the portal open, you will notice that the Netgear Genie will appear in front of you.
- Follow the steps mentioned and keep on clicking next until the software disappears.
- You will now notice that your mesh router will automatically get scanned and connected to the network.
Method 2: Netgear AX1800 Wi-Fi Extender Setup Using WPS
The second method requires you to press the WPS button behind your router.
- Start by plugging both your base router and mesh router into a power cord.
- Now start the devices and wait for the lights on them to become stable.
- First press the WPS button on your mesh router.
- Now press the WPS button on the base router.
- You can now change the position of your extender to any location that you want it installed.
- Finally, connect your device to the internet using your new Wi-Fi extender.
These steps are enough to set up the Netgear AX1800 Wi-Fi Extender in your home. The WPS method might seem easier, but it requires you to change the position of your extended after it has been connected. On the other hand, the first method allows you to set up the router and extender, no matter where they are placed.