When it comes down to TiVo Premiere, it’s one of the most powerful DVRs that you can find out there. It’s integrated with the hard drive because it’s critical for storing all the recordings, ranging from TV shows to movies. However, if TiVo Premiere has stopped recording the desired TV shows and movies, it becomes essential to replace the hard drive, and we will tell you how to do it!
How To Replace Hard Drive In TiVo Premiere?
The hard drive is an essential component of TiVo Premiere because it helps store the recorded TV shows and movies. However, many people have no idea about replacing the hard drive, but in this section, we are sharing how to replace the hard drive;
- First of all, you need to turn off TiVo Premiere by taking out the power cable from the main power source as well as the DVR. When it switches off, you should let the DVR rest for around five minutes before you proceed to the next step
- Turn the TiVo DVR and remove the screws with the help of a Torx screwdriver. In particular, you need to remove the 80mm screws on the back of the DVR (there are four of these screws, and you must take off all of them)
- Then, remove the outer casing by simply sliding the DVR’s top side but be careful because you shouldn’t damage the surrounding and internal components
- The next step is to pinch the connector of different wires (you need to find the connector that connects the yellow, black, and red wires). In addition to pinching, you must remove the connector from DVR’s motherboard, and you have to pinch the flat wire’s connector as well
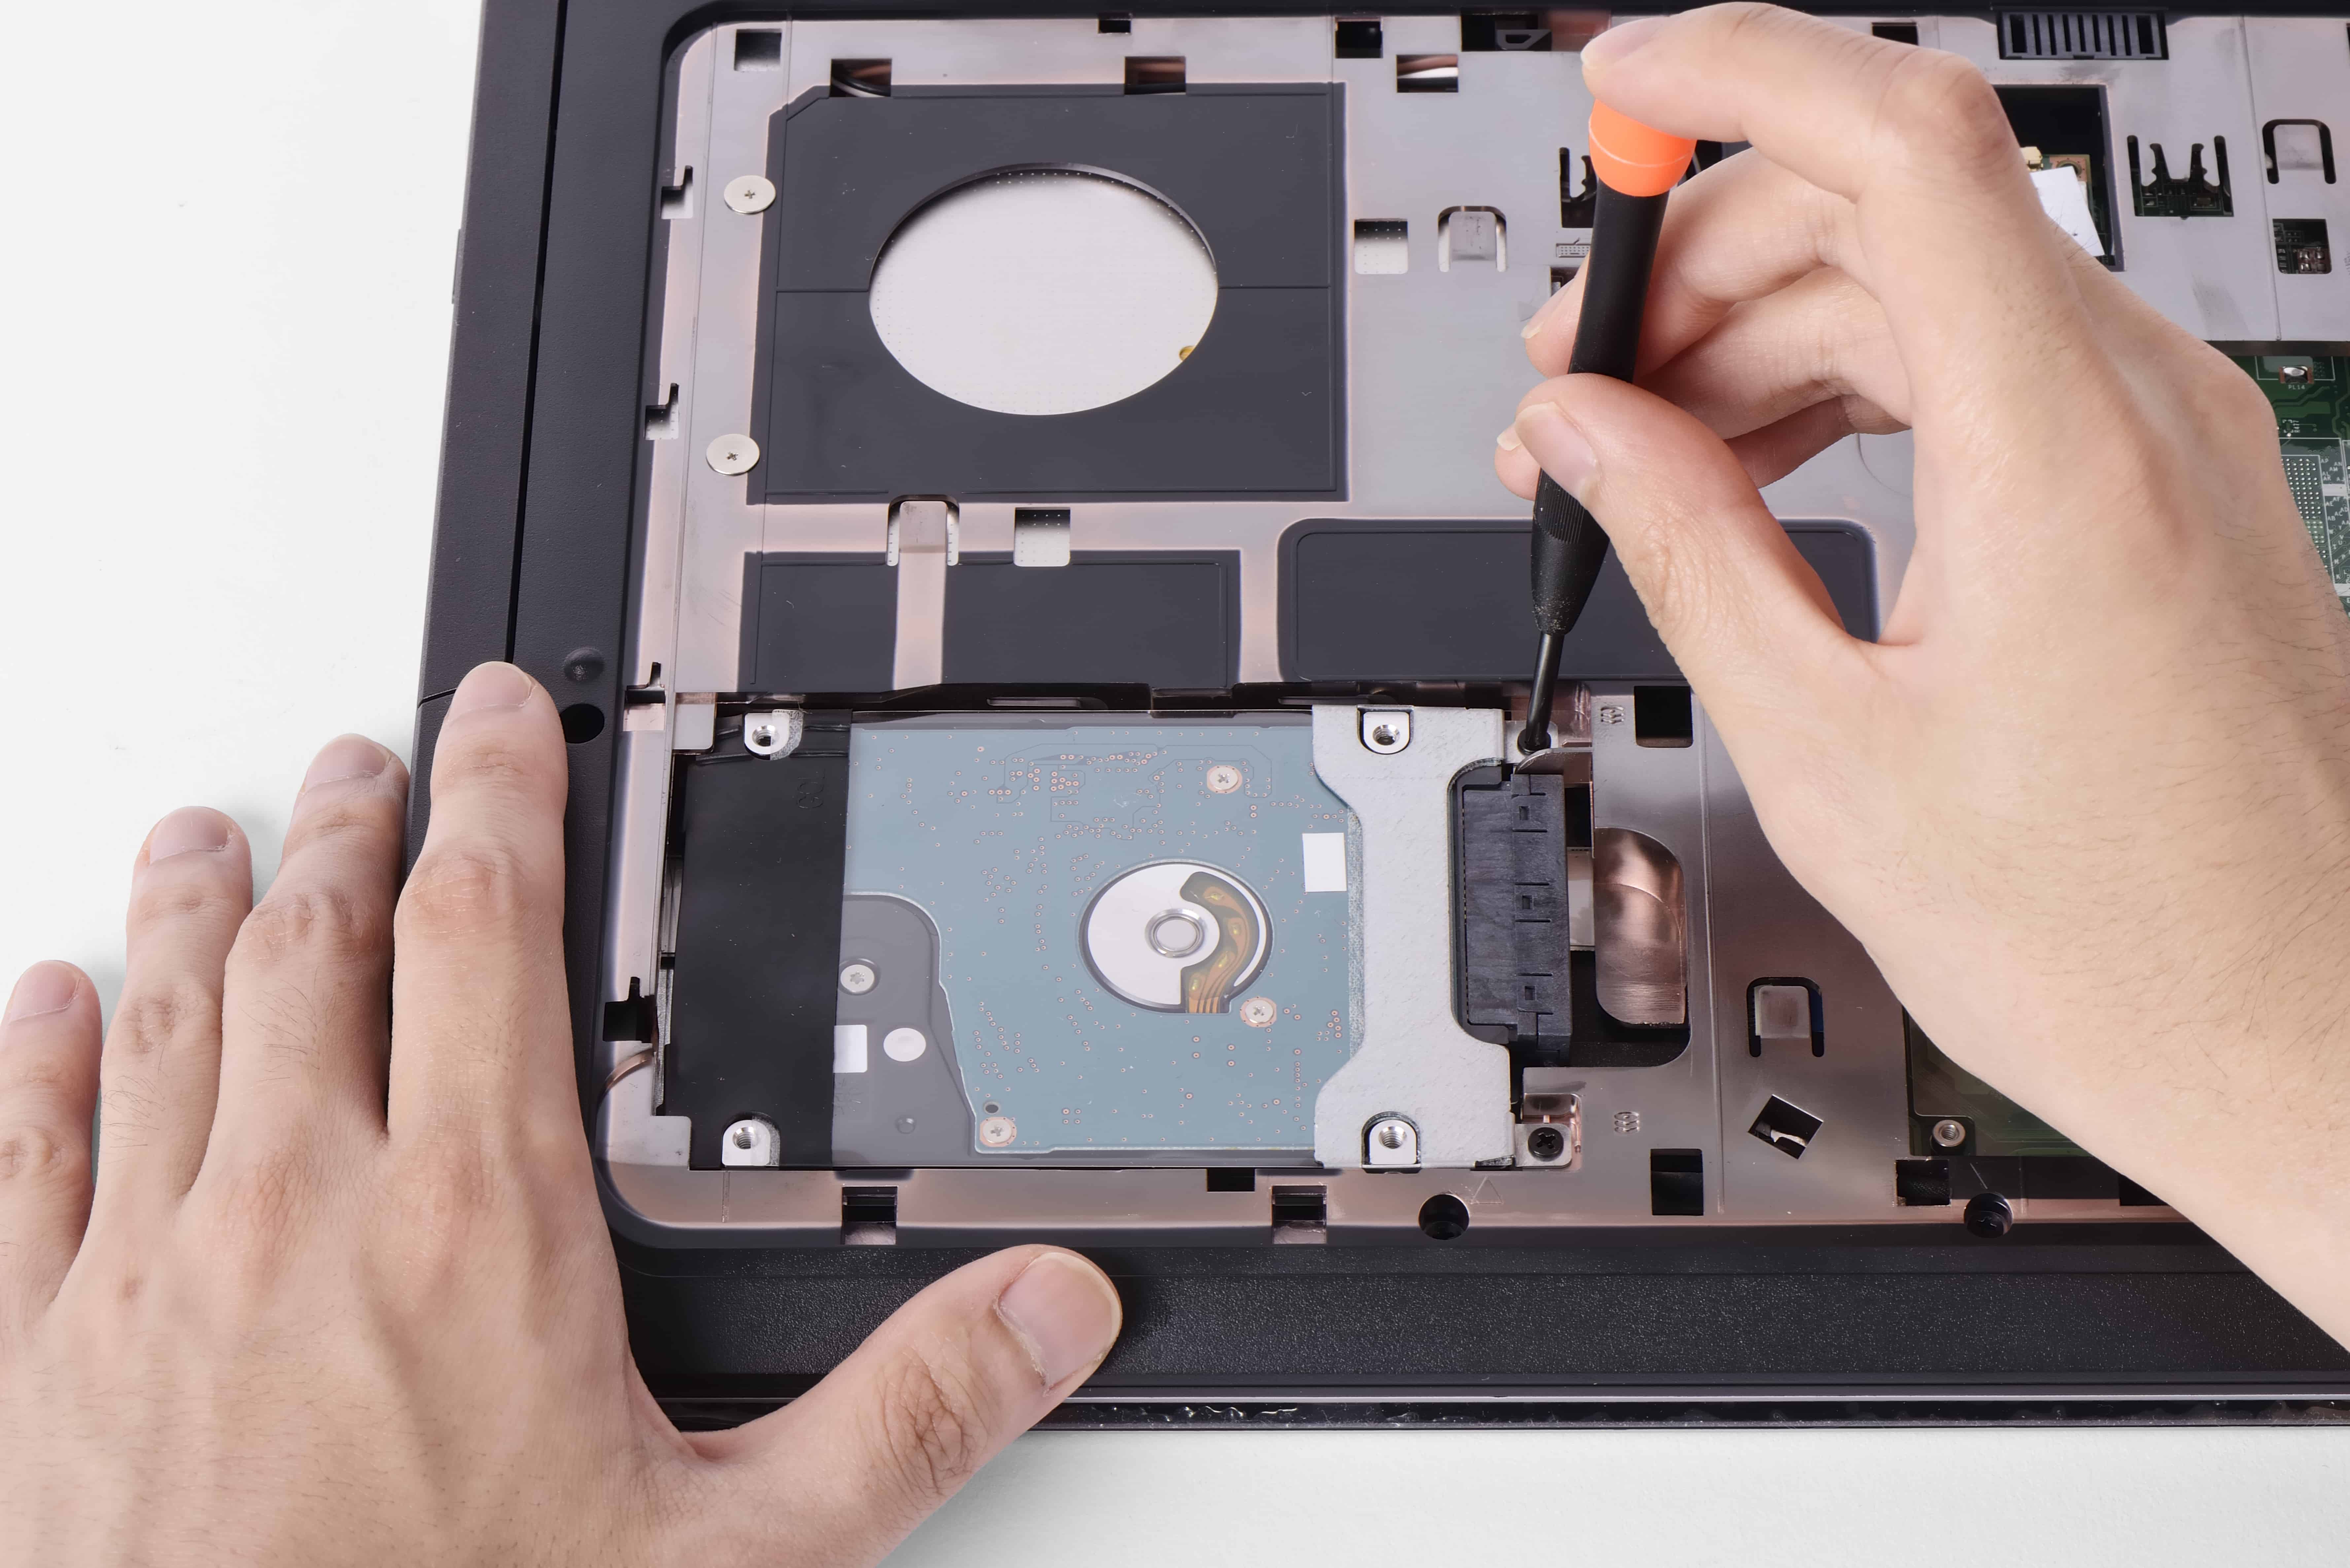
- Now, unscrew the two screws that are connecting the hard drive to the DVR’s bottom and repeat this process on the other side of the DVR’s hard drive
- Carefully remove the hard drive from your TiVo Premiere DVR
- Lastly, put in the new hard drive and tighten the screws that connect the hard drive to the DVR, and don’t forget to connect the connectors
- Once the screws and connectors are in place, you need to put on the back casing of the DVR and screw it tightly, and you will be done. You can now start storing your recorded TV show episodes or movies without any error
Additional Things To Remember
We are sure that you are fully aware of the process of replacing the hard drive in TiVo Premiere DVR now. If there is any hindrance in the replacement process, you can hire an electrician to complete the process for you, or you can call TiVo’s technical team. However, there are some benefits of replacing the hard drive that you must know, such as;
- It will ensure automated and on-point recording of the content
- It provides more IOPs to the DVR, which improves the processing power. The higher processing power means improved internet connectivity and faster recording/downloading
- It promises top-notch resilience against streaming errors
So, are you ready to replace the hard drive, then?