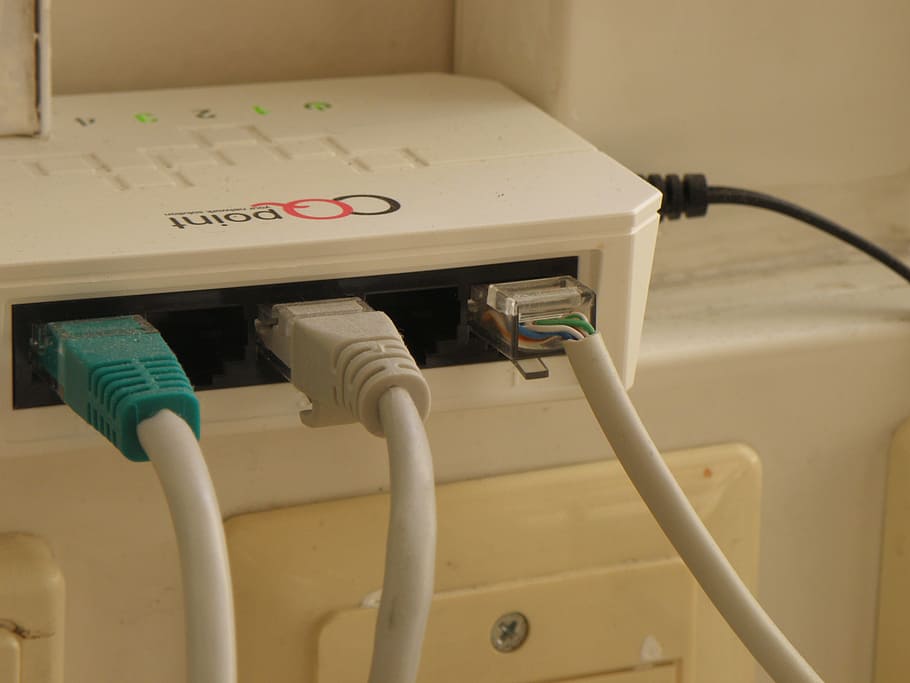
Network hardware can easily be detected when the connections are tightly held and your ISP is not being problematic. Back in days when people were newly introduced to wireless networks and internet connections; modem and router were separately created. However, time evolved and now there are modem devices having built-in routers in them.
Well, for those broadband companies having separate cable modem and wireless router, it gets quite hard for them to access their cable modem settings through their routers. Although, your cable modem can be accessed through your router with a technique called “Port Forwarding”. We will feed you further details about what it is and how it is done in this article. Read on!
Accessing Cable Modem Directly Through Router Is Quite Typical:
It doesn’t take much of your time when you are accessing your modem directly on your laptop. As the connection is direct and straightforward, you easily get to see the modem settings after connecting cable modem directly to the laptop via LAN cable.
On the contrary, when you have a wireless router kept between the laptop and your cable modem, it sure as hell is not as easy as that. There is a particular procedure to approach the practice. You might need some procedure similar to forwarding some port on your router so that the settings from the laptop go to your cable modem. Keep on reading to know about them descriptively!
Access Cable Modem Through Router Via “Port Forwarding”. Here’s The Catch!
When there is lying a router out there between your cable modem and your laptop, you are required to set up port forwarding. Why so? For inbounding the traffic to the WAN port of your router over a specified port can be port forwarded to 192.168.100.1—your modem.
To start doing so, you would have to open your browser and go to the public IP address of the WAN interface associated with your router’s port. This is specifically done by port forwarding. Down there is a complete description of it!
Step By Step Approach For Port Forwarding:
Here is how you do it:
- Sign in to your router’s broadband using your default gateway settings.
- Make sure to enter the DEFAULT router credentials into the boxes. Locate them on the backside of your router on a small sticker.
- The next thing you are required to do is locate the port forwarding settings. Most probably these settings would be beneath the “Advanced” and then go and select the Port Forwarding or Virtual Server.
- Stay on the Port Forwarding page to enter a name for your device. After that, make sure to enter the port you are forwarding in the given port field.
- Tap on the “TCP/UDP” or “Both” under Protocol.
- Input the internal IP address of the device that you are port forwarding to.
- Now click “Apply” and then “Save” to store the changes.
- To finish things off, enter the port number you forwarded.
- Click “Check Your Port”.
That’s all! Now, you would be able to access your cable modem through your wireless router on your laptop.