Ziply Fiber has an array of internet services available for users, including local wireless internet and fiber internet services.
To ensure the delivery of seamless and error-free internet, they have designed a Wi-Fi extender, which helps extend the wireless signals of the router and make sure all the devices are connected to the internet.
In fact, it only connects the devices to the internet but ensures that every device gets strong internet signals, irrespective of where they are in the home or office.
So, if you have invested in the Ziply Fiber Wi-Fi extender but don’t know how to set it up, we are sharing the full guide with you!
Ziply Fiber Wi-Fi Extender Setup
Method One – Install & Connect The Wi-Fi Extender With Wires
The wired connection is suitable for people who don’t know how to enable HomeAssure on the extender and need to connect to the internet immediately. The step-by-step instructions are;

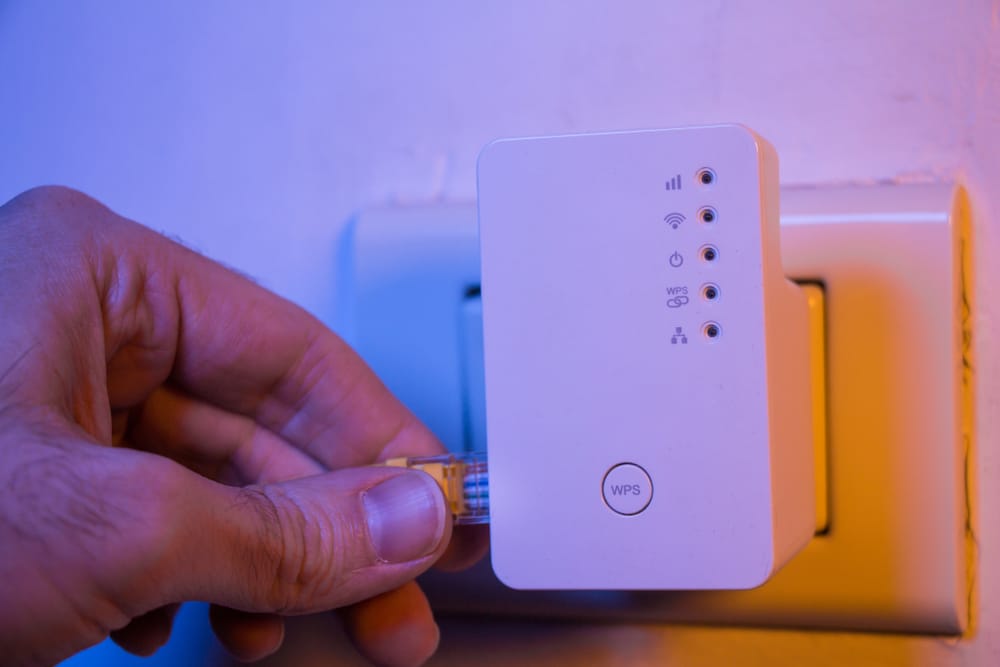
- Connect the extender to the current router with the help of an Ethernet cable (use the Ethernet ports on both devices)
- Connection the extender to the wall socket with the help of a power cord. As a result, the LED will start blinking fast and slow down. You have to wait for the LED to turn solid green
- Once the LED is green, scan the QR code on the extender to download the mobile app and follow the on-screen prompts
- Now, press the WPS button on the extender, and within two minutes, press the WPS button on the router
- It will take a few seconds to complete the configuration, but once the LED lights turn green and solid, it means that the WPS pairing is complete and the extender is set up
Method Two – Install & Connect The Wi-Fi Extender Without Wires
If you don’t want to go through the hassle of connecting Ethernet cables, we recommend that you install and set up the extender wirelessly. For this purpose, follow the below-mentioned steps;
- The first step is to scan the QR code on the extender and follow the on-screen prompts
- Once the prompts are completed, put the router and extender closer to each other
- Press the WPS button on the extender and then on the router (make sure you press the WPS button on the router within two minutes)
- As a result, the LED indicators will start flashing and changing colors, which indicates that the connection is underway
- Once the LED becomes solid green, it means that the pairing is complete and the router is connected to the router
Additional Things To Know
When you connect the extender to the router, make sure that both devices are placed close to each other to make sure there are no interferences or connectivity issues.
In addition, the Wi-Fi extender has been designed with an LED indicator that glows in different colors and blinks to show the status of the connection, such as;
- If you have connected the extender with wires and the LED is solid red, it means that the internet is slow. To fix this, you’ve to call the internet service provider and get the internet service fixed
- On the other hand, if the wireless LED is solid red, it means that the router and extender are placed too far away from each other. If that’s the case, just put the devices closer to each other
- Last but not least, if the WPS LED indicator is blinking orange or red, it means that the pairing was unsuccessful and you have to redo the pairing process
In case the extender is unable to connect or pair with the router, you should try the following steps;
- First of all, make sure that the extender and router are receiving power. Their power cords must be tightly connected to the back of the units as well as to the power socket
- Secondly, you have to ensure that router and extender are placed only a few inches away to prevent interferences and drops in the connectivity
- Thirdly, the Ethernet cable that connects the extender and router should be intact because the damaged cable won’t be able to establish a strong connection
- Last but not least, make sure that the router and extender are compatible to be used with each other. You can ask customer support for the list of compatible routers