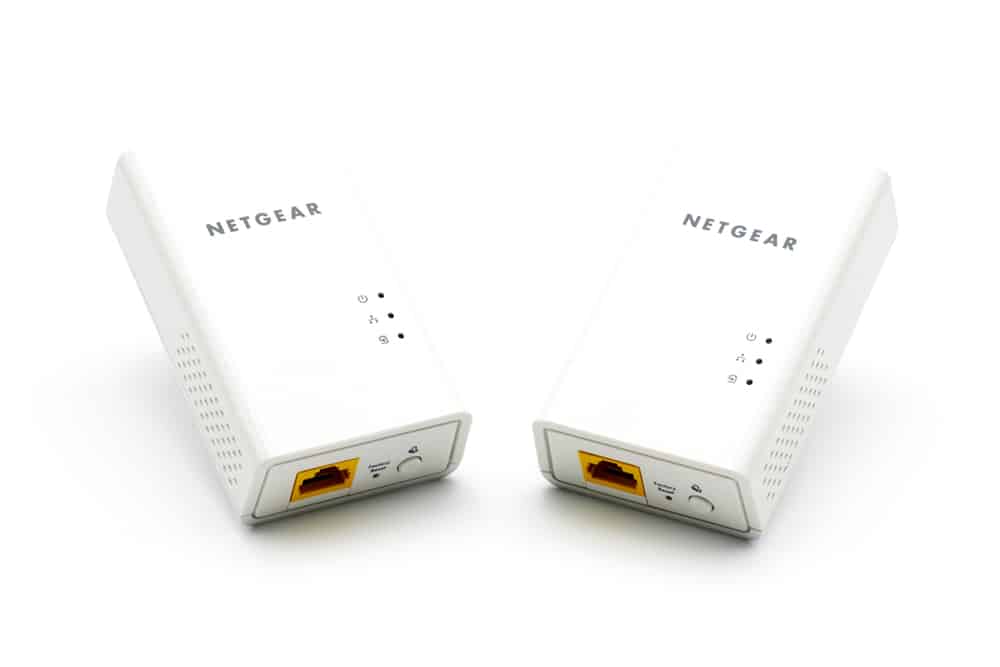
NETGEAR PowerLine 1000 is an excellent alternative to Ethernet cabling. It allows you to plug your device into any power outlet and connect it to the adapter to extend the range of your wired connection to any room. However, if you are a new user of the NETGEAR PowerLine you may experience errors while trying to set up your PowerLine adapters. Therefore, this article will guide you through the step-by-step process of how to setup NETGEAR PowerLine 1000.
How To Setup The NETGEAR Powerline 1000
PowerLine adapters allow you to significantly increase your internet access while also establishing a secure network connection between your devices. You can connect your PowerLine to your home’s existing electrical wiring and link it to the adapter. You can wirelessly connect your gaming consoles, smart TVs, and streaming devices with this handy device to enjoy a personalized experience.
Therefore for setting up your NETGEAR PowerLine 1000 you need to install your adapters first
- Connect your new adapter to an electrical outlet.
- Make sure you use direct sockets and not any extension or power strips or surge suppressors.
- Locate the Pick a Plug LED light on your adapter and make sure it turns on.
- Now connect your PowerLine Wi-Fi network to any Ethernet device you want to connect with.
- Your installation of adapters is done till this step.
PowerLine 100 allows you to configure your network settings, change network credentials, extend your network or connect your PowerLine to an access point, using the WPS button on the PowerLine adapters. Therefore, once you have successfully installed the PowerLine adapter all you need to is
- Locate the WPS button at one of the edges of the PowerLine adapter and press it.
- Hold the button for almost 2 seconds and then release it.
- Note that your Wi-Fi LED light starts to blink.
- Again press the WPD button for 2 seconds and wait till the LED stops flickering.
- Now your Wi-Fi device is connected to the PowerLine and you can easily configure your PowerLine settings from the device.
- Go to the web browser and enter www.mywifiext.net on the address bar.
- Login using the default credentials username “admin” and password “password”.
- Once you log in to the setup page, you can customize your Wi-Fi SSID and security key.
If you want to add more adapters to your PowerLine:
- If you have not customized the network security before, you can directly plug in the adapter to the PowerLine.
- If you are wishing to add an adapter with a security set then you need to plug the second adapter into a socket near the device.
- Then connect your device to the adapter.
- In case your adapter is secured with a private encryption key, locate the security button on your first adapter and hold it for 2 seconds.
- Next, you need to press and hold the security button of the new adapter for 2 seconds. Now you have added an adapter to your existing PowerLine network.