Sparklight has become the most preferred internet service provider out there. This is because they have a wide range of wireless internet plans available for the users. In addition, they offer internet devices to the users, and their self-installation kits have become extremely popular. The self-installation kits are designed to take away the need to hire a technician to install the internet modem and router. However, many people have a hard time understanding the self-installation process, but we have all the instructions laid out in this article!
How To Self Install Sparklight Internet
Setting up the Sparklight internet involves setting up the modem, and the process is quite straightforward and efficient. However, before we start the instructions, you need to ensure that you have chosen a compatible modem and it can support the internet connection speed that you’ve subscribed to. Now, follow the below-mentioned instructions;
- First of all, you need to ensure that you have the necessary equipment needed to establish an internet connection. Some of the equipment includes the cable modem, coaxial cable, Ethernet cable, and a power adapter with a reliable power cord. An Ethernet cable is needed for people who want to establish a wired internet connection. As far as the cable modem is concerned, you can check the compatible modem list from the manual or by calling the customer support
- Once you have the devices, turn them off
- Start the setup process by connecting the coaxial cable to the cable outlet and connect the other end of your coaxial cable to the internet modem
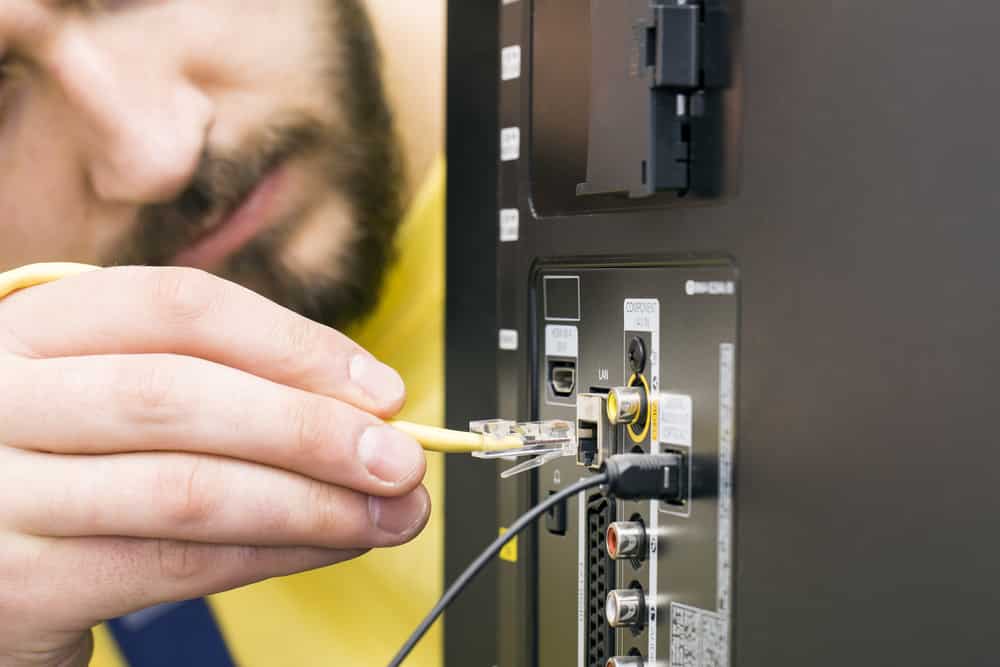
- Now, take out the Ethernet cable and connect it to the Ethernet port on the computer (you can also connect it to the network adapter). The other end of the Ethernet cable has to be connected to the modem’s Ethernet port (this port will be on the back)
- Then, connect the power adapter’s cord directly to the modem’s power port, which is placed on the back
- The next step is to connect the power adapter’s cord to the electric outlet. As a result, the modem will boot up and will try connecting to the Sparklight internet service – this process will take around three minutes to five minutes
If you have purchased a new modem and you’ve connected it, but it won’t blink past the downstream light after thirty minutes, you will need to connect with the technical support team. You can reach out to 877-692-2253. When the modem gets a solid cable, status, or online light, you will need to contact the technical care center of Sparklight as you’ve to register the internet modem to your user account.
The best thing about technical support is that it’s available 24/7 and they are trained enough to cater to your queries. As far as registering the modem is concerned, the technical support team will ask you for the MAC address of the modem, so it’s best to write it down for your ease. On the other hand, if you are unable to find the MAC address, the technical team can also help you through this process.