RockSpace Wi-Fi extenders are extremely popular and are used by thousands of people who need to extend the wireless connection throughout the home. However, like other wireless devices, these extenders are also prone to some connectivity errors and nothing works better than a reset to fix the errors. So, if you don’t know how to reset a RockSpace Wi-Fi extender, we have a full guide for you!
How to Reset The RockSpace Wi-Fi Extender?
The reset method is one of the best ways of resolving connectivity errors. This is because it deletes the incorrect settings and configuration errors to make sure the wireless signal extension is optimized. To perform the factory reset process, you need to keep the extender connected to the power source and make sure you’ve something sharp, such as a needle and paperclip, for pressing the reset button. You can also wear the rubber gloves for safety purposes and keep the default web address or IP address written down because you might need it. Once you have all these prerequisites ready, follow the below-mentioned steps to perform the reset process;
- First of all, you have to connect the Wi-Fi extender to the power source and switch it on
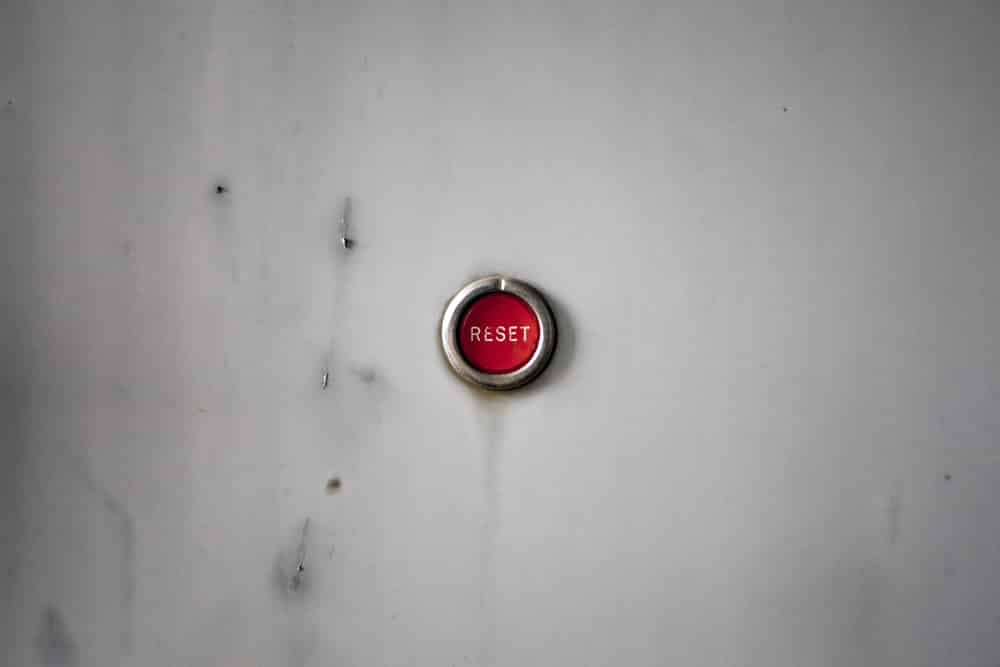
- Inspect the extender for locating the reset key, and once you find it, use the paperclip or needless to press it
- You have to press the reset button for ten to fifteen seconds, and when all the lights on the extender start flashing, release the reset button
- Wait for ten seconds again
- Now, reboot the extender and the extender will be back to the default settings
This is the complete reset process and won’t take you more than two minutes. However, once the extender is reset to the factory default settings, you will need to set it up properly to resume using it. This is a plug & play device, which means setup will be easier.
So, before we start the setup process, make sure your internet connection is working properly and you have the IP address and web portal address available. Keep in mind that both router and modem have a reliable and active internet connection and ensure a working power outlet for connecting the devices. Now, follow the below-mentioned instructions to set up the Wi-Fi extender;
- First of all, you need to ensure that the router is properly connected to the modem and they are working
- Connect the Wi-Fi extender to the power outlet, and then, look for rockspace_ext on the computer
- Now, connect the Wi-Fi extender and it will automatically take you to the web portal
- If it asks you for a password, you can find the default password on the configuration card
- Once you access the web portal, you can follow the on-screen prompts to set up your Wi-Fi extender
- You will need to join the internet network, set up a new password, select a country, register the extender, and don’t forget to adjust the security features
- Once you are done with the setup, you have to reboot the Wi-Fi extender and put it in the central location to ensure a seamless signal extension
After following all these steps, your RockSpace Wi-Fi extender should be successfully reset. During the process, if you seem to find anything confusing, be sure to let us know about it!