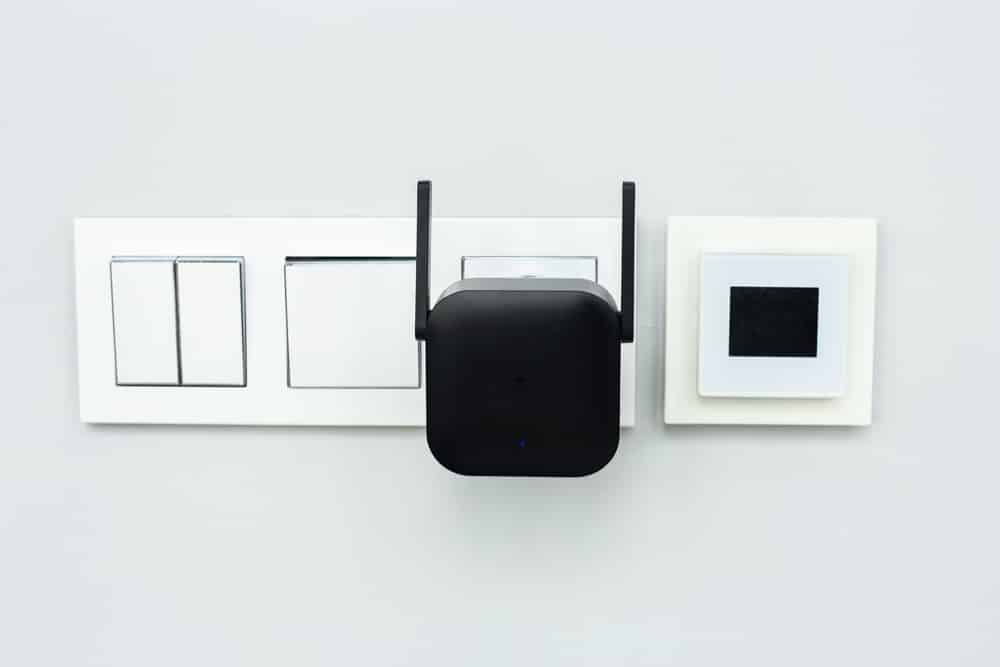
Purchasing a well-designed and reliable Wi-Fi extender has become a necessity for many internet users. This is because one seldom gets two internet connections, even if they have a big home or office, which often results in internet connectivity errors and slow internet for people. For this reason, people opt for RockSpace Wi-Fi extenders as they help extend the wireless signals for a more reliable internet connection. So, if you have invested in this Wi-Fi extender but aren’t certain about how to connect it, we have the guide for you!
How To Connect A RockSpace Wi-Fi Extender
Method 1: To connect the RockSpace Wi-Fi extender to the wireless devices, you can try out the following instructions;
- To begin with, switch off the mobile data before you start the connection process
- Connect RockSpace Wi-Fi extender to the power source to turn it on and wait for the lights to become solid (solid lights indicate a stable connection)
- Now, switch on the Wi-Fi feature on the device you want to connect it with
- As the device starts scanning for available networks, choose the RockSpace Wi-Fi extender
- Once the connection has been established, type “re.rockspace.local” in the URL bar of the internet browser to open the web-based portal
- When you are signed in, find the current Wi-Fi network that you want to extend and tap on the connect button
- And, you are done!
Method 2: Connecting the RockSpace Wi-Fi extender to the device is pretty easy. However, you need to ensure that the extender is fully set up. So, if you want to set up the extender, follow the instructions mentioned below;
- Keep your Wi-Fi extender turned on by connecting it to the power source and wait for the LED indicators to become solid blue
- Make sure that the extender and router are in closer proximity as it’s essential for the setup
- Now, press a WPS button on your wireless internet router. After that, let the LED light become blue
- Then, press a WPS button on RockSpace Wi-Fi extender within two minutes of pressing the button on the router and the connection will be established
Method 3: This was the WPS method and it’s the easiest method. However, you can also use an Ethernet cable to set up your Wi-Fi extender and below are the instructions that you can follow;
- Connect RockSpace Wi-Fi extender to the device with the help of an Ethernet cable and open the internet browser
- Type 192.168.0.254 in the URL bar, and when the web page opens, add your credentials to gain access to the dashboard
- Open the extender setup page and tap on the “extender” button to initiate the setup process
- As a result, a few on-screen prompts will appear on the device’s display that you need to follow and the setup will be completed
- Once you complete all the screen prompts, just hit the save button to configure the settings
- Last but not least, don’t forget to put your extender in the central part of the home to ensure uninterrupted signal reception and extension
So, start setting up and connecting the devices to enjoy a reliable internet experience!