TP-Link is a famous brand that is mostly known for its networking products. There is a huge lineup of devices that you can purchase and each of them comes with features unique to them. Considering this, you can visit the official website for TP-Link to view all of the devices available at their stores. With that being said, the TP-Link Archer C7 is one of the best routers being manufactured by the brand.
This comes with a wide signal range that can carry high internet speeds without any issues. Aside from this, there are tons of additional features including port forwarding that you can access on this device. If you are someone who wants to use these but don’t understand how to configure them then you might require some assistance. This is why we will be using this article to teach you how to port forward on the TP-Link Archer C7.
How To Port Forward TP-Link Archer C7
1. Sharing Local Resources Using Virtual Servers
Port forwarding is a useful tool that allows people to do several things. Depending on what you want to do the steps required might slightly vary. If you are trying to share local resources or documents from your system with other devices on the network, then here is how you can do it.
- Start by assigning your device with a static IP address. This should be on the computer or laptop where you want to share your data.
- Once done, the user can then proceed to open the online portal for TP-Link on their device.
- A login page should appear where you will have to enter your credentials before continuing.
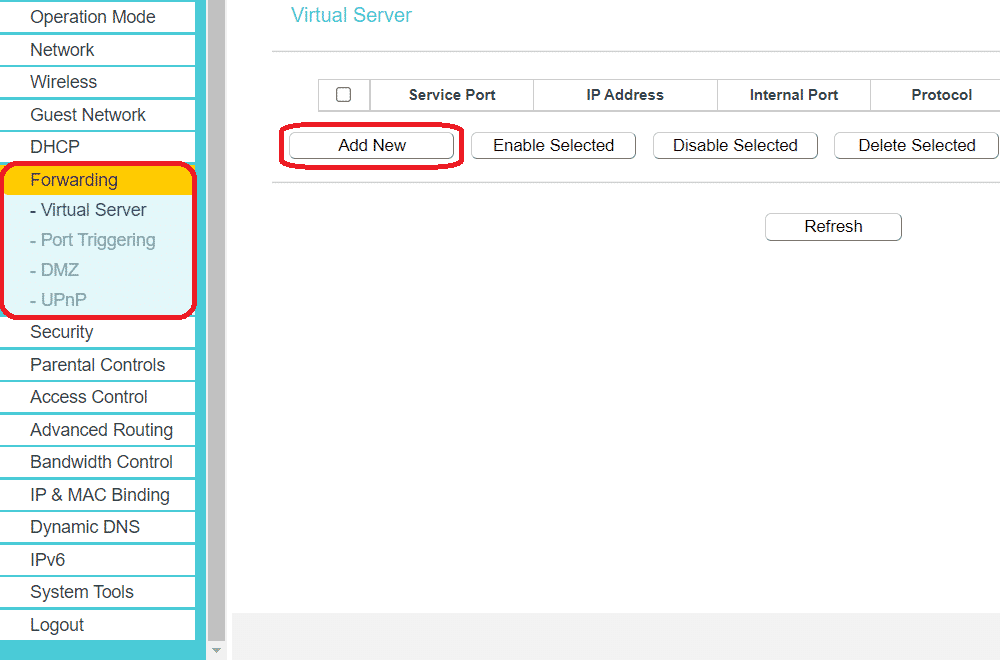
- Browse through the tabs to find “Advanced” then “NAT Forwarding” and finally select “Virtual Servers”.
- Finally, click on the “Add” button and continue through it to create a virtual server on your network.
People using your connection can now access the data being shared by visiting the static IP that you had created. Aside from this, if you are using a LAN network then make sure that most of the settings on your router stay at default to avoid any problems.
2. Opening Ports Using Port Triggering
This is another type of port forwarding that is required when trying to use specific applications. These include online games, MSN Gaming Zone, videos players, and even VoIPs. The process allows people on the network to access a connection once the host has initiated it.
- The first thing that you have to do is visit the online portal for TP-Link and enter your credentials.
- You can now proceed by finding the “Advanced” tab and clicking on it.
- Continue browsing through the options and click on “NAT Forwarding” and then “Port Triggering”.
- Finally, click on “Add” and you can now browse through the list of applications being used on your network.
- You can now select the software that you want to enable Port Triggering for and then save your changes.
If done correctly, you should now be able to access the application using port forwarding without any further issues.