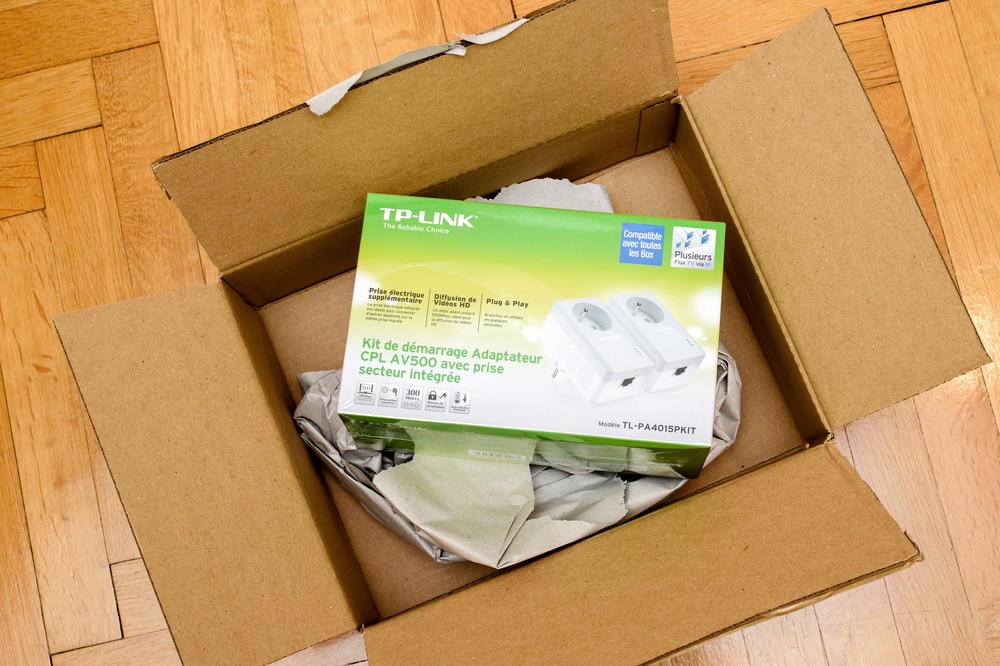
TP-Link is a true industry leader if we look at the internet industry. This is because they have the best network equipment available for everyone around the globe, ranging from modems to routers and range extenders. In addition to these internet devices, they have launched a powerline adapter range to help people extend the network connectivity without adding a myriad of cables. The users often have multiple adapters connected to the network but many beginners have no idea how to connect another powerline adapter to the network. However, we are here with all the help you need!
How To Add A Third TP-Link Powerline Adapter?
In the majority of cases, people add a third powerline adapter to the current powerline network for improving the network coverage. To illustrate, the users have already integrated two powerline adapters on the network but the internet network doesn’t reach some areas of the home or office. For this reason, a third powerline adapter is recommended.
Keep in mind that you only need one of the adapters plugged into the primary router (we are talking about the wired unit) with the help of an Ethernet cable. Then, you can pair other devices to the powerline adapter. For instance, the adapter A and adapter B create an AV network, and if you want to add the adapter C to the network, you can follow the following steps;
- Press the pair button on the adapter C for three to eight seconds
- Now, press the pair button on the adapter A or B for three to eight seconds (you need to press the pair button within 120 seconds after pressing the pair button on the C adapter)
- Then, you need to wait for around sixty seconds while trying to connect the powerline adapters. As a result, the power LED indicators on all adapters will stop flashing and achieve a solid form once the connection is successful
These above-mentioned steps can be followed for connecting TL-PA211, TL-PA111, TL-PA201, TL-PA101, and TL-PA210. On the other hand, if you are using a powerline adapter other than these models, follow these instructions;
- Press the pair button on the adapter C for a second
- Then, press the pair button on the A or B adapter for a second, and press this button within 120 seconds of following the first step
- Now, you must wait for a minute because this time is essential for the adapters to connect with each other. Once the connection has been established, the power indicator will become solid (no, it won’t flash)
Keep in mind that connectivity can take a few minutes in some cases and the light will keep flashing during the connectivity process. On the other hand, if the connectivity hasn’t been completed within three to four minutes, there is probably something wrong with the cable. In most cases, the internal damage to the cables can negatively influence the connectivity, so check the cable and replace it if necessary – you can use a multimeter to determine the continuity of the electric current.