Acer laptops have become the stars of the inexpensive to mid-range laptop market in recent years, somehow managing to couple relatively high-end features with incredibly reasonably prices. In fact, they generally stand head and shoulders above anything in their price range, when you stop and take a look at the specs side by side.
However, there is always a trade-off when it comes to tech. All of these features do come at a cost, and in terms of the Acer brand, the most notable of these is that they do tend to overheat sometimes.
Among Acer users, the overheating issue is one that has been talked about for a while now, so we’re not exactly going to be breaking any astounding and shocking news here.
However, what isn’t being talked about too much is what you can do to prevent this overheating and shutting down issue from happening. As it turns out, there are quite a few things that can be done to minimise the risk of this happening as often as it currently does.
Why Does My Acer Laptop Overheat And Shut Down?
The main reason for this overheating issue is that quite few of the components in your Acer will habitually be worked to the bone, building up in temperature while this is happening.
Eventually, when these parts get too hot, the Acer will tell itself to shut down to stop any permanent damage from happening. So, though it is annoying, things would be much worse if it didn’t shut down at that moment.
To fix this, there are actually quite a few things you can do. These will range in complexity from stuff that can be easily handled by anyone, to things that will need a technician or a skilled enthusiast to get on board.
Because of this, we would recommend that you read through all of these and then pick a fix (or a combination thereof) that you feel comfortable with. Of course, the more of these tips that you incorporate into the mix, the better the chance is that you get rid of the issue. Let’s get into it.
- Clean out the Vents
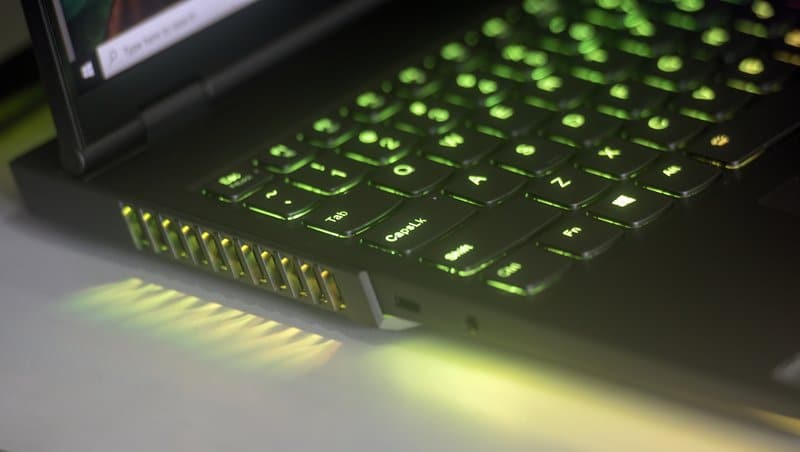
One thing that is key for keeping your Acer from overheating is making sure that there is enough cold air circulating through it. That way, the components aren’t just crammed into a stuffy space, getting hotter and hotter.
Acer themselves had planned for this somewhat, and thus built-in vents to aid with the airflow situation. But these can easily get all sorts of stuff clogged up in them over time, making the overheating issue far worse than it should be.
Luckily, this is one of those things that can be taken care of from the comfort of your own home and with a budget of zero. All you really need to do here is try to blow as much of the dust away from the various vents on your laptop as thoroughly as you can. But, we are not going to stop there.
Dust has a way of getting in behind the vents too. So, as ridiculous as it may feel, the next thing to do is grab the hoover and try to suck out any of the remaining dust that way.
While doing this, just make sure to keep a little bit of distance between the end of the hoover and the actual vent. Though rare, it is possible for some of the more powerful hoovers out there to actually move internal components with their power if too close.
- Check for Dust Inside of the Laptop
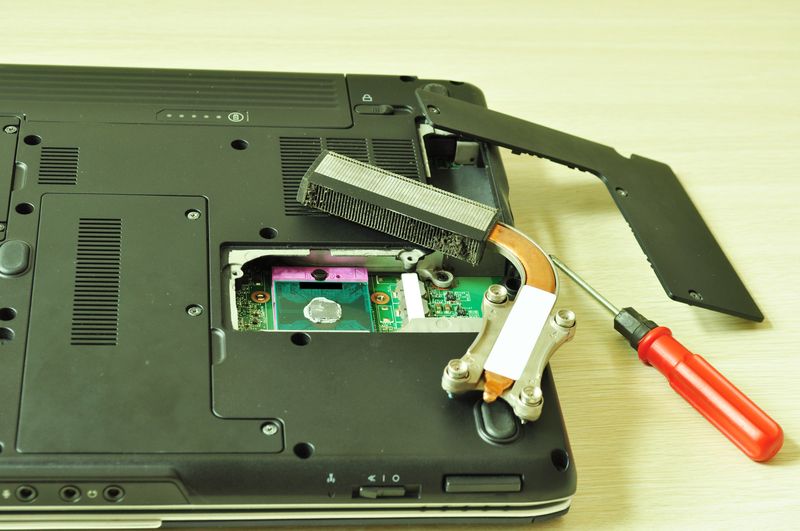
Now, this step works on the same principle as the first, but just delves a bit deeper into the workings of the laptop. Of course, seeing as dust can enter the vents, it is very possible that some has worked its way pretty deep inside.
When that happens, the air can’t move freely between the outer case and the overheating components. However, this isn’t something you can fi unless you are pretty techy and comfortable taking a laptop apart and putting it back together again.
For this reason, we would suggest that you enlist the help of a local technician that you trust. All you need to ask them to do is perform a routine clean to help with the overheating situation.
As a point of interest, it is commonly suggested that you get this done on a monthly basis. We have to admit that we fid that pretty unrealistic and that no one is really that on the ball when it comes to this stuff. Once every 6 months should be fine.
- Adjust your Battery Settings
Not every step from here on out will require you to get up and personal you’re your device. There are also a few things you can do without having to spend anything or take anything apart.
One of these thigs involves nothing but a few settings changes. Though overheating can be an indicator that the battery may need to be changed, there is a way to eke a little but more life out of it. So, instead, we would suggest that you try going into the settings menu and changing the battery settings to power saver mode.
While on battery saver mode, your laptop will streamline what it is doing in the background, putting less overall strain on the various components inside and stopping them overheating as quickly. So, this tip is one we would definitely keep in mind.
- Apply Thermal Compound
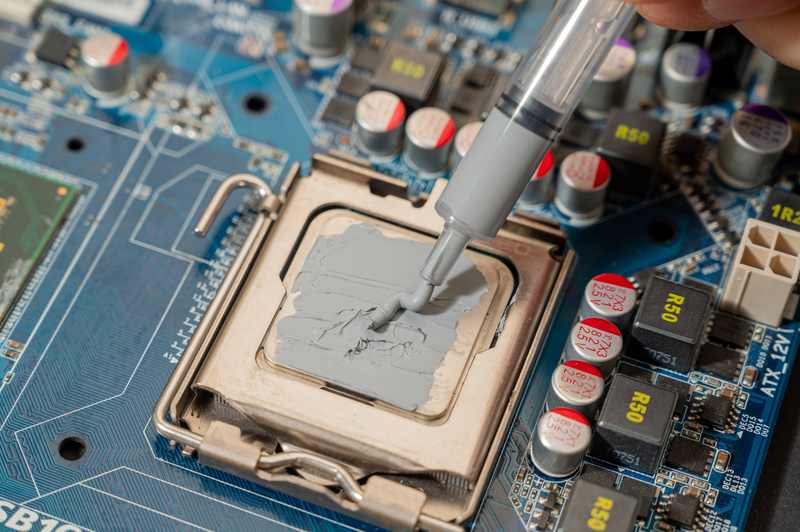
Our fourth solution will again require either you or a technician with a bit of skill to do. We say this because, to apply the thermal compound to where it is needed, you will need to again open up the laptop and get up close and personal with the components inside.
Then, thermal compound will need to be applied to the CPU (or IC) to allow for better heat transfer between the heat sink and the heat paste.
The thermal compound you will need for this can be bought from any old hardware store and will come in the form of a thick paste. Any technician will have this to hand as it is regularly used in their line of work.
- Use or Build a Laptop Table

For our last fix, we are going back to basics – that is, there really isn’t any level of tech skill required here and you may not need to spend anything either. Quite often, a laptop can be prone to overheat for the simple reason that the hot air isn’t being pushed out of the laptop quick enough.
For example, if the laptop is always flat down on a surface, the downward vents are pushing hot air directly into it. There are purpose-built laptop tables that have vents built into them to prevent this.
However, we have seen plenty of people who have just worked it out for themselves and built various little stands to keep their laptops a little bit raised. In a pinch, even just balancing the laptop on two books can actually help!
The Last Word

As you can see, there are many different ways to go about this particular problem. In most cases, the best results will come from doing as many of these as you possibly can at the moment. In any case, we hope that you found this little guide helped you out.
On a final note, if you have come across another solution that we haven’t mentioned here, we’d love to hear about it. By sharing the knowledge in the comments section below, you could well save one or more of your fellow readers the cost of a new battery – or worse, a whole new laptop.