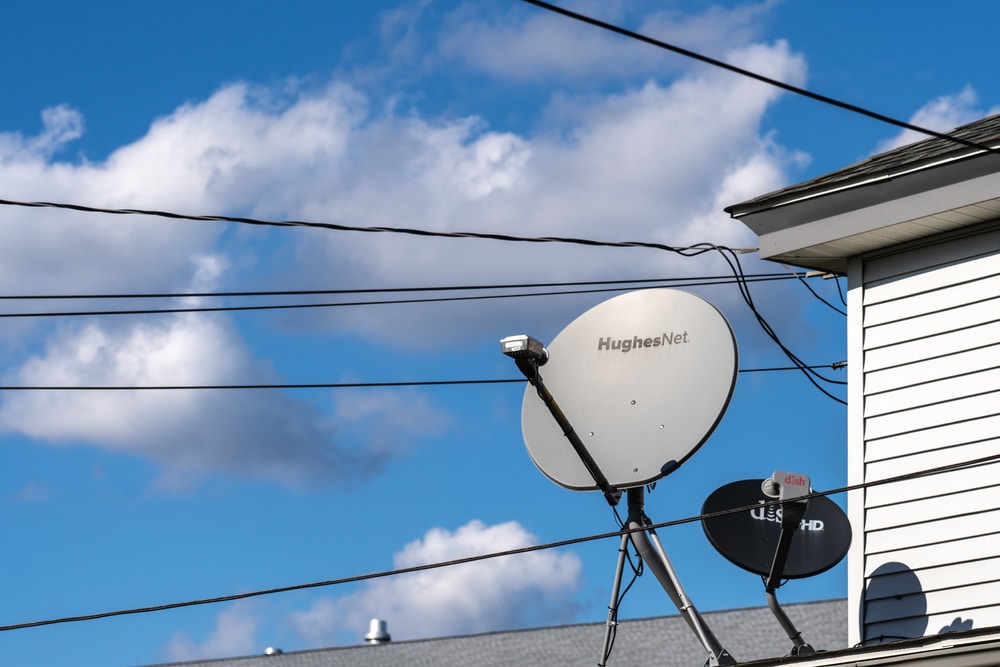
HughesNet is a well-known internet service provider when it comes down to satellite connections. When users sign up for the internet, they are given a modem that receives the satellite signals. Once the devices are connected to the modem, the devices will have an internet connection as it distributes the signals that the modem is receiving. In case you are a first-time user, you have to connect the router to the network and configure it to customize the internet connection according to your preferences. That being said, if you don’t know how to configure the wireless router, we have the step-by-step for you!
How To Configure A Wireless Router For HughesNet?
- Connect The Router
When you have to configure the wireless router to the HughesNet connection, the first step is to connect the router. For this purpose, you need to disconnect the Ethernet cable that connects the wireless router to the HughesNet modem (if it’s connected, of course). Once the Ethernet cable has been disconnected, connect the router to the power supply as well as to the computer with the same Ethernet cable.
- Sign In To The Router
Once you have created the wired connection with the router and computer, you have to access the web-based interface of the router. For this purpose, you need to open the internet browser and type the router’s IP address into the browser’s search bar, and hit the enter button.
When you press the enter button, the login page will appear on the screen where you’ve to add the username and password – once you’ve added the details, press the login or OK button to sign in. If you are logging in for the first one, you can use “admin” as it’s the default username and password. You can also consult the router’s user manual for login information.
- Configuration
When you add the login details, you will be signed into the router, and you can navigate to settings to access the control panel. You have to look for the router IP address option and change the address to 192.168.10.1 – it is to ensure that no unauthorized person can access your router. Once you’ve added the new IP address, tap on the “save changes” button and reboot the system. When the computer turns on, all you’ve to do is to connect the router to the modem with an Ethernet cable, and a well-synced connection will be created.
Additional Tips
We have already mentioned the full guide that you can follow to configure the wireless router for the HughesNet connection. However, if you want to make the configuration process smoother, you should follow the below-mentioned steps;
- Always use Google Chrome to open the login page because other browsers don’t work, especially Safari, Firefox, and Internet Explorer
- Always update the internet browser before logging in to the router
- Make sure that all the wires are tightly connected to the router and modem during configuration to ensure the settings are saved
- You must follow the instructions in a sequence to ensure you don’t get any configuration errors