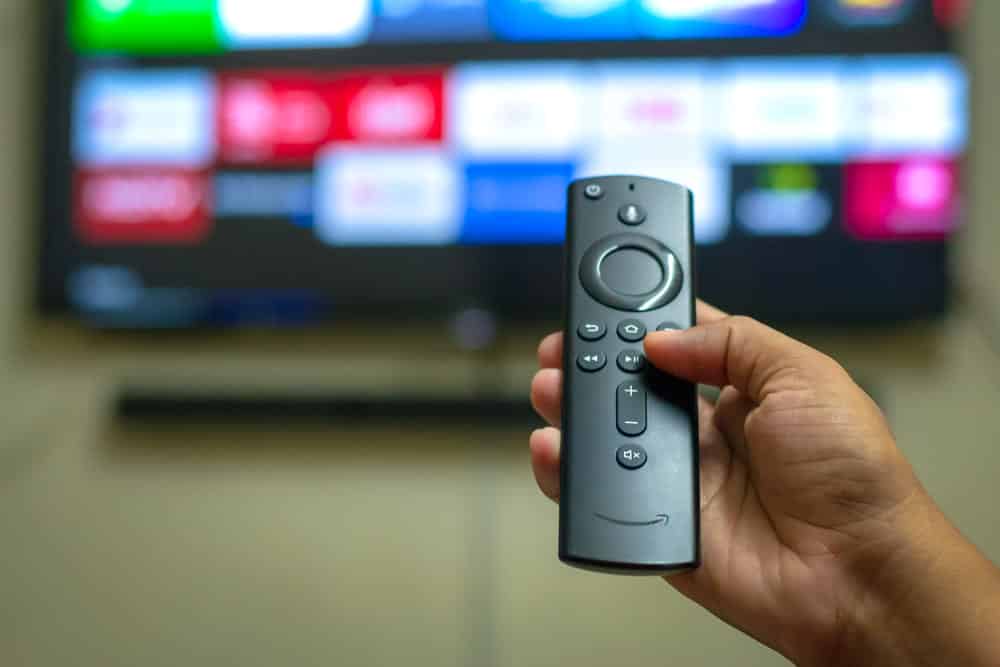
Amazon Firestick is one amazing device designed for people who love to stream content. With the latest FireOS update and Fire TV device, the company has released the “allow USB debugging on Firestick.” Since it’s a relatively new feature, people don’t know much about it, and we are sharing everything you must know about it!
Should You Switch On USB Debugging On Firestick?
In the first place, it’s essential to outline there is no wrong and right of this statement. This is because it depends on your preferences and you have to decide for yourself. Before you decide if it should be enabled or disabled, understanding the feature is important. This feature is designed for developers that help them connect the computer systems and Firestick.
With the connection between the computer and Firestick, the developers will be able to sideload the apps from their computer to Firestick (it sideloads the apps to Fire TV devices, actually). The feature can also be used for checking the underlying issues and bugs, which promises the delivery of a practical and functional app.
In addition, this feature can be utilized for installing third-party apps on Fire TV devices without installing additional downloader apps. However, for this purpose, they have to download the ADBLink downloader software. As far as debugging is concerned, it can be used for using and working the Mouse Toggle. Also, it’s suitable for using the Custom Launcher.
That being said, if you are using any apps mentioned here, you can enable this feature. All in all, there are no downsides of switching it off or on because it all depends on the device and preferences.
Allow USB Debugging On Firestick: How To Enable It?
It’s already mentioned that the feature is designed for developers, but other people can use it as well. By default, the feature is disabled and is often hidden. In case you want to use the Mouse Toggle or ADB connection, you can enable the feature. With this section, we are sharing the instructions to follow but make sure to follow them precisely. The steps are given below;
- In the first step, you need to open the home screen
- Navigate to the above menu and choose settings
- Scroll down through the settings and choose “My Fire TV”
- Now, scroll down and choose the developer options
- From the developer options, move to ADB debugging and hit the select button
How To Enable “Allow USB Debugging On Firestick” Without Remote
You might have believed that you need the remote for switching on the feature, but it’s not right. This is because the feature can be enabled even if you don’t have the remote or if the remote stops working. So, if you want to enable this feature without a remote, the entire process will be simple and will only take five minutes of your time (maximum). Keep in mind that you have to use the remote app, so have a look at the instructions;
- Open the app store on Fire TV device and look for the “Fire TV remote,” and install the first option that appears on the screen
- When the app is installed, open it up and allow the permission
- Then, connect the Fire TV and smartphone to a similar Wi-Fi network. As a result, TV name will appear on the smartphone and click on it
- The code will appear on Fire TV and smartphone for pairing the app to the TV
- Once the remote is paired, open the settings and open “My Fire TV”
- Move to the developer options and scroll to ADB debugging
- After scrolling to ADB debugging, hit the select button
Now that the feature is switched on the Firestick, you will be able to use it as you like. The best thing is that the remote app is great and extremely easy to use. Ven more, the remote app can use the voice command as well, which makes it extremely convenient.
The Bottom Line
After going through the article, we are pretty sure that you know what this feature means and how it can be enabled on devices. We assure you that this is a well-integrated guide and will help you enable “allow USB debugging on Firestick” with and without the remote.