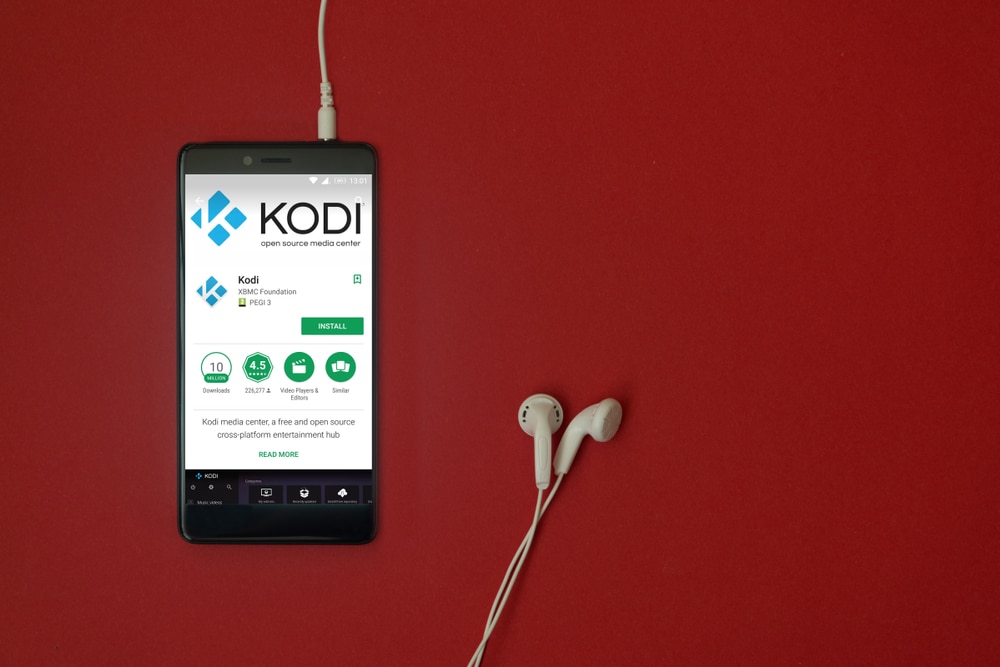
Kodi is one of the most reliable software solutions for people who like streaming content. The users can create multiple libraries to organize the TV shows, movies, and audio files. However, Kodi is likely to revert to the estuary skin whenever the software is opened, which results in the “your library is currently empty” error. As a result, Kodi will go back to the default state and needs restoration. So, let’s see how you can restore the library!
Your Library Is Currently Empty Kodi:
If the library is empty, it’s needless to say that you want to restore the library to access the files. There are free steps that you have to follow, such as;
- Selecting The Skin That Stores The Build
First of all, you need to restore the Kodi build. For this purpose, you must tap on the cog button from the left sidebar’s top and tap on the interface. From the interface menu, tap on the skin option to open a new window from where you can choose the skins. You have to choose the skin that contains the build and tap on the “yes” button to save the changes.
- Reinstall The Build
If your Kodi has been wiped clean, you might have to reinstall the builds. For this purpose, you must switch on the unknown sources option as it helps you install the third-party builds. In addition, you’ve to add the source link of the build through Kodi’s file manager – you have to select the source link for installing the package from a zip file.
- Back Up The Kodi
The last part of the restoration process is to back up the Kodi. For the backup process, you have to follow the below-mentioned steps;
- Go to the add-ons in Kodi and press the download button. From the download option, tap on the “install from repository” and click on all repositories to access the repositories
- Choose the program add-ons and tap on the backup add-on
- Press the install button
- When the new window opens, choose the “Kodi add-on repository” option
- Now, go to the add-ons again and choose program add-on and backup add-on
- Then, choose the “open settings” and tap on the Remove button
- The next step is to choose the “browse remote path” and go to the external storage. Then, select the path for saving the backup
- Now, you have to open the file selection option and check all the options to back up the files
- Lastly, just press the OK button and open the backup add-on. Then, just tap on the backup button one last time to complete the backup process
When the backup is created, you will be added to restore the Kodi build. Once done, just open the “browse remote path” and choose the folder that includes your backup and press the restore button. As a result, the files will be restored to the library.