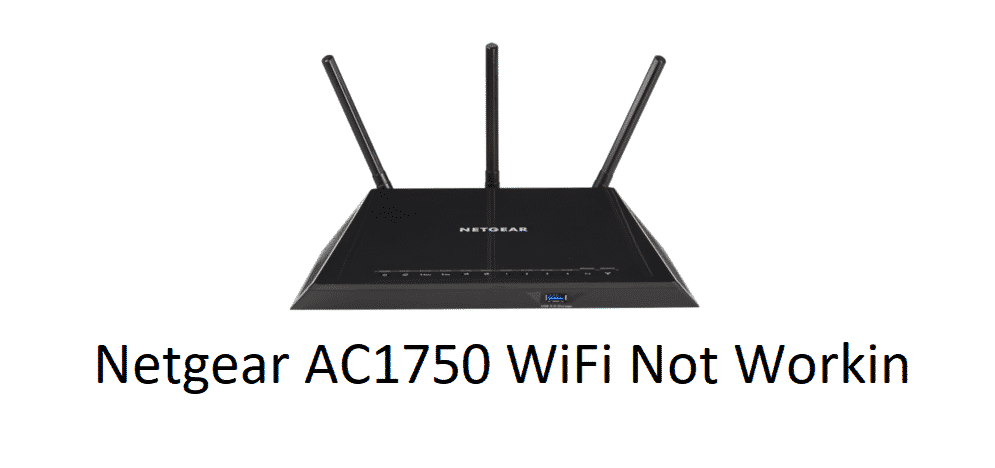
The internet is an undeniable part of our lives since it connects us to the world. Similarly, people are shifting to wireless connections, which increases the need for routers. For this purpose, people usually choose Netgear since they have advanced options available. But again, some people complain about Netgear AC1750 Wi-Fi not working, and we have lined out the troubleshooting methods to help you out!
Netgear AC1750 WiFi Not Working
1) Direct Connection
First of all, if you need to access the internet quickly and cannot wait, we suggest that you eliminate the wireless function. For this purpose, you will need to take out the internet cable from the router and connect it directly to the computer. You could also try this method with an ethernet cable.
2) Reboot
In some cases, the Wi-Fi doesn’t work because of the issues with the computer system or mobile phone, whichever device you are using. If this is the case, we suggest that you reboot the mobile phone or computer and make sure there are configuration issues. If there are minor issues with the device, the reboot will solve, and Wi-Fi will start working after you switch on the device.
In addition to a computer or mobile phone, we suggest that you reboot the modem or router. Once the router is rebooted, the internet signals will be refreshed, and the Wi-Fi connection will be streamlined.
3) Hard Reset
Usually, the reboot only fixes minor issues, but a hard reset is needed for fixing the bigger errors. So, if rebooting the router and device didn’t work, we suggest that you hard reset the router. For this purpose, locate the reset button on the Netgear router and press it with the needle or paperclip. This will take around ten seconds. Once the router resets, the Wi-Fi connection will be streamlined.
If the router’s hard reset doesn’t solve the issue, we suggest the hard reset on the software. For this matter, you will need to consult the Netgear router manual.
4) Wi-Fi Enabling
For everyone who is still struggling with the Wi-Fi connection on the Netgear router, there are high chances that Wi-Fi is disabled from the backend. For checking the Wi-Fi, you will need to login to the router and open the advanced tab. From this tab, tap on advanced setup and choose the wireless settings. Now, check the enable Wi-Fi box. Keep in mind that you need to enable Wi-Fi for 2.4GHz as well as 5GHz. At last, don’t forget to hit the save or apply button.
5) Network Restart
In case you are still struggling with the Wi-Fi connectivity issues, we suggest that you restart the network. For this to work, switch off the modem, router, and all the connected devices. Now, switch on the modem and wait for two minutes. Once the modem is switched on, switch on the router and let it establish a connection. At last, switch on the devices, and you will be able to use the Wi-Fi again.
While we are talking about the network, make sure that the networking switch is working properly. If it’s not working properly, replace the network switch to ensure internet signals are transmitting correctly!
purchase secondhand modem R640v2