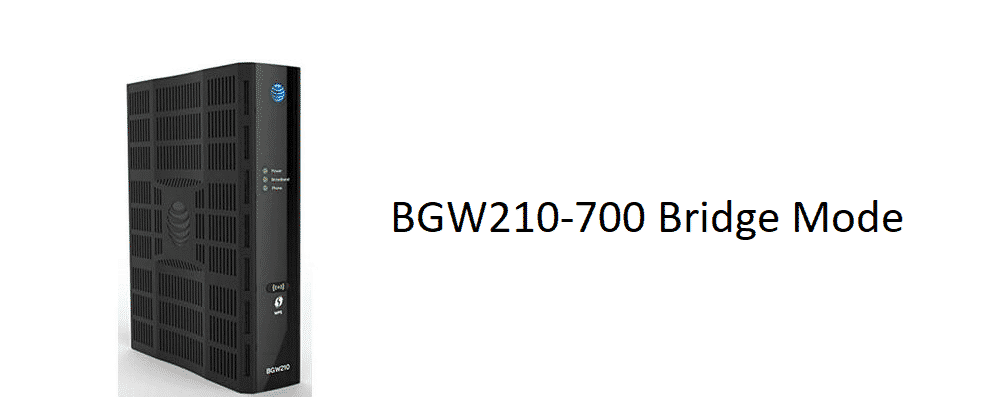
Netgear routers are somehow the most practical ones out there and they promise a certain wide range of features and options for you. Bride Mode is one such option that you get on the NetGear BGW210-700 router and that is simply one of the best things that you can get. The bridge mode on this router works pretty great and it is a common perception among the tech guys, that this is simply the best modem/router that you can get to get your hands on Bridge Mode. If you are still not sure about what Bridge mode is and how it works, here is a brief account.
What is Bridge Mode?
Bridge Mode is a mode on the modems and routers that allow you to connect two or more than two modems and routers and pool the resources. This allows you to not only have the advantage of the processing power of multiple devices to make your internet connection so fast but to also increase the internet speed and coverage and that altogether makes your internet experience a whole lot better. The bridge mode allows your routers or modems to work in unison and the signals being broadcasted are not conflicting with each other but rather supplementing the whole network.
How To Setup Netgear BWG210-700 Bridge Mode?
The setting up process is pretty simple and you won’t have to go to such lengths to have this up and running in no time at all. Thanks to the GUI interface of NetGear router firmware, the whole process will be quite smooth and easy to follow.
To start with that, you will need to login to the Web-based admin panel using the right IP and the IP used for BGW210-700 is 192.168.1.254. This will allow you to access the router and you will need to go to the Wi-Fi tab here. Once you are on the Wi-Fi tab, you will need to set both Home SSID and Guest SSID to “Off”. Afterward, you will need to set the operations for 2.5GHz and 5GHz Wi-Fi to “Off” as well.
Once you have done that, you will need to go to the “Firewall” option and access the “Packet Filter Tab” here. The “Packet Filter Tab” needs to be disabled to make it work. Now, you will need to access the IP Passthrough tab here, and set it to Allocation Mode.
Leaving all the other tabs blank, in the Allocation Mode, you will need to select “DHCPS-FIXED”. Once you have done that, you will be prompted for a MAC address from the other router that you will need to enter manually. Make sure that you are not making any mistakes at this part and that will be doing the trick for you.
After that you have set all these settings accordingly, just save the settings and restart the routers. This might take a couple of minutes but once your routers are started again correctly, you will be able to use the bridge mode on these routers.