If you are having difficulties communicating with the Xbox live chat.
If you are struggling to shoot other players on a certain online multi-player game due to having some egregiously high ping.
The solution to all your gaming problems lies in static IP and forwarding ports.
Such gaming difficulties arise due to your home network having a strict/moderate network access translation (NAT) type. The optimal way of getting the NAT type changed to an open one is to assign a static IP to your Xbox console and open some ports.
In simpler terms, your router comes with a firewall. Firewall functions as a blockade that protects your home network from any type of unwanted access. Online games on your Xbox are considered unwanted IP’s wanting access. To allow them this access you have open a few ports for these IP’s to gain a path into your home network.
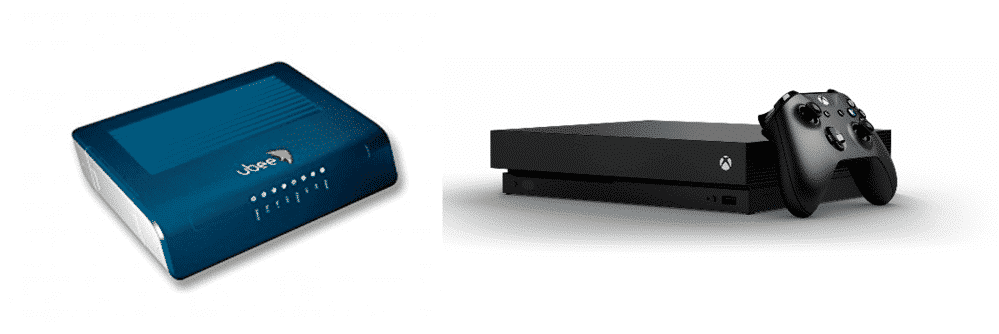
Is Ubee Optimize For Xbox?
So how do you do it?
The first step involves setting up a static IP inside your Xbox console. You can skip this step if your console already has a static IP.
Following these steps will allow you to set up a static IP:
- Navigate to the home screen and press the menu button on your Xbox controller.
- Look for Settings and select it.
- Look for Network and select it.
- Within the Network setting, you will find the option for advanced settings, select it.
- After selecting advanced settings you will come upon a list that will show you the IP address, subnet mask, gateway, primary DNS, secondary DNS, and MAC address of your Xbox console.
- Note the data on a notebook. You will require them for another step.
- Now open your web browser.
- To open your routers user interface, click on the search bar and type in 192.168.0.1. This is the IP address of your UBEE router. A routers IP address can be searched for on Google.
- Pressing enter will open up the login menu. Type in your user name and password. Click on the sign-in button to proceed.
- Go into settings, click on the tab that reads setup.
- Scroll down to the bottom and stop when you locate your routers DHCP range/IP address range. Note the numbers.
- Now you will have to decide what your Xbox IP address is going to be. If the DHCP range is from 100 to 149 then you can set the IP to 192.168.1.201 or anything between 2 and 254.
- Press the start button, open cmd.exe through searching. To check the availability of your assigned IP write ping and hit the spacebar. Now type in the IP address that you have decided upon and hit enter. If you do not receive a reply it means the IP address can be assigned.
- Navigate your way towards the advanced settings on your Xbox similar to how you did before. Within advanced settings move down to the IP settings and select it.
- Select Manual and start to put in the IP address. After putting in the IP address that you decided upon, put in the subnet mask when your Xbox asks you for it.
- Now instead of IP settings, you will select DNS settings.
- Manually enter the DNS address that you had noted from the list a few steps prior.
- Go back to the advanced settings and press B to save your changes.
- You can test your network connection through a setting called, set up Wireless network.
- For forwarding ports, open your routers user interface. Click on advanced. Within Advanced look for the option called forwarding and click on it.
- Click on Create IPv4.
- Fill in the details for Local IP and the port numbers.
- Press Apply.
- Go into. Xbox settings and see if your connection works.