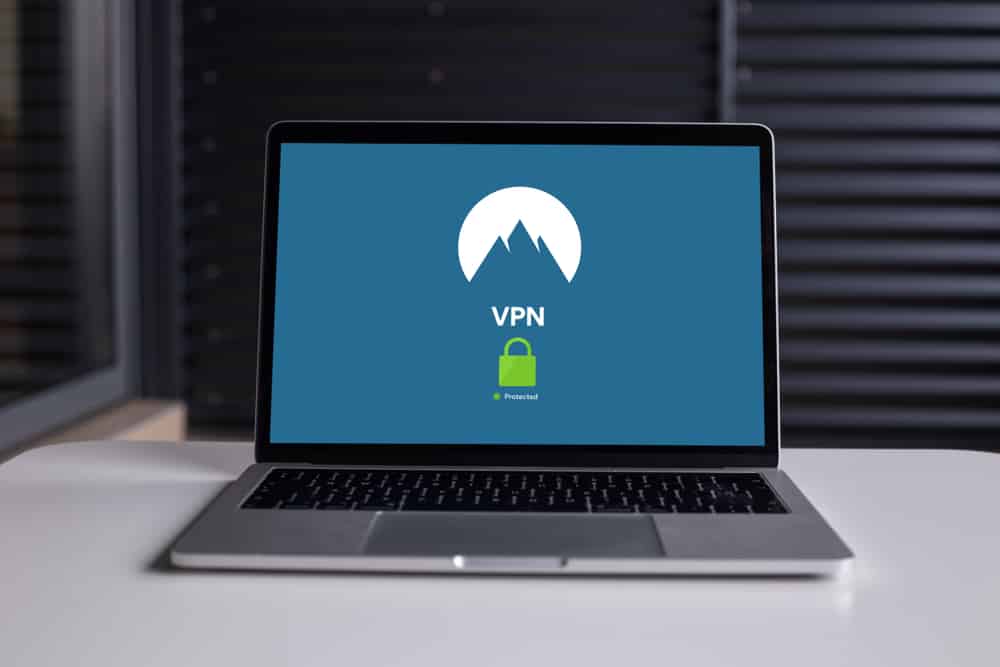
When it comes down to VPN services, they are perfect for people who want to encrypt the internet network, and NordVPN is one of the best options. This is because NordVPN has faster speed connections and reliable encryption features. NordVPN also has specialized servers available for the users, known as obfuscated servers, so let’s check out more information about the servers!
How To Turn On Obfuscated Servers NordVPN
The obfuscated servers on NordVPN are the specialized VPN servers that mask the connection to make sure no one knows that you are using the VPN service for rerouting the traffic. These specialized servers allow the users to connect to a VPN service, particularly in the restrictive ecosystem. Having said that, if you want to leverage these specialized servers on NordVPN, let’s see how you can use it on different devices and operating systems.
Windows
Windows is a promising operating system for people who want to use desktop systems, but the built-in firewall settings aren’t sufficient to protect the data and users. For this reason, you can use the following instructions to enable obfuscated servers;
- Open the NordVPN on your Windows PC and open the settings (it is available in the top-right corner of the screen)
- Scroll down to the advanced settings
- Look for the obfuscated servers in the menu and enable it
- Save the settings, and you are done!
macOS
If you are using the macOS computer, you can enable the obfuscated servers by following these instructions;
- Open the VPN service of your Mac device and open the settings
- From the settings, look for specialty servers option
- Choose the preferences option
- Scroll down to the general option
- Choose NordVPN (TCP) from the VPN protocol menu
- Scroll down to obfuscated servers and turn on the feature
iOS
In case you are using the iPhone, you really don’t need to use the servers because iPhone has strong security features. Still, if you want to enhance the security standards, follow the below-mentioned steps;
- Open the settings on your iOS device, be it the iPod or iPhone
- Search for the VPN protocol option
- Choose NordVPN option
- Scroll down to specialty servers
- Look for obfuscated servers and enable it
Android
It is needless to say that Android smartphones have become extremely famous because they are readily available and have user-friendly features to make sure everyone can use the smartphone. However, as compared to iOS devices, Android devices are more susceptible to security threats, which is why turning on obfuscated servers are recommended. As far as turning on servers is concerned, you need to enable the obfuscated servers from the specialty servers section of your NordVPN app’s main screen. So, just open the VPN app on the Android smartphone and enable the servers!
Linux
Linux might not be a popular operating system, but if you are a Linux system user, you can enable obfuscated servers just by typing “nordvpn turn obfuscate on” in the system’s terminal window.
So, are you clear on how to turn these specialized servers on?