Dish has become an important part of every space that wants on-demand channels and entertainment. However, Joey is the receiver for Dish and it connects different TVs at once. The Joey can be connected and synced with Hopper to watch TV and enjoy the Hopper features.
In addition, the users can choose from wireless Joey or wired Joey. The wireless Joey is suitable for people who don’t want to play around with cables or want to move the television.
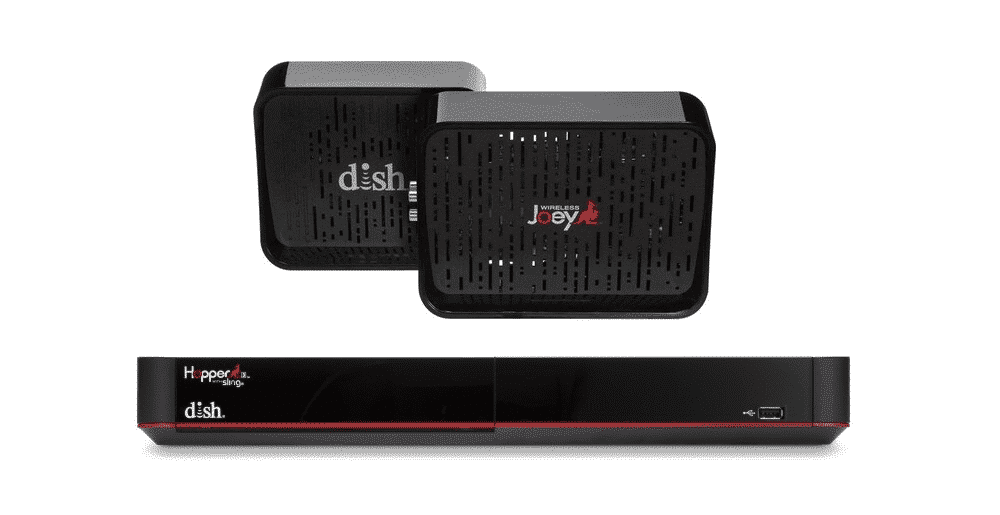
The Joey will provide access to the channels and Hopper features along with stored programming. To illustrate, Hopper works as the Dish receiver for homes. When users connect Joey to Hopper wireless, you can access channel previews, on-demand shows, channel packages, and DVR features.
So, if you are considering how to connect Joey to Hopper wireless, we are sharing the instructions with you in this article!
How To Connect Joey To Hopper Wireless?
To begin with, you need to make sure that wireless Joey is placed above the ground because it improves the connectivity. In addition, you must place the Hopper device off the ground. You must ensure that there are no obstructions to ensure proper wireless connectivity.
On top of everything, the devices must be in the closer distance with each other (wide distance can result in weak reception). Now, let’s check out the instructions about connecting wireless Joey to Hopper, such as;
- First of all, you have to identify the CAID number and smart card umber of Joey and get is authorized by calling Dish customer support.
- The second step is to decide a suitable position for placing the Joey (the jinx is to place Joey and Hopper in closer distance i.e., minimum six feet from other access points)
- Now, make sure that the Hopper is receiving the video and make sure that Joey’s switch is set at the access point
- Then, take out the ethernet cable and connect it to the ethernet port of Joey (it’s available in the back panel). Also, the other cable end should be plugged into the ethernet port of Hopper
- The next step is to plug the Joey with a power source (the green light shows that the software is downloading) and make sure that you don’t disconnect the Joey from ethernet or power connection while you are downloading the software
- Now, go to the Hopper and open the menu. From the menu, open settings, choose the network setup and look for wireless Joey (it will appear as a detected device)
- Once you press on wireless Joey, the devices will be connected to each other
In addition, you might have to connect the video cables on the back of Joey and the other end will go into the TV’s video port. Then, plug everything into the power source and switch on the TV. As a result, Joey and Hopper will be connected to each other and you will be able to see it on the TV. Lastly, keep in mind that you must not cover the vents to ensure zero heat buildup.