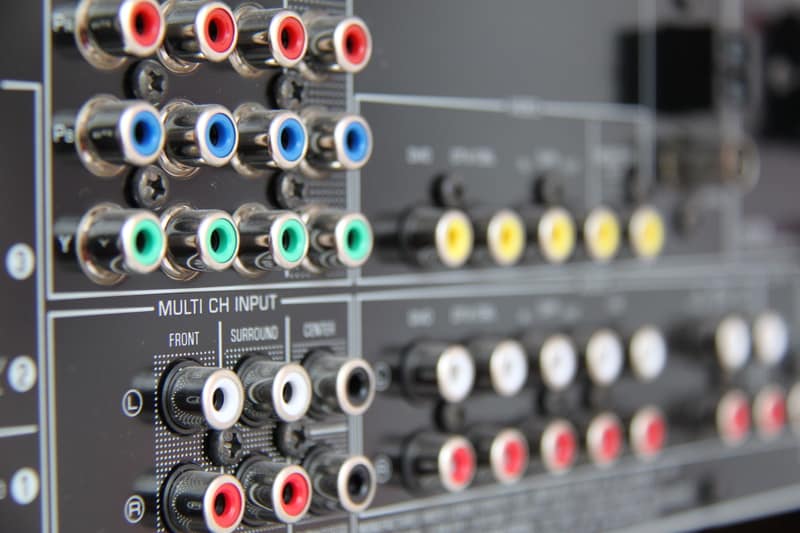
If you are someone who likes being entertained at all times, it’s obvious that they need a receiver. For this reason, the Onkyo receiver makes a promising choice as it offers clear and crisp visuals and sounds to the TV system. However, to ensure a seamless streaming experience, Onkyo has to be connected to Wi-Fi, and let’s see how you can establish the connection!
How To Connect Onkyo Receiver To Wi-Fi
A wireless internet connection is essential to connect the Onkyo receiver to make sure the content streaming is optimized and doesn’t have any buffering. In the section below, we are sharing the step-based instructions, so follow them as mentioned to prevent the issues.
- Press the setup button on the remote that comes with the Onkyo receiver
- When the new menu appears, choose the network by selecting the “wireless” option
- When the wireless network section appears, tap on the network that you want to join
- As a result, the connected message will pop on the screen, which means the receiver is connected to the wireless connection
On the other hand, if you don’t want to establish a wireless connection, you can develop an Ethernet connection. For this purpose, use the Ethernet cable and connect one end to the modem/router and the other end to the receiver’s Ethernet port. As a result, the receiver will start working with the internet.
Unable To Connect Onkyo Receiver To Wi-Fi
We have now mentioned two methods of establishing an internet connection with the Onkyo receiver, including a wired and wireless connection. However, if you are unable to connect your receiver to the wireless connection, we are sharing some solutions that can help you out!
1. Reboot The Router
The first solution is to re-establish the internet connection. For this reason, you need to disconnect your internet modem or router from the primary power source and let it cool down. The cooling down will take a few minutes, but after that, connect the internet device to the power source. It will take a few minutes for the router to optimize the internet connection. However, once the internet lights are solid, it means the internet connection has been established, and you can connect it to your receiver.
2. SSID
SSID is the name of the internet connection, and it can directly influence your internet connectivity. In particular, you need to be particular about the SSID format. For the most part, the multi-byte characters are not supported by the Onkyo receiver, which is why we suggest that you rename your internet connection. When changing the SSID, you should opt for alphanumeric and single-byte characters and stick to the lowercase letters. Once the SSID is changed, connect your receiver to the wireless connection again.
3. Strength Of Internet Connection
If there are still issues with the internet connectivity, there are high chances that the internet connection is not strong enough. First of all, you should clear the obstacles between the Onkyo receiver and router because they might be interfering with the signals, leading to a weak connection. In particular, you have to get rid of metallic products.